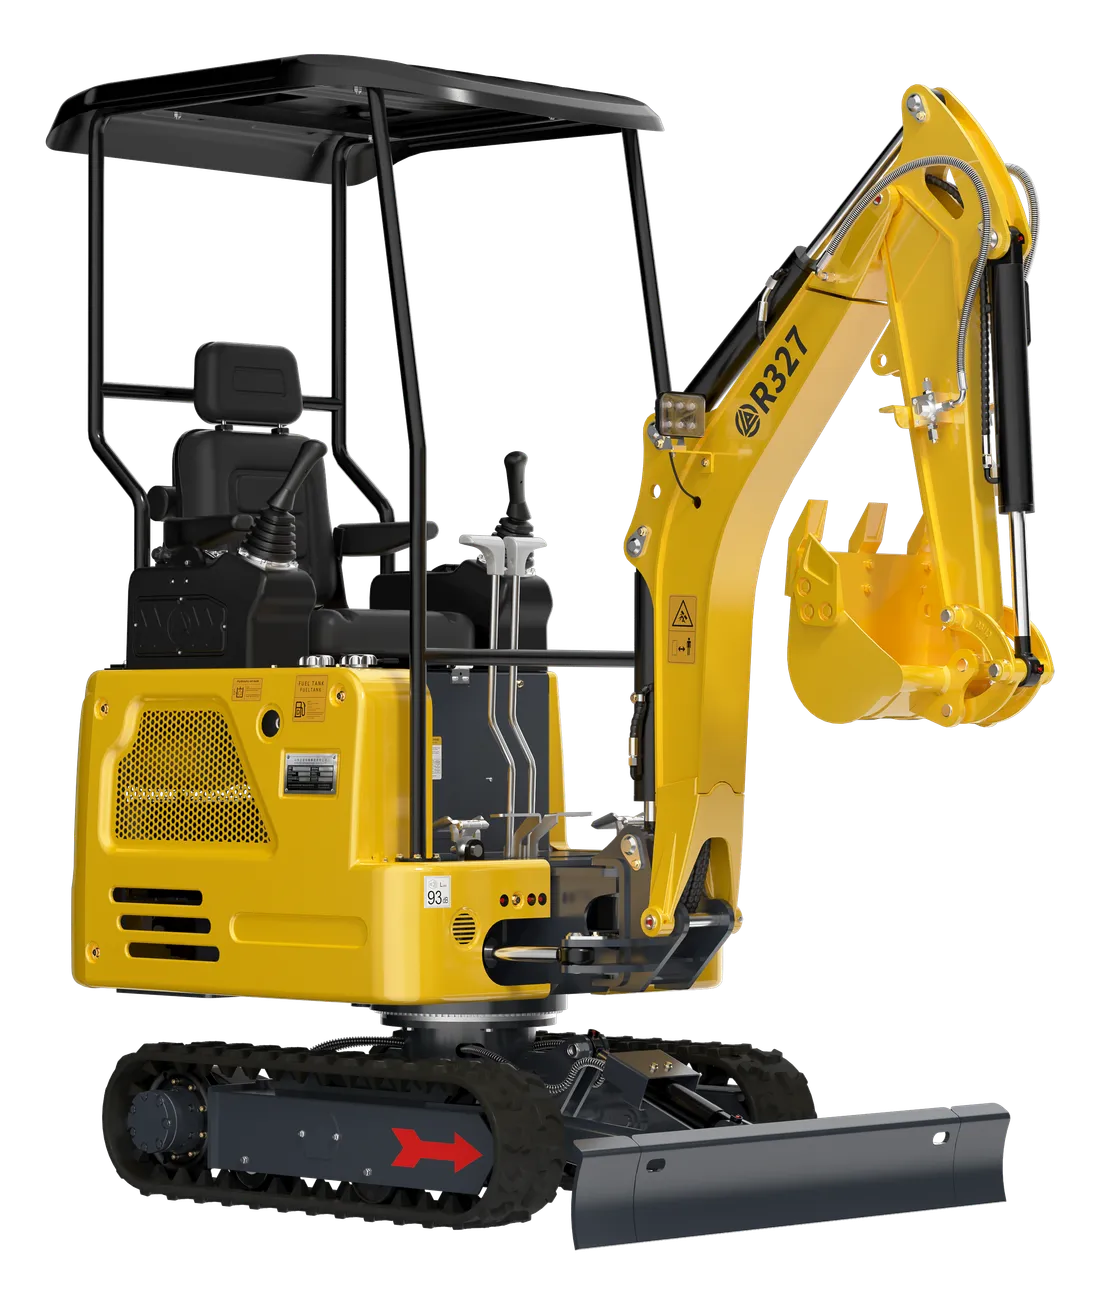
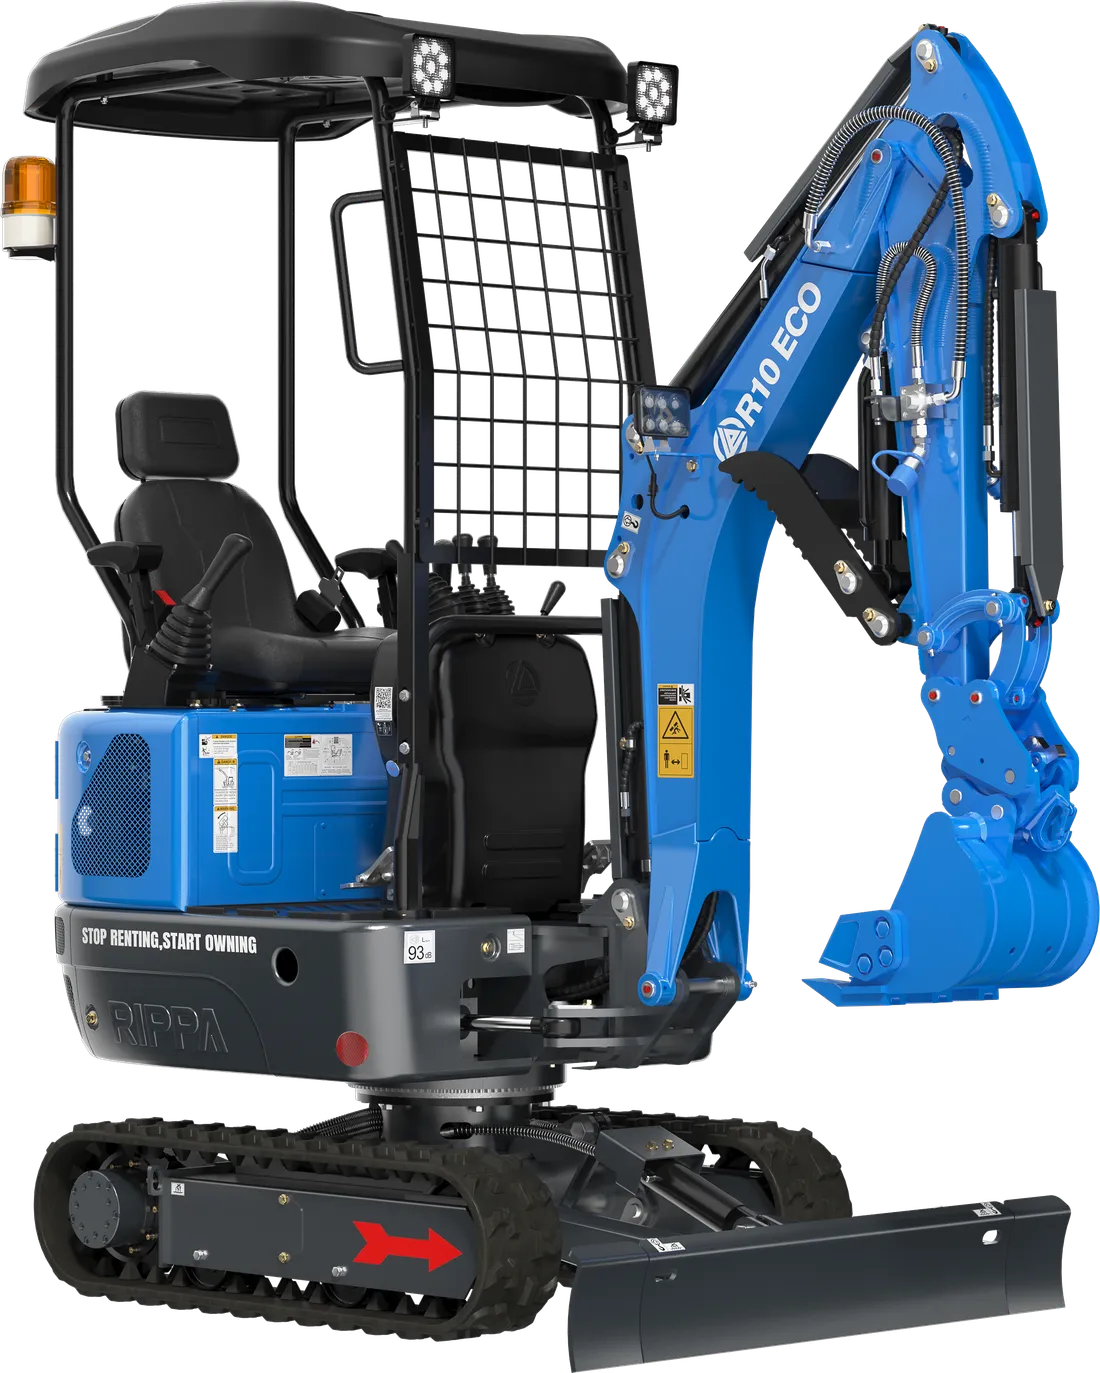
A hydraulic breaker turns a mini excavator from a digging machine into a breaking machine. Concrete slabs, old foundations, asphalt and rock are no longer jobs to tackle by hand or with a crew brought in from outside. But when chosen or used wrongly, the same breaker can also be one of the attachments that wears the machine out most.
In this guide we explain how to choose a breaker to suit the machine, the tool types, fitting and first start-up, the correct working technique, daily maintenance and the safety rules. We cover planning small demolition jobs in a separate guide, small demolition with a mini excavator and breaker.
How does a breaker work?
Inside a hydraulic breaker is a piston that moves back and forth, driven by the machine’s hydraulic oil. With every stroke the piston strikes the back end of the tool (the chisel) and transfers the energy into the material. A breaker doesn’t crush material; it cracks it with repeated blows. That is why a breaker’s productivity comes less from power and more from striking the right spot at the right angle.
Two important consequences follow. First, if the impact energy can’t be transferred into the material — in other words, when blank firing — the energy comes back into the breaker’s own body and mountings. Second, a breaker puts a constant, heavy load on the hydraulic system; the oil, hoses and filters are strained more than in normal digging.
The sound of the breaker tells you something too. When the tool is seated on the material under the right down-pressure, the sound is deep and regular. If it turns higher-pitched and metallic, that usually means the tool has slipped off the material and you have started blank firing; when you hear it, stop the breaker and reposition the tool.
Choosing a breaker to suit the machine: four criteria
| Criterion | Why does it matter? | How do you check it? |
|---|---|---|
| Carrier class | A heavy breaker upsets stability and strains the boom; a light breaker works inefficiently | Compare the suitable carrier weight range in the breaker catalogue with your machine’s operating weight |
| Hydraulic flow and pressure | Too much flow overheats and wears the breaker; too little weakens the blow | Compare the range the breaker needs with the values of the machine’s auxiliary line |
| Auxiliary line and return | As well as the supply line, a breaker needs a sound return line | Confirm that the machine has an auxiliary line suitable for a breaker |
| Mounting | The bracket and pins must fit the end of the machine’s arm | Check the pin diameter, pin spacing and quick coupler compatibility |
The difference between mini excavator classes is large: the R10 has an operating weight of 1,200 kg, the R327 1,700 kg and the R350 3,500 kg. A breaker that suits one class may not suit another. When buying a breaker, don’t rely on the words “suitable for mini excavators” alone; confirm compatibility with your machine’s model and serial number.
Breaker catalogues also list values such as impact energy and blows per minute. Here the “more powerful is better” logic is misleading: fitting a small carrier with a breaker above its class makes the machine work unstably and wears it out. The right breaker is the one that matches the machine’s class and is powerful enough for the material you are going to break.
On the return line, most breaker manufacturers recommend that the return oil goes back to the tank as directly as possible and through a filter. If you will use the breaker often, ask about this detail before you buy; keeping the hydraulic oil clean and cool determines the life of both the breaker and the machine.
Tool types: which one for which job?
- Moil point: The most common tool. It penetrates concrete and rock and gives good results in general-purpose breaking.
- Flat chisel: Used for breaking along a set line and for slicing asphalt and layered soft rock.
- Blunt tool: Spreads the energy over a wider surface; suitable for splitting large rock blocks and hard, brittle material.
As the tool wears, its tip goes blunt and less of the impact energy is transferred into the material. Carrying on with a blunt tool both lowers productivity and strains the breaker’s bushings. Monitor tool and bushing wear together; if one of them is badly worn, the other wears quickly too.
Change the tool following the method in the manual and with the proper equipment. Wear safety glasses and gloves when removing the retaining pins, as parts can fly out; after changing the tool, check that the retaining pins and their locks are fully seated.
Fitting and first start-up
A small oversight when connecting the breaker to the machine can turn into a fault that lasts for days. The most common problem is dirt getting into the hydraulic system through the hose connection.
- Clean the couplings on both the machine and the breaker side before connecting them; don’t leave the dust caps lying on dirty ground.
- After connecting, check the hydraulic oil level and top it up according to the manual.
- In cold weather, wait for the hydraulic oil to reach working temperature; don’t start at full power with cold oil.
- Run the breaker under light load for the first few minutes and check the connection points for leaks.
- When you remove the breaker, close off the couplings and hose ends with caps.
How to use a hydraulic breaker: the correct technique
- Position the tool square to the surface. Striking at an angle makes the tool skid, wears the bushings and can break the tool.
- Apply the right down-pressure. Press the breaker onto the material with the boom, but not so hard that you lift the machine. Too little pressure and the tool blank-fires; too much and the machine and breaker are overstrained.
- Start at the edge. Strike near the edge of a large piece or near an existing crack, not in the middle; break off small pieces.
- Don’t keep hammering the same spot. If the material doesn’t crack fairly quickly, stop the breaker, move the tool slightly and try again. Stick to the continuous operating time given in the manual.
- Stop as soon as the material breaks. Blank firing quickly wears the breaker’s internal parts and retaining pins.
- Don’t use the tool as a lever. Trying to prise out or push aside a broken piece with the tool breaks the tool and the bushing.
- Don’t operate the cylinders at the end of their stroke. When the boom, arm and bucket cylinders are fully extended or fully retracted, vibration goes straight into the cylinders and seals.
- Don’t carry or push material with the breaker. Pick up broken material with a bucket or a grapple.
- Don’t run the breaker in water or mud. Unless your manual specifically allows it, this damages the breaker.
- Watch the hydraulic oil temperature. If the oil is overheating, take a break.
When breaking a concrete slab
Break the slab starting from an edge or an opening, not from the middle; concrete with a free edge cracks much more easily. Work in strips, breaking the slab into pieces the bucket can pick up comfortably. Clear the broken pieces aside at regular intervals; rubble piling up under the tool soaks up the blow and stops you seeing the target. Don’t try to snap rebar and mesh reinforcement sticking out of the concrete with the breaker; cut it with a separate cutting tool.
When breaking rock and stone
In rock, look for natural cracks and bedding lines; striking close to these weak points speeds up the work noticeably. Reduce large blocks by working in from their edges. If the stone to be broken isn’t stable, don’t start striking until it is in a position where it can’t roll towards the machine or the surroundings.
Machine position
During breaking, the machine should stand on firm, level ground in front of the piece being broken. Lower the dozer blade to the ground, avoid working with the arm out at full reach and don’t use the breaker for long periods slewed to the side of the machine. Keep the tracks away from the edge of the slab being broken and from the edges of pits; broken concrete can also give way under the machine.
Daily maintenance and checks
| Check | When? | What to look for |
|---|---|---|
| Greasing the tool | At the interval in the manual, and during work too | Breaker tool grease (chisel paste), applied in the correct position |
| Hoses and couplings | Before every job | Leaks, chafe marks, loose connections |
| Bolts and pins | Every day | Loosening, missing safety pins |
| Tool and bushing | Weekly or as per the manual | Blunting of the tool, play in the bushing |
| Hydraulic oil and filter | At the breaker-use interval in the manual | Oil level, colour, filter condition |
On most breakers the tool is held pressed against the material while it is being greased, so the grease goes to the bushing surface rather than into the impact chamber. Go by the position given in your own breaker’s manual. Because breaker use can make the hydraulic oil wear out faster, many machine manuals give shorter oil and filter change intervals in this case; for details, see our guide to choosing and changing hydraulic oil.
Because of the vibration, breaker hoses are constantly moving along the arm. Make sure the hoses aren’t rubbing against sharp edges, that their clamps are in place and that they aren’t stretched when the arm moves. Replace any hose showing chafe marks, cracks or sweating without waiting; we describe the signs of hose failure in our hydraulic hose guide.
If you won’t be using the breaker for a long time, follow the storage instructions in the manual: store it clean and with the tool greased, in a dry place, on blocks or a pallet, with the hose ends capped.
Safety rules
- Find out about underground lines: Don’t start breaking or digging until you have checked with the relevant utilities whether there are electricity, gas, water or telecoms lines below ground.
- Set up a safety zone: Fragments fly when the breaker is working. Tape off the work area and don’t let anyone come close.
- Protect the operator: On an enclosed-cab machine, intact windows matter; on an open-canopy machine, a front guard and safety glasses. Ear protection should be worn too.
- Keep dust under control: Concrete and stone dust must not be inhaled. Wet the breaking point if necessary, and anyone working nearby should wear a suitable dust mask.
- Mind the load-bearing structure: When breaking inside buildings or through walls, always consult a structural engineer before touching load-bearing elements.
- Leave the machine safe: Before getting out of the seat, lower the breaker to the ground and lock the controls; never leave the breaker suspended in the air.
- Take breaks: Long periods of breaking tire the operator because of the vibration and noise. Regular breaks protect both concentration and the machine.
Breaker or another method?
Let’s be honest — not all hard ground needs a breaker. Compacted soil, dried-out clay and fractured soft rock can often be loosened faster, and with less strain on the machine, with a ripper. A breaker is for concrete, asphalt and rock that genuinely needs breaking.
On the other hand, a breaker fitted to a mini excavator has its limits too. Thick, heavily reinforced concrete or large rock masses may need a bigger carrier and breaker. If you send us photos showing the scale of the job, we can assess together whether it can be finished in a reasonable time with a mini excavator.
Before you decide, get clear answers to these questions:
- What is the material to be broken: concrete, reinforced concrete, asphalt or rock?
- Roughly how thick is it, and how much is there in total?
- Can the machine reach the working point easily and stand on firm ground?
- Are there homes nearby, and are there any local restrictions on working hours?
- Where and how will the broken material be taken away?
Summary
- Choose the breaker to suit the machine’s class, hydraulic flow and pressure, and mounting.
- Choose the tool for the job: moil point, flat chisel or blunt.
- Keep the couplings clean when fitting, and don’t start at full power with cold oil.
- Strike square, start at the edge, don’t keep hammering the same spot, don’t blank-fire.
- Grease the tool at the interval in the manual; check the hoses and bolts every day.
- Don’t start until you know where the underground lines are, and clear the work area.
Tell us your machine’s model and the material you will be breaking, and we will work out a compatible breaker and its current price together. Explore mini excavator attachments or message us on WhatsApp.