On site, a hydraulic hose burst is usually remembered as a single moment: a bang, a cloud of oil and a machine that has stopped. Most people see it as bad luck. Yet most hoses don’t burst all of a sudden, but as a result of damage that builds up over weeks or even months — and they usually give warning beforehand.
In this guide we explain why hoses burst, the signs they give before bursting, the vital safety rule when looking for leaks, the habits that extend hose life and how to identify the right replacement hose. The aim is for a hose burst to stop being a surprise on site.
How a hose is built: why it doesn’t burst “all of a sudden”
A hydraulic hose is made up of three layers. On the inside is the rubber inner tube in contact with the oil. In the middle are the reinforcement layers that provide resistance to pressure; these are usually braided or spiral-wound steel wire. On the outside is the outer cover, which protects the inner layers against abrasion, sunlight and weather. Crimped fittings are fixed to both ends of the hose.
A burst usually starts with one of these layers weakening over time. The outer cover wears, the wire braid underneath takes on moisture and rusts, the wires snap one by one, and one day a pressure spike overcomes the weakened spot. So the burst you see is often the last step in a long process — and most of that process can be spotted from the outside.
A line of printed text runs along the full length of the hose. This line usually shows the hose’s size, pressure class and manufacturing information. It is the first place to look when checking for twist, when identifying a replacement hose and when working out the hose’s age; if the print has worn away until it is illegible, that also shows how worn the outer cover is.
8 common causes of bursts
- Chafing: As a hose rubs against another hose, the chassis or a sharp edge, the outer cover thins. It is the most common cause and the easiest to prevent.
- Bending too tightly: Every hose has a minimum bend radius. When a hose is bent tighter than this, especially right at the fitting, the reinforcement layers on the outside of the bend are overstressed.
- Twisting: A hose fitted twisted around its own axis is stressed even more under pressure. If the printed line on the hose spirals rather than running straight, the hose is twisted.
- Heat: Hoses routed near the exhaust and engine, or oil that constantly overheats, harden and crack the rubber.
- Pressure spikes: Jerky use of the controls, constantly running cylinders to the end of their stroke and breaker work all create pressure spikes in the line. Blank firing with a breaker makes these spikes worse.
- Age, sunlight and ozone: Fine cracks form in the outer cover of hoses that spend long periods in the sun or go unchanged for years.
- Wrong hose or poor crimping: A hose with too low a pressure class, or a fitting crimped to the wrong size, fails early even on the right routing.
- External impact and crushing: Stones, branches and pieces of scrap strike the hose, or an attachment hose gets crushed between two parts.
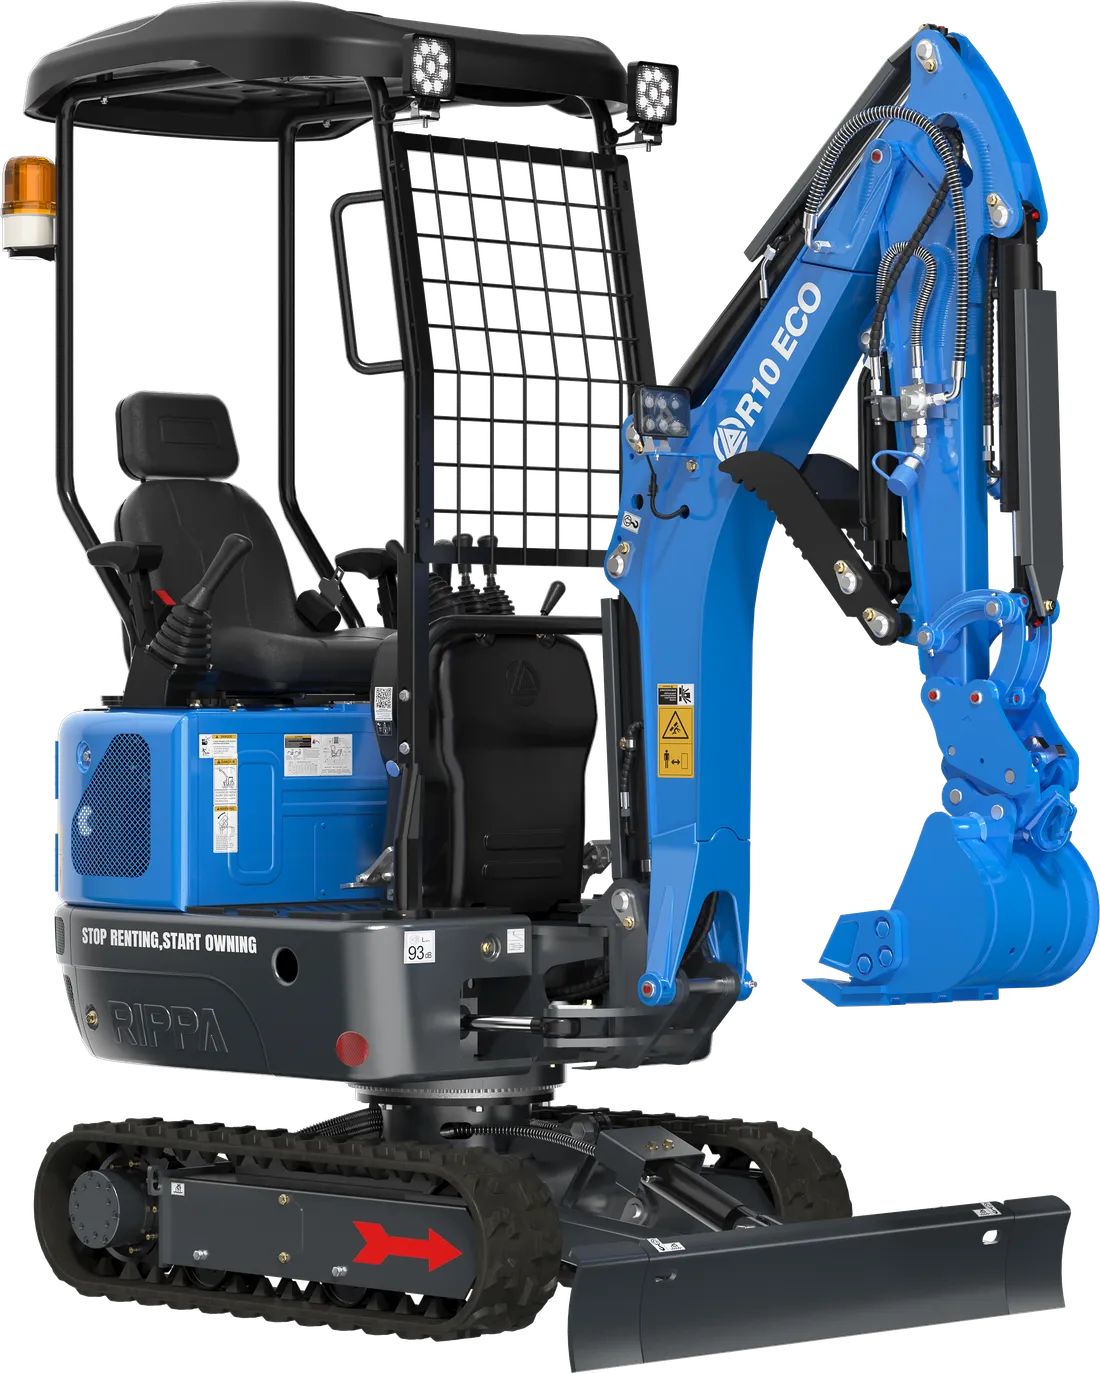
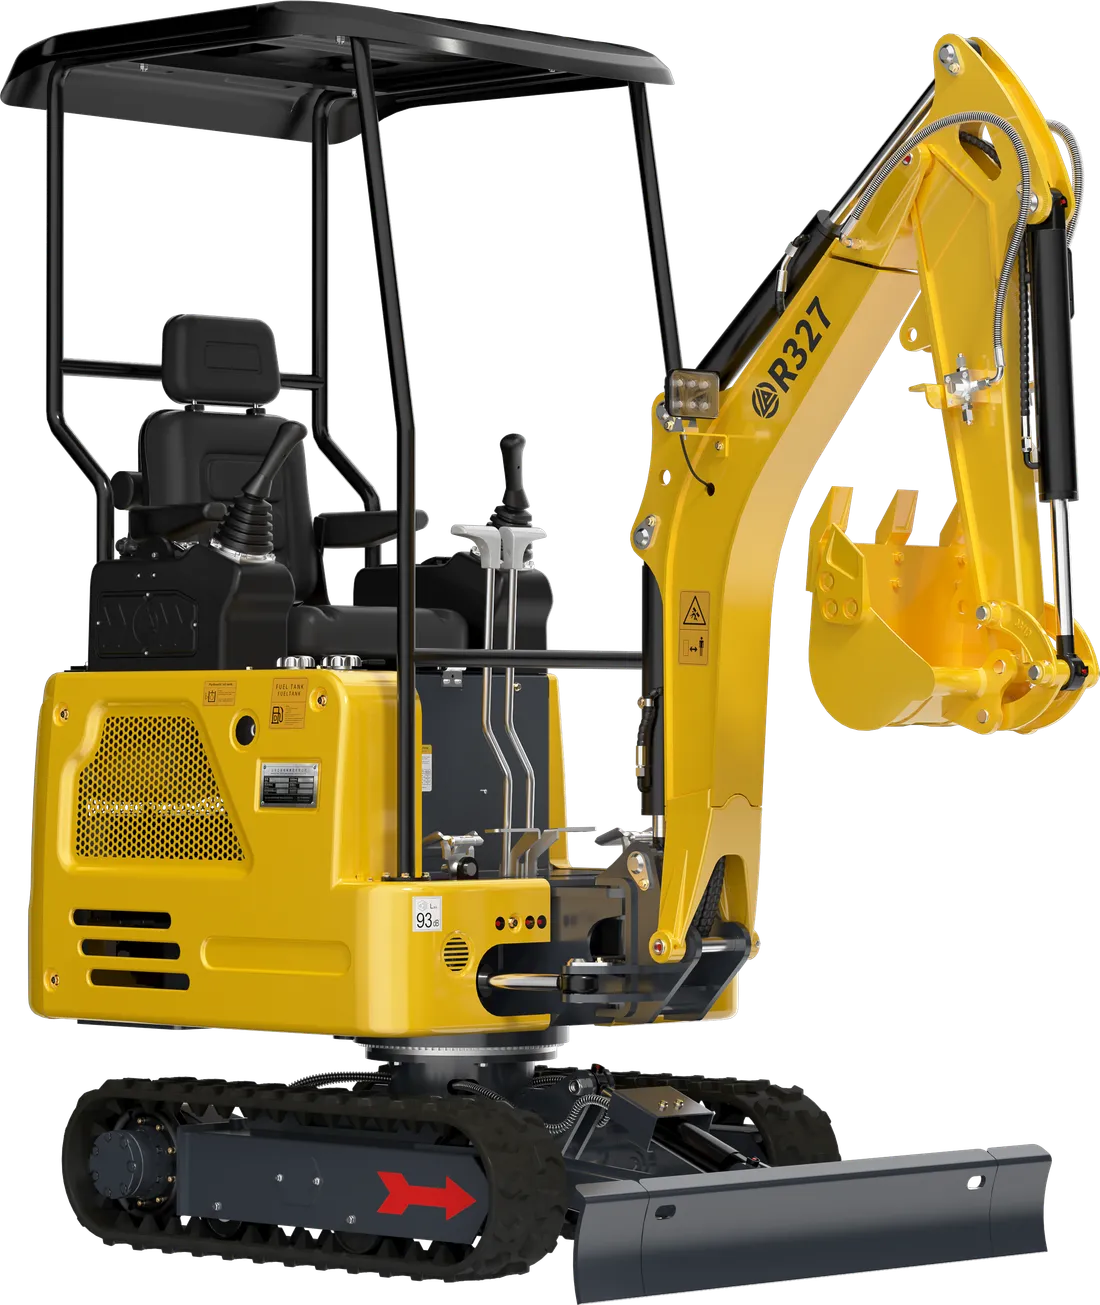
On machines with boom swing, such as the R327 and R350 with their 120° boom swing, the hoses at the boom foot flex as the boom swings left and right. The routing and clamps of these hoses need particular attention; we explain how boom swing works in a separate guide.
The signs a hose gives before it bursts
Hoses usually give a warning. When you see one of the following signs, act according to its urgency:
| What do you see? | What it probably means | Urgency |
|---|---|---|
| An oily, dust-covered area on the hose | A leak: sweating or a small hole | High; find the source using a safe method |
| A blister or bulge in the outer cover | The reinforcement layer is damaged | Very high; stop the machine immediately |
| The wire braid is showing | The outer cover has worn through | High; plan a replacement immediately |
| Fine cracks in the cover | Ageing, sunlight or heat | Medium; monitor closely and plan a replacement |
| Dripping at the base of a fitting | A fitting, crimping or connection problem | Medium to high |
| The hose has hardened and cracks when bent | Heat or ageing | High |
| The oil level is dropping and movements are slowing | A leak or an internal fault | High; don’t push the machine until the cause is found |
An oily area covered in dust is the most commonly overlooked sign: the oil holds the dust and the hose just looks “dirty”. Wiping the suspect area and looking again after a working day is a simple way to tell whether the leak really is there.
A vital rule: never look for a leak by hand
Hydraulic oil under pressure can escape from a hole as small as a pinprick fast enough to pierce the skin and enter the body. Although an injection injury of this kind may look like a small prick at first, it is a serious medical emergency and calls for going to a medical facility immediately.
- When looking for a leak, don’t run your hand or finger along the hose; hold a piece of cardboard or wood near the hose and look for a trace of oil.
- Before checking, lower the attachment to the ground, stop the engine and release the pressure in the line using the method in the manual.
- Hot oil and parts carry a risk of burns; wait for them to cool down.
- Wear safety glasses and heavy gloves.
- Don’t try to squeeze or bend a hose under pressure, or loosen its fitting.
These rules apply to helpers on the ground as much as to the operator. While the machine is running, nobody should go near a hose suspected of leaking.
Prevention: the weekly hose round
To catch most hoses before they burst, do this round once a week, with the machine cold:
- Go over all the hoses from end to end; look for chafe marks, shiny wear and dusty oil stains.
- Check that the clamps, hose separators and protective sleeves are in place.
- In a clear area, run the boom, dipper arm and bucket slowly through their full range of movement; have a helper watch from a safe distance to check that the hoses don’t stretch, get pinched or rub against anything.
- Try the boom swing to both ends and watch the hoses at the boom foot.
- Check the hoses routed around the exhaust and engine for hardening and cracks.
- Check the attachment hoses’ fittings, dust caps and any ends hanging loose.
- Confirm that the printed line on the hose is straight — in other words, that the hose isn’t twisted.
Working habits also determine hose life: use the controls smoothly, don’t keep running cylinders to the end of their stroke, and don’t blank-fire with a breaker. Using spiral guard or a sleeve at a chafing point is much cheaper than replacing a hose.
Choosing clamps and protection
Not every kind of protection suits every point. Where one hose rubs against another, hose separator blocks keep the hoses apart. On sections in contact with the chassis or an edge, plastic spiral guard or an abrasion-resistant textile sleeve is used. Around the exhaust and engine, you need a heat-resistant sleeve or a change of routing that moves the hose away from the heat source. For the loose, dangling ends of attachment hoses, a simple hanger stops the fittings dragging on the ground and the dust caps getting lost. Don’t tighten a clamp so much that it squeezes the hose; the aim is to hold the hose in place, not crush it.
Identifying the right replacement hose
The wrong hose, even if fitted correctly, soon bursts again. Before placing an order or going to a hydraulic workshop, gather this information:
- The machine’s model and serial number.
- Where the hose is: which cylinder or line it goes to; photos of both ends and its routing.
- The print on the hose: if the size, pressure class and manufacturer codes are legible, photograph them.
- The overall length from fitting to fitting.
- The fitting types: straight or angled, and the type and size of the threaded connection.
- If there are two angled fittings, the orientation between them; this angle matters so that the hose can be fitted without twisting.
- The part code, if available.
Not every leak calls for a hose replacement. The source of a drip at the base of a fitting is sometimes a loose connection or an O-ring at the end of its life. Checking the tightness of the connection and the condition of the seal while the pressure is released can prevent an unnecessary hose replacement. If the leak is coming from the body of the hose, or from where the crimped fitting joins the hose, the hose must be replaced.
Don’t fit a hose with a lower pressure class than the original “for now”; it will soon burst again at the same point. If you are struggling to find your machine’s part code, our guide to finding the right spare part makes it easier. Leaks from a cylinder need to be distinguished from hose leaks; we explain this in our cylinder seal guide.
After the replacement: bleeding the air and sealing
- Fit the hose without twisting it; the printed line should stay straight.
- Tighten the fittings as recommended in the manual or by the part manufacturer. Overtightening damages the fitting and the seal; leaving it loose causes leaks.
- Refit the clamps, separators and protective sleeves; make sure the new hose doesn’t rub against the point that burst the old one.
- Check the hydraulic oil level and top up with the same type of oil.
- Run the engine at idle; bleed the air by operating the relevant function slowly several times without bottoming it out.
- Check for leaks again with a piece of cardboard or wood; check the connections again at the end of the first working day.
- Clean up any spilt oil; set aside oil-soaked soil and rags as waste too.
When a hose bursts, air or dirt may have got into the system. If you see foam or cloudiness in the oil, compare the oil’s condition with the table in our hydraulic oil guide.
What to do if a hose bursts on site
- Stop all movements, lower the attachment to the ground and switch off the engine.
- Move people away; keep clear of spraying, hot oil.
- Engage the hydraulic safety lever.
- Contain the spread of spilt oil with soil or absorbent material; stop the oil reaching a water source or a drain.
- Take photos of the burst hose, its two fittings and the machine’s serial number plate.
- Don’t run a machine with a low oil level, even for a short distance; a pump running short of oil can be damaged quickly.
- Share the photos with service; the right hose can usually be identified from these photos.
We list the photos and information that speed up a service request in our service request guide. If the machine needs to be moved, make a suitable transport plan rather than driving it before the hose has been replaced.
If you work on sites far from town, stay one step ahead: keep spares of the few hoses that work hardest and get damaged most often — for example the bucket cylinder and attachment line hoses — along with suitable seals, on the machine or in the service vehicle. A correctly identified spare hose can cut a day’s downtime to a few hours.
Summary
- Hoses mostly burst from damage that builds up over time due to chafing, tight bends, twisting, heat and pressure spikes.
- Dusty oil stains, blisters, exposed wire braid and cracks are early warnings.
- Never look for a leak by hand; pressurised oil can pierce the skin.
- A weekly hose round and smooth use of the controls extend hose life.
- Identify the replacement hose by size, pressure class, fitting type and angle; after the change, bleed the air and check for leaks.
For hydraulic system parts, take a look at our hydraulic spare parts; send photos of the burst hose together with your machine’s serial number to our service line on WhatsApp, and we will identify the right hose together.