The cost of a wrong spare part is not just the return shipping. The machine stands idle while it waits for the part and the job schedule slips; sometimes a sound part even gets damaged while someone tries to force the wrong one into place. With wrong orders, the problem usually lies not in the part itself but in the information sent with the order.
In this guide we go through, in order, the information you need to find a spare part right first time: the machine model, the serial number on the data plate, the part code, measurements and photos that identify the part. We also show you how to read the part names on our website and how to avoid common mix-ups such as left versus right and assembly versus single part.
Why does the wrong part arrive?
Wrong orders usually follow a few familiar patterns. When you prepare your own order, check whether you are falling into any of them:
- Ordering from a photo alone: Without a scale in the photo, two parts that differ by a few millimetres look identical.
- Ordering by part name alone: If you just say “cylinder”, nobody can tell whether you mean the boom, arm, bucket, dozer blade or boom swing cylinder.
- Ordering by model name alone: Machines with the same model name may use different parts depending on when they were built. The serial number removes this uncertainty.
- Mixing up sides: Left-hand and right-hand parts are often mirror images of each other; a part made for the wrong side will not fit.
- Missing engine details: For engine parts, it is the engine model that matters, not the machine model.
- Confusing an assembly with a single part: An “assembly” can contain several parts together. Buying the complete assembly when you only need one part means unnecessary cost; the reverse leaves you with parts missing.
What these mistakes have in common is that the person ordering assumes the other side can see what they see. Prepare your information so that someone who has never seen the part could recognise it from your description alone.
Five details every order needs
Whatever part you need, having the following five details ready does most of the work:
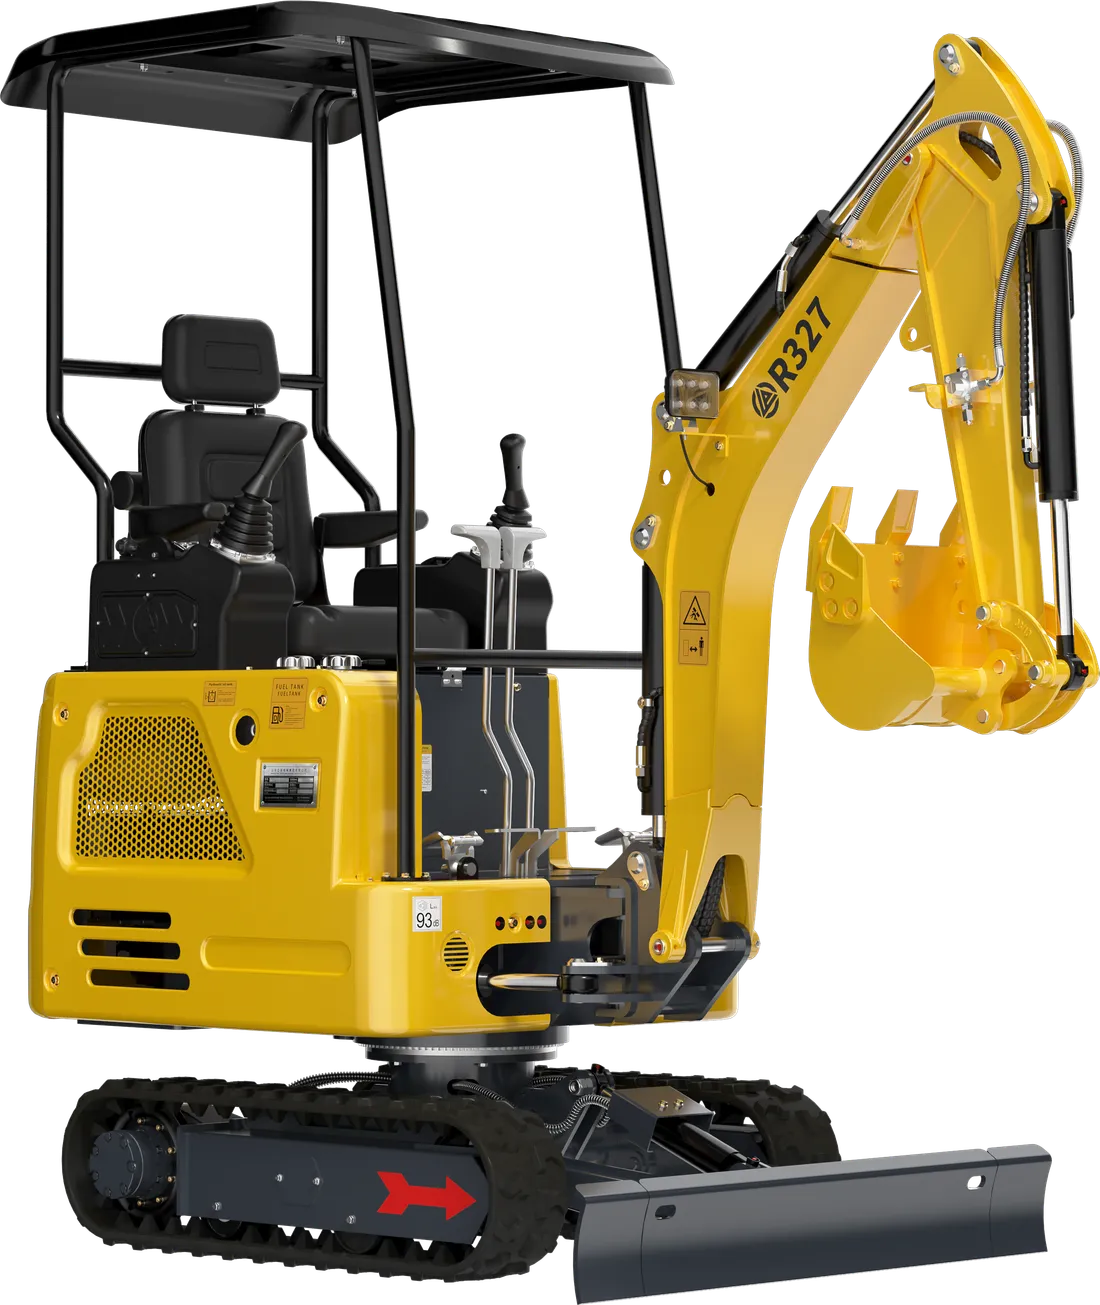
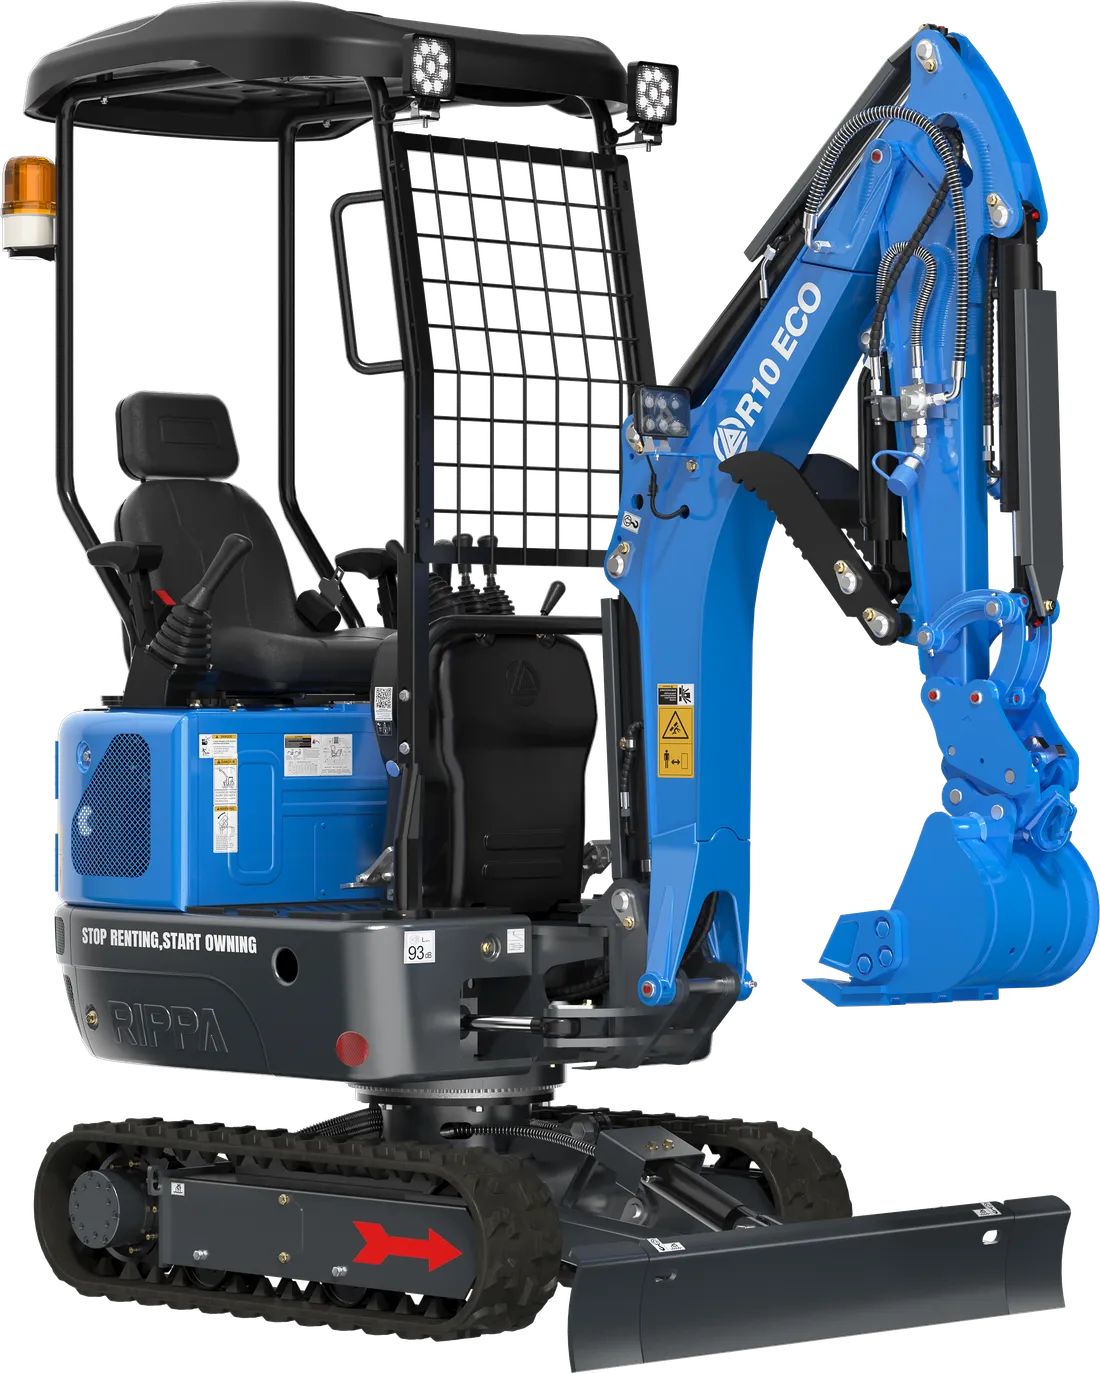
- Machine model: For example R10, R327, R350, QD35, QD35 with excavator arm or RF20E.
- Serial number: Exactly as written on the data plate, character for character.
- Operating hours: The hours shown on the instrument panel. For wear parts, this helps interpret the part’s condition; for machines under warranty, it helps assess the cover.
- Location and side of the part: Which system, which side of the machine, front or rear?
- Part code: If available, the code on the old part, in the manual or on a previous invoice.
For engine parts, add the engine model and the details on the engine’s own plate. The engines in our models are: a Koop 192F diesel in the R10, a Kubota D722 in the R327, a Kubota D1703 in the R350, and a Quanchai–Changzhou single-cylinder diesel in the QD35 and the QD35 with excavator arm. Parts such as filters, gaskets, injectors and thermostats are selected according to this engine information.
A similar rule applies to attachment parts. When you ask for a part for a hydraulic breaker, auger or quick coupler, photograph the attachment’s own plate as well as giving the machine details. Because attachments of different sizes can be fitted to the same machine, giving the machine model alone is not enough.
The data plate and serial number
The data plate is the plate showing the machine’s model and serial number. Its position varies from machine to machine; it is usually fixed to the body, cab or chassis so that it cannot easily be removed. If you don’t know where it is, check the operator’s manual or ask us.
We have three tips on the serial number:
- Photograph it on day one. Over time, mud, paint, sunlight or pressure washing can make the plate unreadable. On the day you take delivery, take a clear photo of the plate and keep it on your phone and in your maintenance file.
- Copy it character for character. O and 0, I and 1, B and 8, S and 5 are the characters most easily confused. Rather than guessing a character you are unsure of, send a photo of the plate.
- Match it with your documents. If the serial number appears on the invoice and warranty certificate, check on delivery that it matches the plate. We have collected the other delivery-day checks in our delivery checklist.
If you bought the machine second-hand, or it has had a major repair in the past, some of its parts may differ from those fitted at the factory. In that case the old part’s code, measurements and photos matter even more alongside the serial number; with engine parts in particular, always check the engine plate.
How do you find the part code?
The part code is the shortest route to the right part. These are the places to look for it:
- On the old part: The code may be cast in, stamped or printed on a label. Don’t be heavy-handed with a wire brush when cleaning the part; you could wipe out the stamp.
- On the filter housing: On filters, the code is usually printed on the housing.
- Operator’s manual or parts catalogue: If you have one, note the number from the drawing of the relevant system.
- Previous invoices: If you have bought the same part before, the product name and code on the invoice make things easier.
The part names on our website show which models a part is listed as compatible with. For example, the name “R10/R13/R15 Mini Excavator Idler Assembly” on our undercarriage page tells you that this part is listed for the R10, R13 and R15 models. For parts with “assembly” in the name, we recommend asking which sub-parts are included before you order.
If you can’t find a code, don’t worry: the model, serial number, measurements and photos are enough to identify most parts. The code simply speeds up the process and reduces the margin for error.
Create your own parts card
Gather the details of regularly replaced parts once instead of hunting for them every time. Keep a one-page card per machine on your phone or in your maintenance file: model and serial number, engine model, the codes of the engine oil, fuel, air and hydraulic filters, the oil specifications given in the manual, and belt and bulb details. Update the card after every new order. If you have more than one machine, the card also removes the risk of ordering a filter for the wrong machine.
Taking measurements: what to measure on which part
Measurements tell you what a photo cannot. A calliper and a tape measure are enough for most jobs. Worn surfaces can mislead, so where possible measure an unworn area of the part and write the measurements down in millimetres.
| Part | Information needed | How to measure |
|---|---|---|
| Hydraulic hose | Overall length, fitting type and thread size at both ends, fitting angle | Measure the length including the fittings; photograph the printing on the hose |
| Cylinder seal kit | Cylinder location, rod diameter, barrel bore | Measure the rod diameter with a calliper; photograph the code on the cylinder |
| Pin and bushing | Pin diameter and length, bushing inner and outer diameter, bushing length | Use a calliper, measuring an unworn area if possible |
| Bolt and nut | Diameter, thread pitch, length, property class | Measure the length from under the head to the tip; note the class marking on the head |
| Filter | Code on the housing; engine or hydraulic system details | If the code is illegible, measure the diameter, height and connection thread |
| Track | Width, pitch, number of links | Photograph the size marking on the track; if there isn’t one, measure these three values |
| Bulb and lamp | Voltage, wattage, socket type | Read the marking on the bulb and photograph the socket |
For parts such as cylinder seal kits, always state where the cylinder is as well as giving the measurements; we explain seal replacement in detail in our hydraulic cylinder guide. You can find bolts, pins, nuts and shims by model compatibility on our fasteners page.
Four photos that identify the part
Four well-taken photos carry more information than a long phone call:
- Location photo: A wide-angle shot showing where the part sits on the machine. On its own, it settles any left/right confusion.
- Whole-part photo: The entire part; if it has been removed, on a flat, plain surface.
- Scale photo: A shot with a ruler or tape measure placed next to the part.
- Code photo: A close-up of the code, stamp or label on the part.
Take the photos in daylight, with the part cleaned and without blur. For hoses, photograph the fittings at each end separately. If you need to remove the part, first put the machine in a safe position: lower the working equipment to the ground, stop the engine and never remove hydraulic parts before the pressure has been released.
Left/right, front/rear and assembly mix-ups
The most common way to describe direction is to imagine sitting in the operator’s seat looking forward. On excavators the upper structure rotates, so describe direction with the boom facing the front of the machine; on a tracked tractor, the direction of travel is the reference.
With bodywork parts, left and right parts that do the same job are usually separate products; our spare parts list also has separate items such as “Lower Right Cover” and “Lower Left Cover”. Adding a location photo as well as writing down the side removes any chance of a mix-up.
To decide between an assembly and a single part, ask yourself: is just one part faulty, or is the whole assembly worn? For example, if only the seal on a roller is leaking and the roller is sold as an assembly, replacing the assembly may be the most practical solution. Making this decision together with the service team avoids unnecessary spending.
Pre-order checklist
Before you send the order, tick off each of the following:
- Machine model and serial number from the plate written down; photo of the plate ready.
- Operating hours from the instrument panel noted.
- System, location and side of the part described.
- Code on the old part read, or a note made that there is none.
- Required measurements taken from an unworn area.
- Location, whole-part, scale and code photos taken.
- For engine parts, engine model and engine plate details added.
- Asked whether the part is an assembly or a single part, and genuine or aftermarket.
When the part arrives: compare before fitting
- Place the new part next to the old one and compare hole spacing, diameters, thread sizes and fitting orientation.
- Don’t throw the old part away until the new one has been fitted and tested without problems.
- Keep the packaging and label until the part has been fitted and run.
- If the part doesn’t fit, don’t force it; a part forced into place damages both itself and the part it connects to.
We explain how to choose between genuine and aftermarket options in our genuine or aftermarket guide. If your machine is under warranty and the part is needed because of a fault, open a service request first instead of ordering the part yourself; we show how, step by step, in our service request guide.
Summary
- The key to the right part is five details: model, serial number, operating hours, location/side and part code.
- For engine parts, the engine’s details matter, not the machine’s.
- A photo without scale misleads; add measurements and a photo of the code.
- Photograph the data plate on day one; it can become unreadable over time.
- Clarify assembly versus single part before you order.
At EKSFORK, 382 spare parts are shipped from stock on the same day. You can browse them category by category on our spare parts page, and by sending the details and photos you have prepared on WhatsApp, pin down the right part together with us.