On a construction machine, a filter is one of the cheapest parts, while the parts it protects are the most expensive. The fuel pump and injectors, the engine’s cylinders and bearings, the hydraulic pump and valves — all of them work behind a thin layer of filter.
The problem is that filters work silently. A clogged air filter makes no noise on the first day, and a fuel filter that can’t hold back water doesn’t light a warning lamp in the first hour. By the time the symptoms appear, the damage has often already begun.
In this guide we explain what the four main filter groups do, the typical logic for changing them, the signs of clogging and the common mistakes made during replacement. Since intervals vary by machine, the values we give are typical ranges; your machine’s operator’s manual always takes precedence.
Why are filters so important?
On a compact construction machine, filters protect three systems: the air path the engine breathes through, the fuel system and two separate oil circuits — the engine lubrication circuit and the hydraulic circuit. In each one, the filter’s job is to stop particles and water that would damage the fine clearances between parts.
The chain of damage usually works the same way. The filter either clogs or gets punctured. A clogged filter restricts flow: the engine is starved of air, fuel runs short, or the oil passes unfiltered through the bypass valve that skips the filter. A punctured or badly seated filter, on the other hand, lets dirt straight into the system. In both cases, the part that wears isn’t the filter but the part the filter was meant to protect.
That is why skimping on filters means eating into the life of an expensive part. The cost of a filter set is small next to the repair of a fuel pump or a hydraulic pump.
Filters and their typical change logic in one table
The table below summarises each filter’s job and the typical logic for changing it. The intervals are values often seen on compact machines; compare them with the values in your own machine’s manual.
| Filter | What does it protect? | Typical change logic | Sign of clogging or failure |
|---|---|---|---|
| Air filter (outer element) | Cylinders, pistons, piston rings | According to conditions more than hours; check much more often in dusty work | Loss of power, black smoke, indicator warning |
| Air filter (inner element) | The engine, if the outer element is punctured | Not cleaned; changed at the interval in the manual | Looks dirty when the outer element is removed |
| Fuel filter | Fuel pump and injectors | On most machines between 250 and 500 hours; more often with poor fuel | Loss of power under load, misfiring, hard starting |
| Water separator / pre-filter | The fuel system, against water and coarse sediment | Drain water and sediment daily or weekly; element as per the manual | Water in the bowl, rough running |
| Engine oil filter | Engine bearings and sliding surfaces | At every engine oil change | Oil pressure warning in advanced cases |
| Hydraulic return filter | Pump, valves and hydraulic motors | First change early; after that around 500 hours on most machines; more often with a breaker | Slowing down, overheating, indicator warning if fitted |
| Hydraulic breather filter | The air entering the tank | As per the manual; more often in dusty work | Pressure or vacuum problem in the tank |
| Cab filter | The operator and the air-conditioning system | As per the manual; check often in dusty work | Weak airflow, misting, odours |
The air filter: go by conditions, not hours
The air filter is the diesel engine’s most easily neglected filter, yet the one that causes damage fastest. The engine draws in a large volume of air every hour; if the dust that comes with this air gets past the filter, it wears the cylinder walls, pistons and piston rings like sandpaper. Over time, this wear shows up as loss of power and oil consumption.
It is hard to give a fixed number of hours for the air filter, because the amount of dust varies greatly from job to job. The filter of a machine working on a dry demolition site fills much faster than that of a machine working in a grassy garden. The practical rules are:
- If the filter housing has a restriction indicator, base the decision to change or clean on the indicator.
- Squeeze the rubber dust ejector valve under the filter housing every day to empty out the collected dust.
- If the manual allows it, clean the outer element with low-pressure dry air from the inside out; don’t clean it by tapping it or washing it.
- If the outer element is torn, dented or has seal damage, stop cleaning it and replace it.
- Don’t clean the inner (safety) element; replace it at the interval in the manual.
- Check the air intake hose between the filter and the engine, and its clamps; a cracked hose carries unfiltered air straight into the engine.
The last point is often forgotten: even a new, clean filter can be rendered useless by a cracked hose behind it. When you remove the element during a filter change, wipe the inside of the housing with a damp cloth and take care that no dust falls into the opening on the engine side.
The cab filter is an air filter too
On enclosed-cab machines, such as the R350 with its enclosed, air-conditioned cab, the air entering the cab also passes through a filter. This filter protects the operator from dust and helps keep the air-conditioning system clean. When it clogs, the airflow into the cab weakens, the windows mist up more quickly and odours can develop in the cab. On dusty sites, checking the cab filter as often as the engine air filter is a good habit.
The fuel filter and water separator: the diesel’s silent guardians
In diesel engines, the fuel pump and injectors work with very fine clearances. Small particles in the fuel, and water in particular, wear these parts quickly. Water can also lead to rust and microbial contamination at the bottom of the tank.
Most machines have two stages: a pre-filter or water separator that holds back water and coarse sediment, followed by the main fuel filter, which filters more finely. You can see water in the water separator’s clear bowl or at its drain plug underneath; if water has collected, drain it using the method in the manual.
- Buy fuel from a reliable source; if you carry it in cans, keep the cans clean and closed, and use a filter funnel.
- Filling the tank at the end of the day reduces the amount of water that condenses inside the tank in the cold of the night.
- Don’t run the tank completely dry; sediment at the bottom can be drawn into the system and air gets into the fuel line.
- Bleed the system after changing the fuel filter. On some machines an electric fuel pump makes this easier; on others a hand pump or a bleed screw is used; follow the sequence in the manual.
When the fuel filter clogs, the engine usually runs normally at idle but loses power under load, misfires or stalls. When you see this symptom, checking the water separator and fuel filter first is often the shortest route to the source of the problem.
The engine oil filter: with the oil, every time
The engine oil filter holds back metal particles, soot and dirt in the oil. The rule is simple: when the engine oil is changed, the oil filter is changed too. Running new oil through the old filter means contaminating clean oil in the first minute.
Three details make a difference during the change:
- Make sure the old filter’s seal comes off with the filter. If the new filter is fitted over an old seal left on the housing, you get a double seal and the engine leaks oil when it runs.
- Lubricate the new filter’s seal with a thin layer of clean engine oil and tighten the filter by hand as instructed on it; overtightening crushes the seal.
- Start the engine and stop it after a few minutes, check for leaks around the filter and check the oil level again; the new filter takes up some oil.
We cover how often the engine oil is changed in our service schedule. You will find the daily habits that give Kubota-engined machines a long engine life in our Kubota engine maintenance guide.
Hydraulic filters: return, suction and breather
The hydraulic circuit usually has three filter points, each guarding a different door:
- Return filter: Filters the oil returning to the tank from the cylinders and motors; it is the main filter that catches wear particles in the system. On a new machine its first change may be brought forward, and the interval is shorter with breaker use.
- Suction strainer: Sits where the pump draws oil from the tank; it stops coarse particles reaching the pump. It is usually cleaned or replaced at the oil change.
- Breather filter: Filters the air entering the tank as it heats up and cools down. If it clogs, pressure or vacuum can build up in the tank; if it tears, dust gets straight into the tank.
Some machines also have a small filter in the pilot control line. When changing a hydraulic filter, clean around the filter housing, relieve the tank pressure and fit the new filter as described in the manual. We explain the hydraulic oil itself and the steps for changing it in our hydraulic oil guide.
Take a look at the old hydraulic filter before throwing it away: if there are visible shiny metal particles on the filter surface or in the housing, this may indicate higher than normal wear in the system. In that case, photographing the filter and sharing the photo with service can help you catch a major fault early.
7 mistakes made when changing filters
- Postponing the change because the filter looks clean on the outside; a filter holds the dirt inside.
- Trying to clean the inner air filter, or washing the outer element.
- Leaving the old oil filter seal on the housing.
- Skipping bleeding after a fuel filter change; the engine won’t start or stalls shortly afterwards.
- Opening the filter housing without cleaning it and its surroundings; dirt gets in during the change.
- Using a filter of the same size but with a different internal design. Filters may look alike on the outside, but features such as filtration fineness, the bypass valve and the anti-drainback valve may differ.
- Not recording the change. Writing the change date and hour meter reading on the filter is the simplest way to remember the next change.
The sixth point is particularly important, because a filter’s internal design isn’t visible from the outside. We explain how to choose between genuine and aftermarket parts in a separate guide.
Ordering the right filter and keeping stock
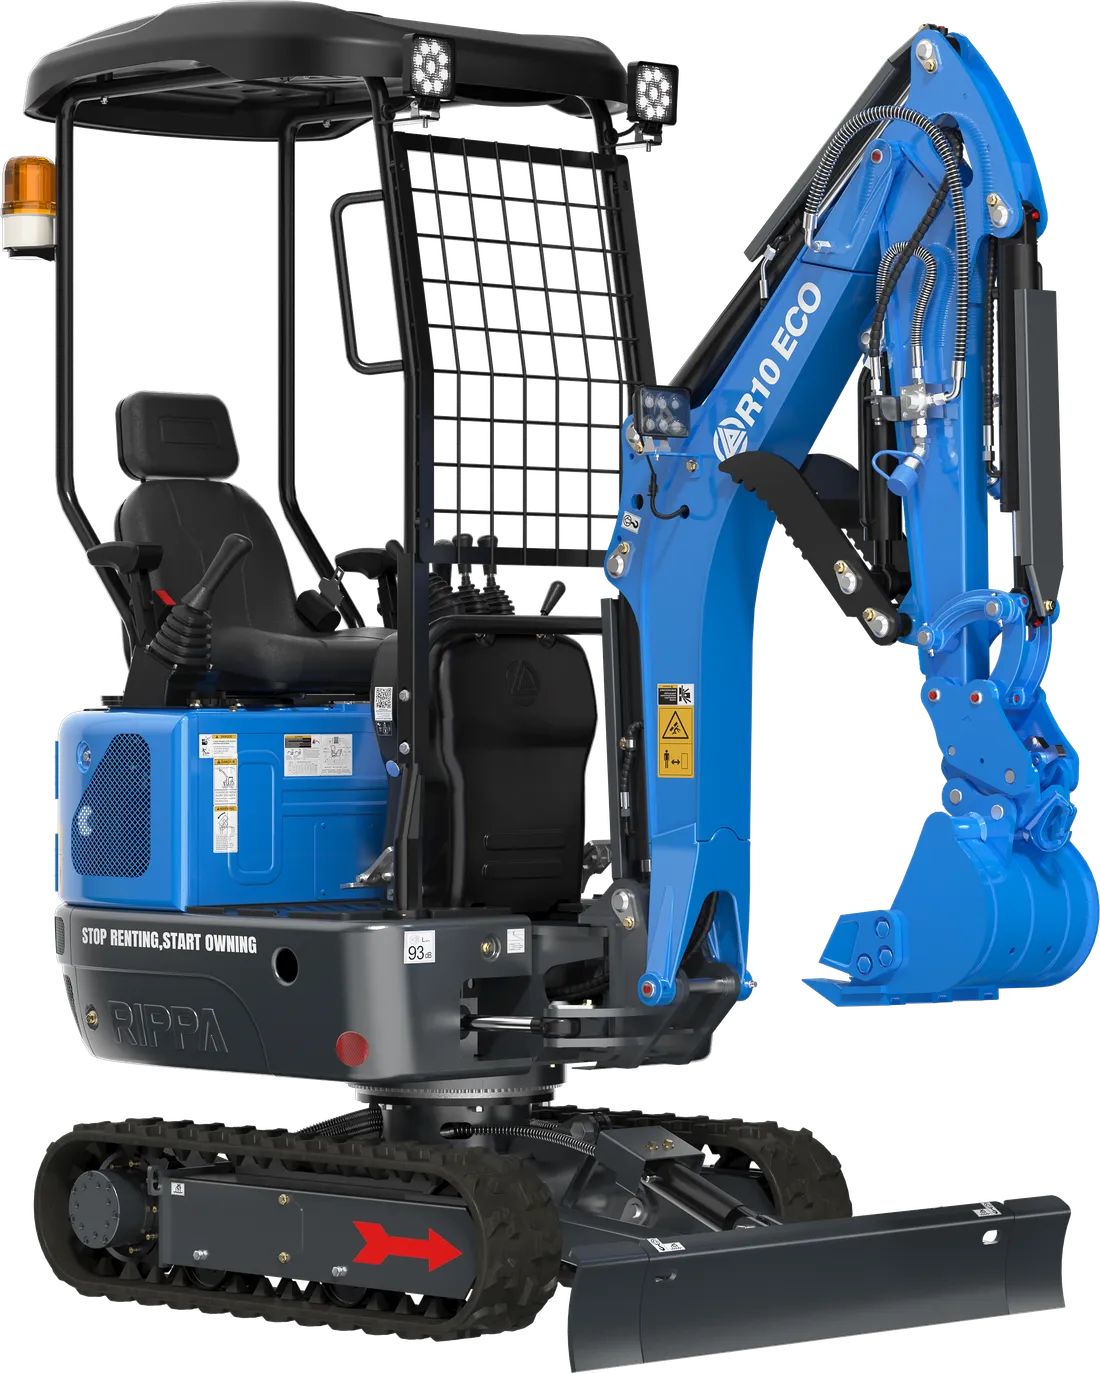
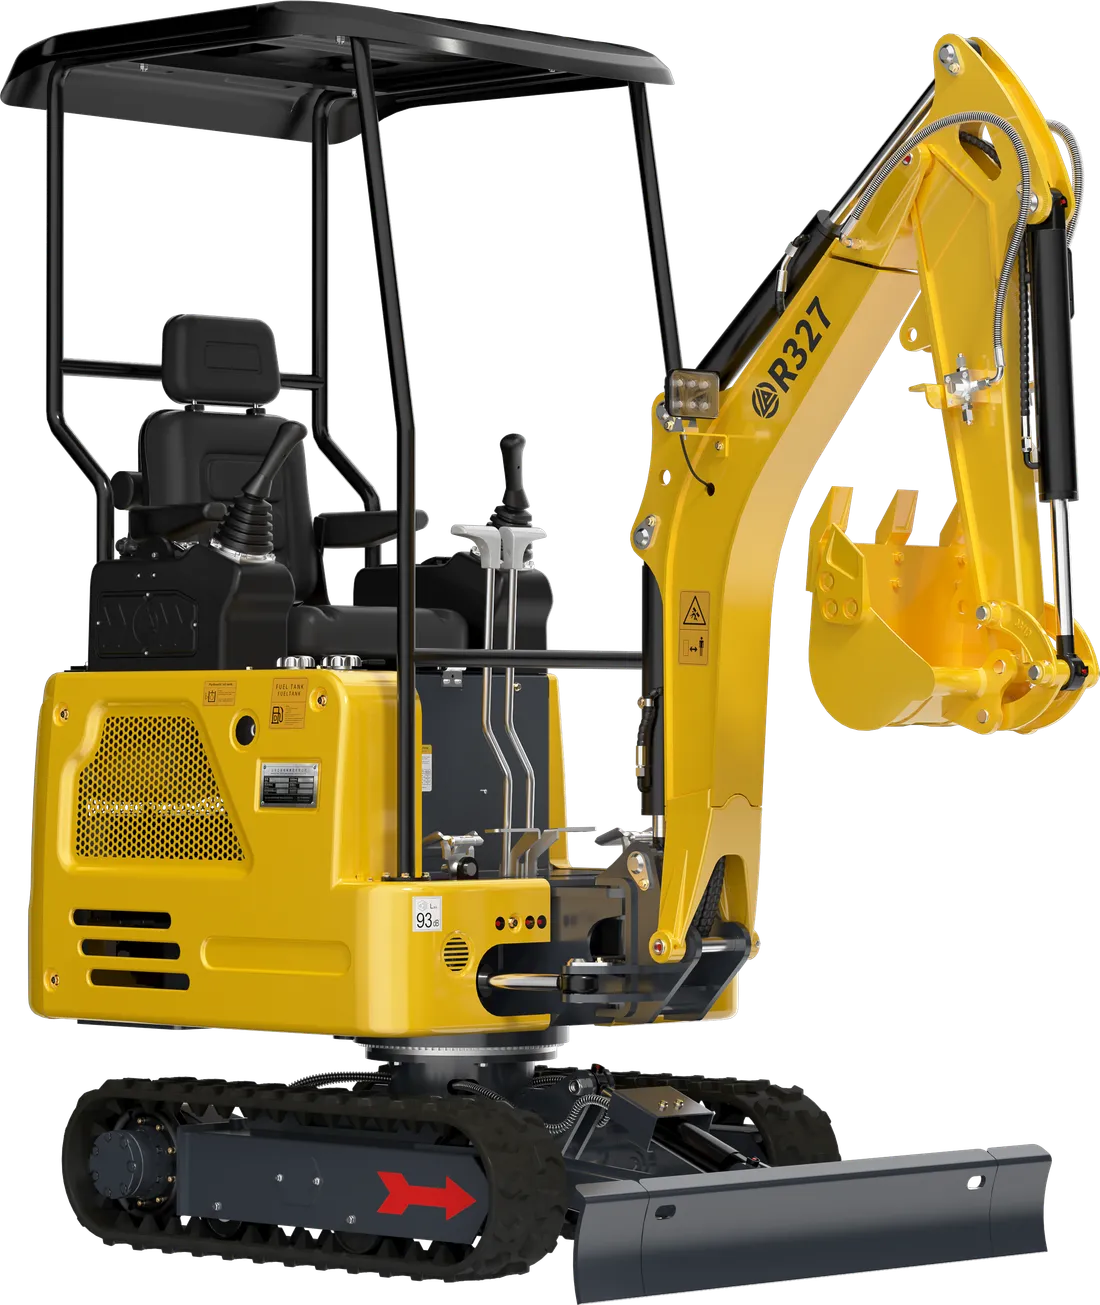
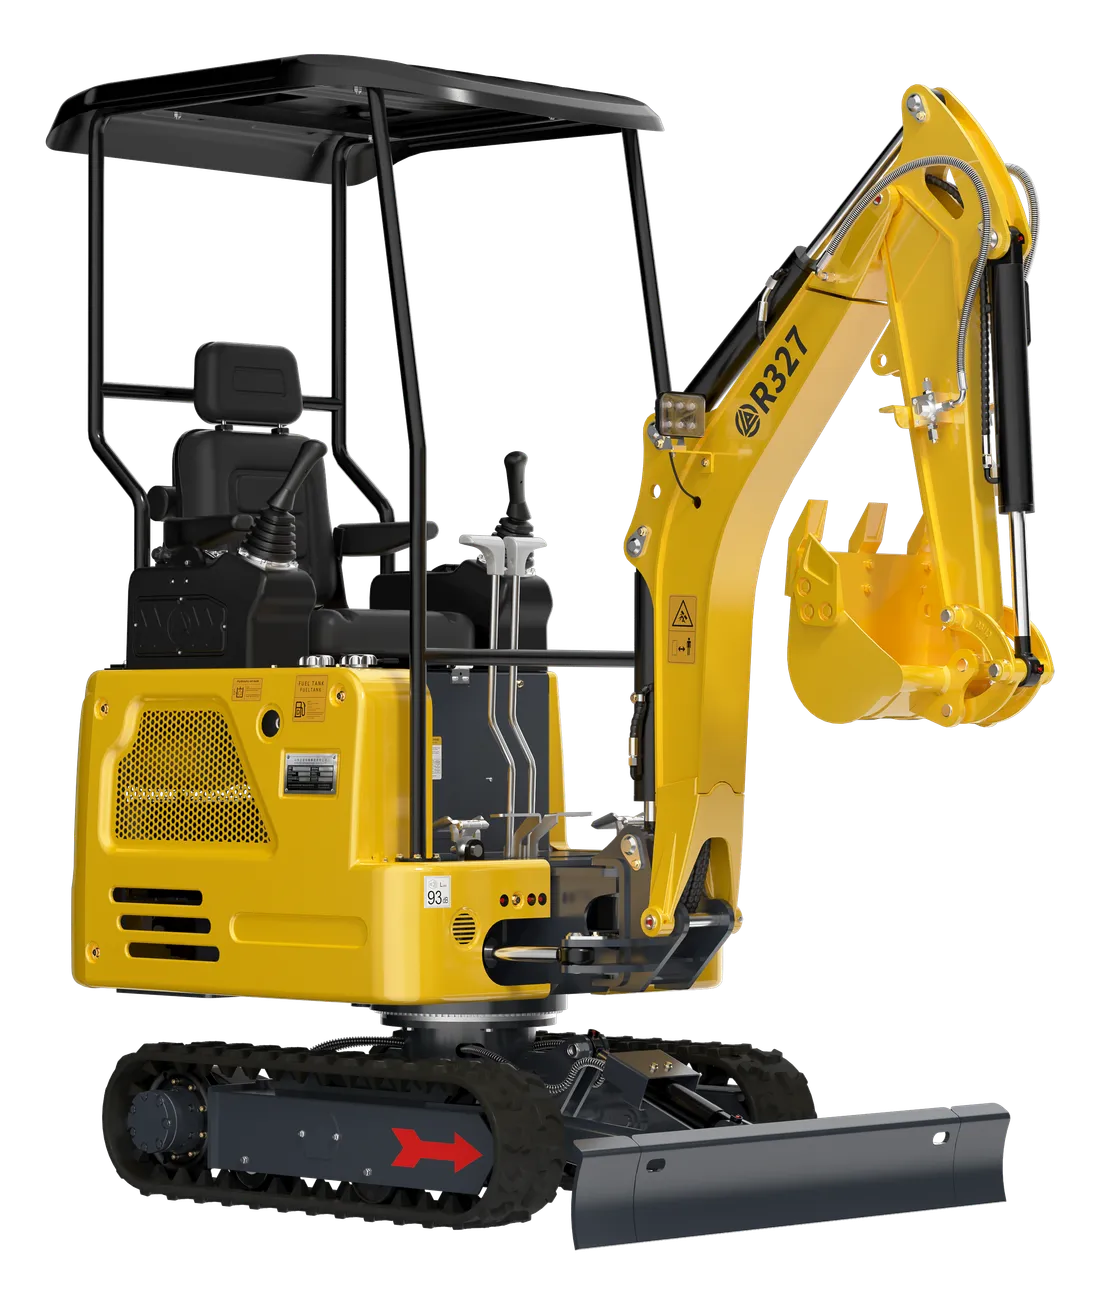
Even machines in the same class can use different engines: the R10 has a Koop 192F, the R327 a Kubota D722 and the R350 a Kubota D1703 engine, and their filters are different from one another. Before ordering, have this information ready:
- The machine’s model and serial number
- The engine type and number on the engine plate
- A photo of the code on the old filter
- Which service you are preparing for: 250 hours or 500 hours?
- How many machines of the same model you have
- The seals and O-rings that need changing with the filter
If you run more than one machine, keeping the filter set for the next service to hand stops a machine standing idle while it waits for parts. Label the sets by machine and service hour and store them in a dry place. If you are struggling to find the part code, take a look at our guide to finding the right spare part. At EKSFORK, 382 spare parts are shipped from stock the same day.
Summary
- Filters are cheap and the parts they protect are expensive; saving on filters isn’t a real saving.
- With the air filter, go by conditions and the indicator rather than hours; don’t clean the inner element, and check the intake hose too.
- Drain the water separator regularly, and bleed the air after changing the fuel filter.
- The engine oil filter is changed at every oil change; don’t forget the old seal.
- The first change of the hydraulic return filter comes early; the interval is shorter with breaker use.
- For orders, have the model, serial number, engine type and old filter code ready; the intervals in the manual always take precedence.
For filters and maintenance parts, take a look at our engine spare parts; you can ask us on WhatsApp for the filter you need for the R10 or any other model you use, quoting the model and serial number.