A hydraulic cylinder leak usually starts innocently: a shiny ring of oil on the rod, a few drops under the head, oily mud building up around the wiper seal. Because the machine keeps working, the repair gets put off. Yet as the leak grows, oil loss increases, dirt getting in is carried to the rest of the system, and eventually the boom starts to lower by itself under load.
In this guide we look at cylinder leaks by their source: how to tell an external leak from an internal one, how to carry out a simple drift test, why seals fail, and when seal replacement is enough and when it is not. We also summarise the seal replacement process step by step; the aim is not for you to do the job yourself, but to help you make the right decision and ask the right questions.
What is inside a cylinder?
From the outside a hydraulic cylinder looks like a simple tube, but inside there are several parts and seals, each doing a different job:
- Barrel: The outer body of the cylinder; its inner surface is machined smooth.
- Rod: The part that extends out of the barrel, usually with a hard-chrome surface. How well the seals seal depends largely on how smooth this surface is.
- Piston and piston seal: Inside the barrel, it divides the oil into two chambers. When the piston seal fails, oil passes from one chamber to the other; no leak is visible outside, but the cylinder loses power.
- Head and rod seal: The cap where the rod leaves the barrel, and the seal inside it. External leaks most often appear here.
- Wiper seal (scraper): Scrapes dust and mud off the rod as it retracts. When it tears, dirt is carried straight to the rod seal.
- O-rings and back-up rings: Keep the static joints between the head and the barrel leak-tight.
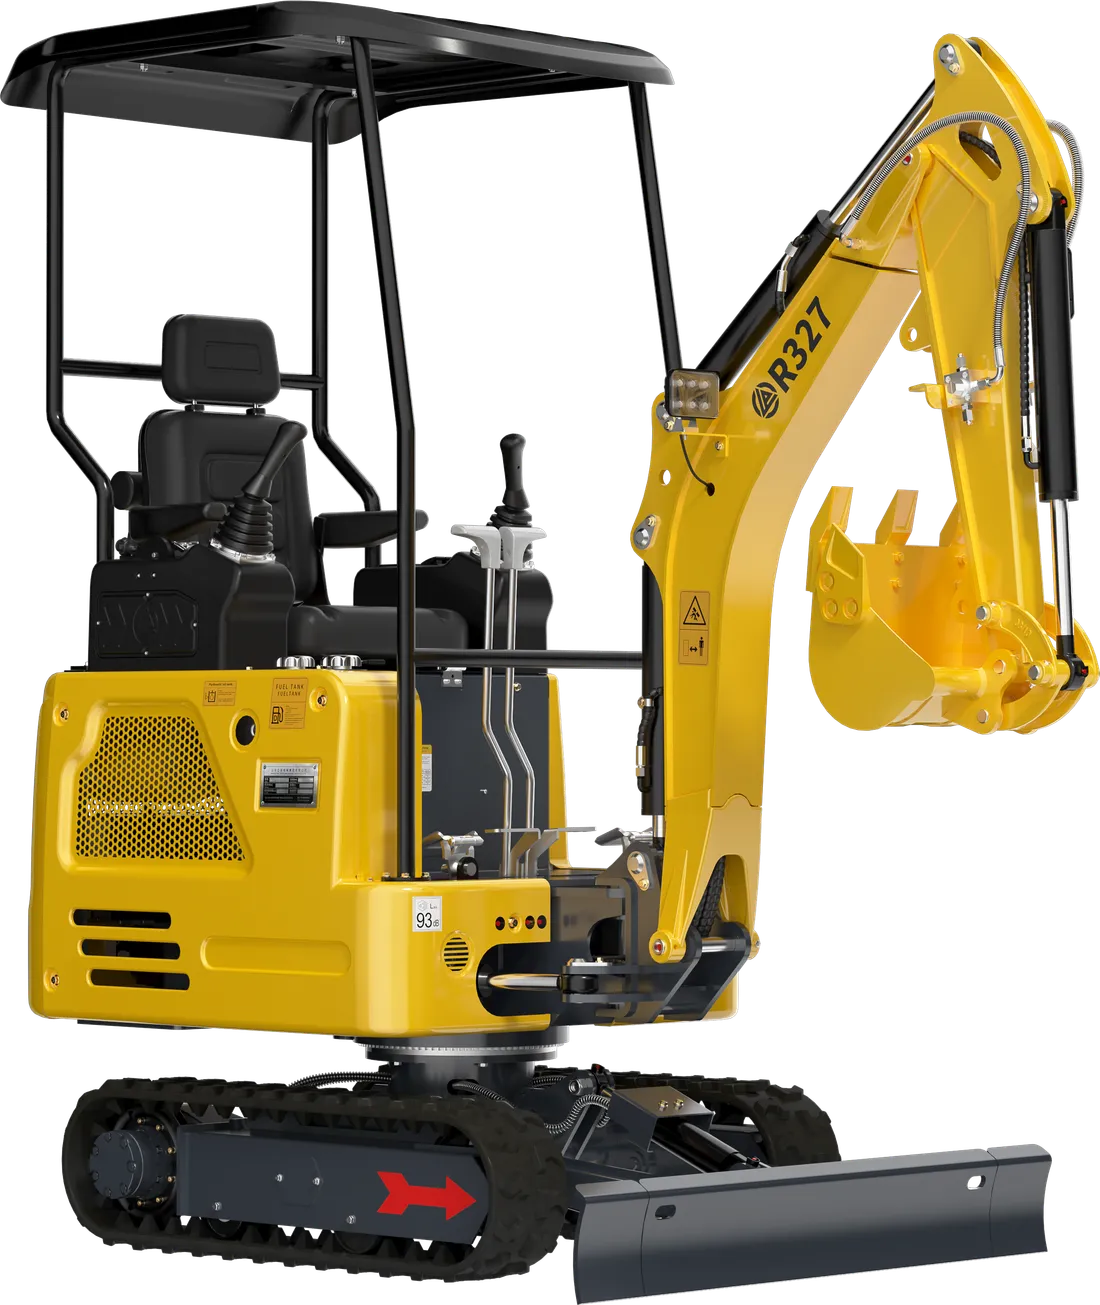
On a mini excavator, the boom, arm, bucket and dozer blade cylinders make up the basic set. Machines with a boom swing, such as the R327 and the R350 with their 120° boom swing, have a separate cylinder for this movement; on machines with a hydraulic thumb, the thumb cylinder is added to the list. When describing a leak, always say which cylinder it is.
External or internal leak?
The two types of leak produce different symptoms and call for different solutions.
An external leak is visible. An oil ring builds up on the rod, oil drips from under the head or oily mud collects around the wiper seal. A very thin, shiny film of oil on the rod, on the other hand, is normal; it keeps the seals lubricated. The problem starts when that film turns into rings and drips.
An internal leak cannot be seen from outside. Oil passes the piston seal into the other chamber; the cylinder retracts or extends by itself under load, movement slows down and digging force drops. To be honest — a leak in the control valve can produce the same symptom. Telling for certain whether the problem is in the cylinder or the valve requires a service test.
| Symptom | Possible source | First check |
|---|---|---|
| Oil ring on the rod, drips from the head | Rod seal, wiper seal | Clean the rod and look again after a few working cycles |
| Seepage from the joint between head and barrel | Head O-ring, loose head | Clean the area and pinpoint the leak |
| Equipment lowers by itself under load | Piston seal or control valve | Drift test; a service test to tell them apart |
| Slowness and loss of power in one function | Internal leak at the piston seal, valve problem | Compare the movement with the other functions |
| Seepage where the hose connects to the cylinder | Fitting or fitting seal; not the cylinder itself | Check the fitting and the hose |
| Scratch, rust or dent on the rod | External damage; a seal leak will soon follow | Inspect the rod with the fingernail test |
It is important to distinguish leaks from fittings and hoses from cylinder leaks; we cover their causes separately in our hydraulic hose guide.
A simple drift test
The drift test is the most practical way to measure the size of an internal leak and track it over time. No hydraulic cylinder holds its position for ever; what matters is whether the amount of drift stays within the limit given in the manual or by the service team, and whether it increases over time.
- Wait for the hydraulic oil to reach normal operating temperature.
- Move the machine onto flat, firm ground; make sure nobody is nearby.
- Empty the bucket and raise the boom so that the bucket is only slightly off the ground. Never do the test with equipment or a load suspended high up.
- Stop the engine, put the controls in neutral and engage the safety lock.
- On the visible part of the rod of the cylinder you are testing, put a piece of tape or a mark right next to the head.
- At the end of your chosen period, for example after 10 minutes, measure the distance between the mark and the head.
- Write the date, operating hours, oil temperature and the measurement in the maintenance log.
A single measurement tells you little; the real value lies in comparing measurements repeated under the same conditions. If the amount of drift is rising quickly, consult the service team. Nobody should enter the movement area of the bucket and boom during the test.
Why do seals fail?
A seal is a consumable; it is normal for it to wear over time. But behind a seal that fails early there is usually one of the following causes:
- Dirt: If the wiper seal is damaged, dust and mud stuck to the rod are carried inside and score the rod seal.
- Rod damage: Flying stones, impacts or rust spoil the rod surface. A rough surface cuts a little further into the seal on every stroke.
- Dirty or water-contaminated oil: Particles in the oil wear the seals and surfaces. We explain the right oil and change intervals in our hydraulic oil guide.
- Excessive temperature: In oil that runs too hot for long periods, seals harden and lose their elasticity.
- Slamming into the end of the stroke: Driving the cylinder hard into its fully extended or fully retracted position puts shock loads on the seals and the head.
- Side loads: Pushing or sweeping sideways with the bucket loads the cylinder from the side and crushes the seal on one side.
- Play in pins and bushings: Worn joints make the cylinder work at an angle. We explain how to prevent play in our pins, bushings and greasing guide.
- Long periods out of use: On machines left standing for a long time, seals can dry out and exposed rod surfaces can rust.
Repair or replace? Look at the rod first
Seal replacement fixes a leak permanently only if the rod, barrel and piston are sound. So before deciding, clean the rod and inspect it under good light. A simple method: slowly run your fingernail along the rod lengthwise. A scratch that catches your nail will soon cut the new seal too.
- Rod straight and smooth, but leaking: Replacing the seal kit is usually enough.
- Slight marks on the rod that don’t catch your nail: Replace the seal kit and keep a close eye on it.
- Scratch that catches your nail, flaking chrome or rust pitting: Repair or replace the rod along with the seal kit.
- Bent rod: The rod must be replaced; find out why it bent, too.
- Scratches on the inner surface of the barrel: Consider repairing the barrel or replacing the complete cylinder.
Repair costs can sometimes approach the price of a complete cylinder. In such cases, get quotes for both options and compare them. When asking about a seal kit or a cylinder, give the machine model, serial number and the cylinder’s location (boom, arm, bucket, dozer blade, boom swing or thumb).
How are seals replaced? Know the process step by step
Seal replacement requires the right tools, a clean workspace and experience. We summarise the steps below not so that you do the job yourself, but so that you know how the process should go:
- Safe position and pressure release: The equipment is lowered to the ground, the engine is stopped and the pressure in the system is released using the method in the manual.
- Support and hoses: The cylinder and the arm it is attached to are properly supported; the hoses are disconnected and their ends plugged to keep dirt out.
- Removal: The pins are taken out and the cylinder is removed from the machine. Cylinders are heavy; you need lifting equipment or at least two people.
- Dismantling on the bench: The head is usually removed with a special spanner; the rod and piston are pulled out of the barrel.
- Inspection: The rod, barrel, piston and head surfaces are inspected; the seal grooves are cleaned.
- New seals: The whole kit is replaced, not just a single seal. Seals are directional; a seal fitted the wrong way round leaks at the first pressure. Seals are protected as they are slid over sharp edges and threads.
- Assembly and testing: The parts are lubricated with clean hydraulic oil and assembled, the cylinder is refitted and the pins are greased. The cylinder is slowly run through its full stroke a few times without load to bleed the air; then the oil level is checked and the cylinder is checked for leaks.
On machines under warranty, always talk to us before doing this job yourself. To report a cylinder leak you can use the service request form; a photo of the leak and your drift test measurements speed up the diagnosis.
The price of carrying on with a leak
A small leak does not mean it is safe to wait. The possible consequences of carrying on working with a leak are:
- A falling oil level can make the pump draw in air and suffer damage.
- Dirt entering where the leak is gets carried through the whole hydraulic system.
- As an internal leak grows, the equipment can lower by itself under load; this is a direct safety risk.
- Oil dripping on the ground pollutes the surroundings and makes the work area slippery.
Never feel for a pressurised leak with your hand. Hydraulic oil spraying from a pinhole-sized leak can penetrate the skin and cause serious injuries. Use a piece of cardboard to find the leak and wear safety glasses and gloves; if you suspect oil has got under your skin, seek medical help without delay. We have collected other warning signs in our fault symptoms guide.
Quick checklist
- Check the rods every day; clean off any mud, concrete or mortar stuck to them.
- Check that the wiper seals are not torn or out of place.
- Note whether there is an oil ring on the rod or dripping at the head.
- Don’t slam the cylinders into the end of the stroke; slow down as you approach the end.
- Don’t push sideways or sweep with the bucket.
- Lower the equipment to the ground when parking; during long idle periods, leave the rods retracted as far as possible.
- Keep track of the hydraulic oil level and filter change intervals.
- Repeat the drift test at regular intervals under the same conditions.
In short: an external leak is visible and is usually fixed with a seal kit; an internal leak is identified by measurement and can be confused with a valve fault. In both cases, checking the rod before replacing the seals is how you avoid facing the same fault again a few weeks later.
You can browse model-compatible cylinders and hydraulic parts on our hydraulic spare parts page. Send a photo or video of the leak to our service line on WhatsApp and we will assess together whether it needs repairing or replacing.