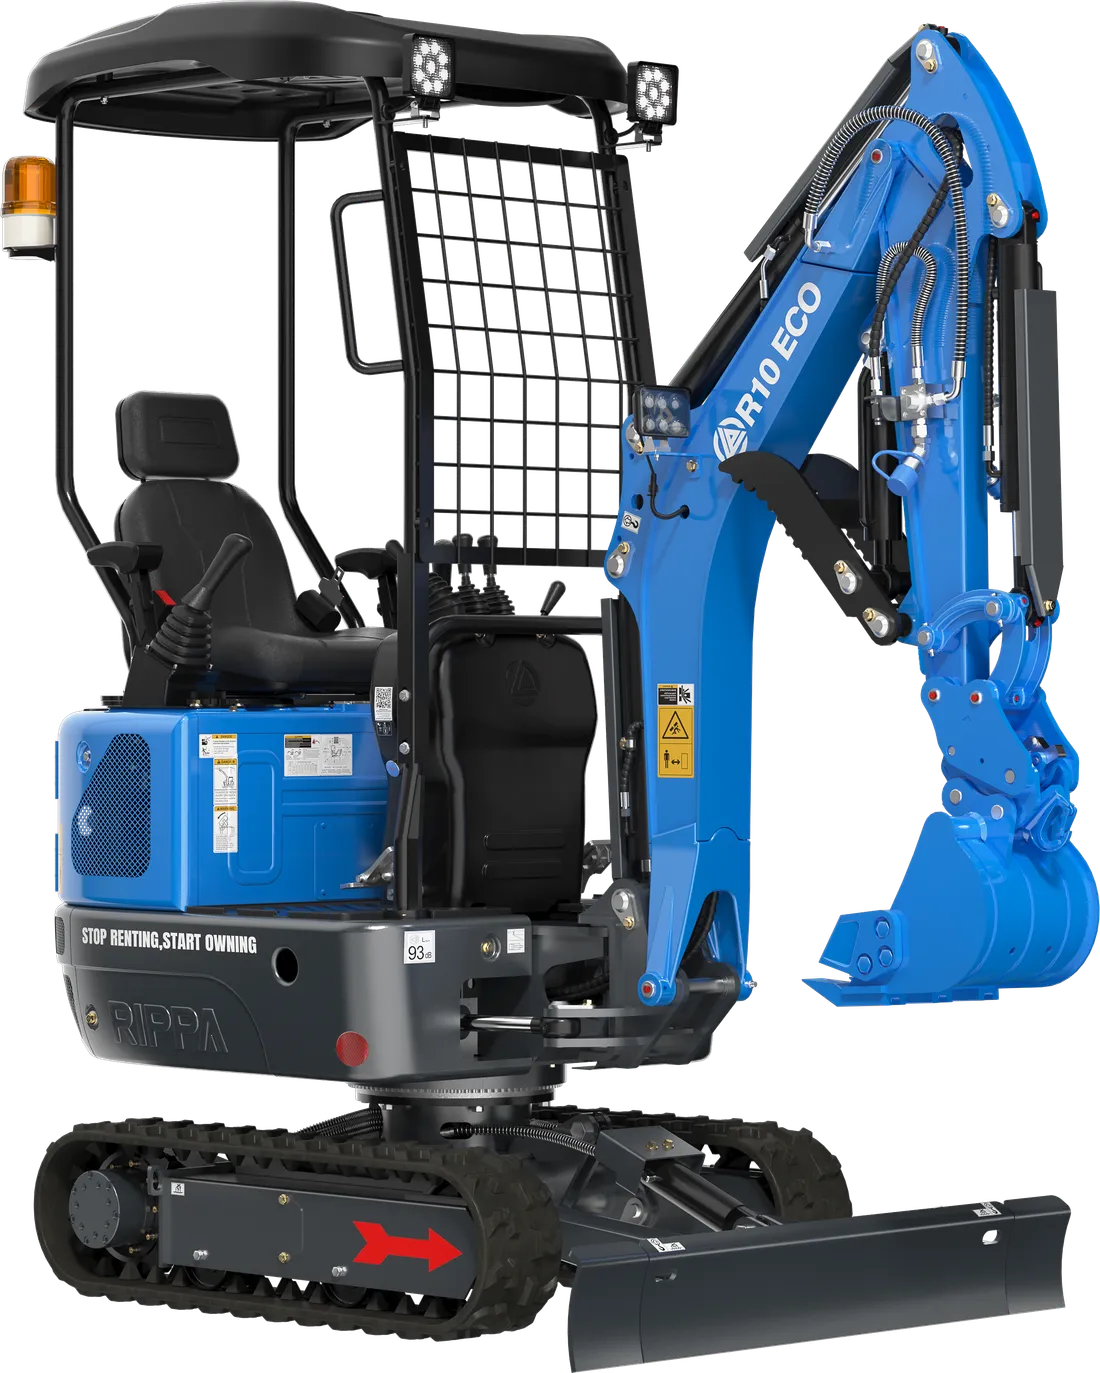
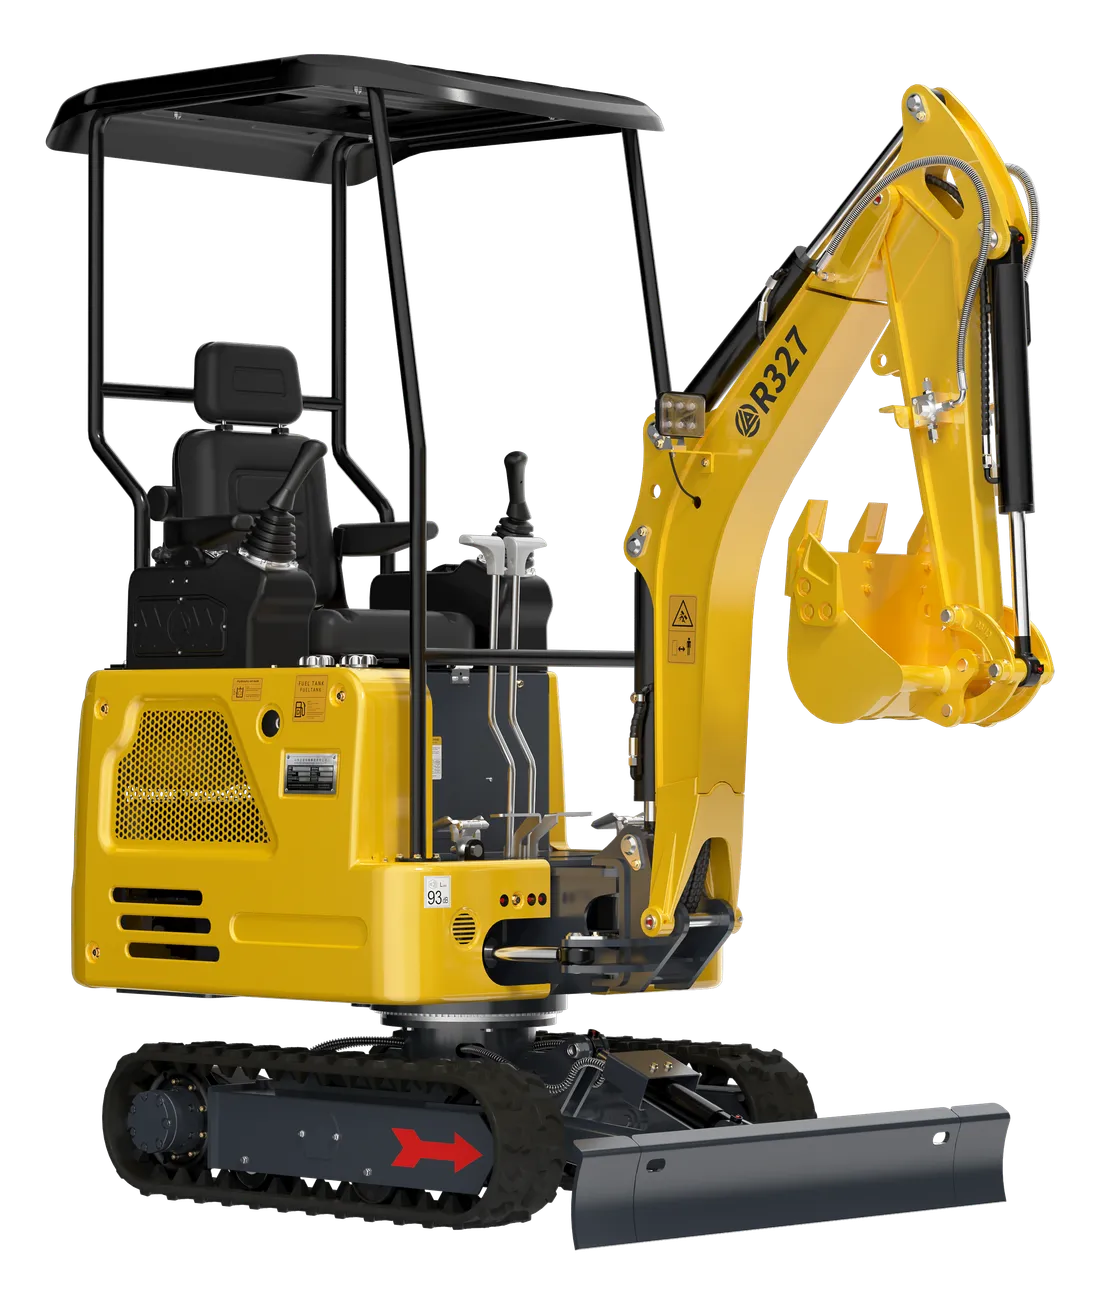
A mini excavator’s bucket, arm and boom are connected by pins, and the pins rotate inside bushings. These joints are the parts of the machine that move the most and carry the most load. While the film of grease is in place, there is no metal-to-metal contact. But when the grease dries out or gets mixed with dirt, wear begins, and after a while the operator starts to feel “play” in the bucket.
Once play has developed, it never goes away by itself; it only grows. In this guide we explain how play develops, how correct greasing is done, how often each joint should be greased and when replacing the pins and bushings becomes unavoidable. The aim is never to reach oval wear in the bores, which needs an expensive repair.
How do pins and bushings wear?
Three parts work together in a joint: the bore in the structure, the bushing pressed tightly into the bore, and the pin rotating inside the bushing. The logic of the design is simple: the wear should happen in the cheap, replaceable parts — the pin and the bushing — so that the expensive bore is protected.
Grease is the insurance policy for this arrangement. It forms a thin lubricating layer between the pin and the bushing and keeps dust and water out. When greasing is neglected, the process usually goes like this:
- The grease dries out, or mixes with dust and mud and turns into an abrasive paste.
- Metal-to-metal contact begins between pin and bushing; the surfaces get scored.
- As the play grows, every digging impact acts like a small hammer blow on the joint and wear speeds up.
- When the bushing is completely worn or starts to turn in its bore, the wear moves to the bore and the bore becomes oval.
In the first three stages, the solution is to replace the pins and bushings. In the fourth stage, the bore has to be built up with weld and re-machined; this takes longer and costs far more.
Signs of play in pins and bushings
Play usually shows up first to the ear, then to the hand and finally to the eye. Look out for these signs:
- Clicking and knocking: A metallic clicking from the joints when the bucket changes direction or starts digging.
- Loss of precision: The bucket follows the joystick late or with slack; fine grading becomes difficult.
- Visible movement: With the bucket on the ground, misalignment you can see at the joint when the arm is moved slightly.
- Metal dust or rust-coloured grease around the pin: A sign that wear is continuing.
- Pin retaining bolt loosening or snapping: The pin may be rotating in its bore.
The safe way to check for play is this: lower the bucket onto flat ground; while a second person in the cab moves the controls very slowly and only slightly, watch the joints from a safe distance. Never put your hand between the joints or near the pins. If you need to get closer, first have the engine stopped and the safety lock engaged.
How to grease: eight steps
Greasing is a simple job, but done wrongly, the grease you use may never reach the joint. Make the following sequence a habit:
- Prepare the machine: Park on level ground, lower the equipment to the ground, stop the engine and engage the safety lock. With the bucket resting on the ground, the load on the joints is reduced and the grease spreads around the pin more easily.
- Clean the grease nipple: Wipe the head of the nipple with a cloth before attaching the gun. Otherwise the dust on it will be pressed into the joint along with the grease.
- Attach the gun squarely: If the gun’s coupler sits at an angle on the nipple, grease escapes and doesn’t reach the joint.
- Pump until the old grease comes out: It is enough when first the dirty old grease and then clean new grease starts to come out at the edges of the joint.
- If grease won’t go in, don’t force it: The nipple may be blocked. Replace it; applying pressure to a blocked nipple strains the seals and leaves the joint without lubrication.
- Wipe off the excess: Grease left on the outside of the joint collects dust and carries the dirt inside at the next greasing.
- Replace broken or missing nipples straight away: Dirt gets straight into the joint through an open nipple hole.
- Keep a record: Write the date and operating hours of each greasing in the maintenance log.
For the grease type, go by the specification in the operator’s manual. Most construction machines use a general-purpose grease that withstands high pressure; however, for some points, such as a hydraulic breaker tool, manufacturers may recommend a special grease. Take care not to mix different types of grease in the same joint.
The grease gun and the grease itself
Keeping the grease clean matters as much as the greasing itself. Store the grease gun in a clean box with a lid, and wipe its coupler after every use. If you use tubs of grease, don’t leave the lid off, and take the grease out with a clean spatula. Sticking a label on the gun saying which grease it is filled with prevents different types from getting mixed.
In cold weather, grease thickens and the gun is hard to pump. In the winter months, store the gun and grease in a heated area if possible, and confirm that the grease has really reached the joint by checking for new grease coming out at the edges.
Which joint should be greased how often?
The machine’s operator’s manual sets the greasing interval. The table below shows the typical grease points on a mini excavator and the general approach; if the interval in your manual is different, the manual takes precedence.
| Grease point | General approach | Watch out |
|---|---|---|
| Bucket pins and bucket linkage | Usually every day, at the start of work | The points where grease washes out fastest in mud and water |
| Arm and bucket cylinder joints | Usually every day | This is where the load is greatest during heavy digging |
| Boom foot and boom cylinder joints | At the interval in the manual | Often forgotten because they are hard to reach |
| Boom swing joint | At the interval in the manual | Must not be skipped on machines with boom swing |
| Dozer blade joints | At the interval in the manual | Exposed to dirt because of contact with the soil |
| Thumb pin | On the days it is used | Takes impacts when holding stones and logs |
| Quick coupler pins | At the interval in the manual | Critical for attachment safety |
| Slew gear and slew ring | At the interval and quantity in the manual | Too much grease can also cause problems |
The machine’s equipment changes the number of grease points. For example, on the R327, with its 120° boom swing and articulated hydraulic thumb, the boom swing joint and the thumb pins are added to the routine. Mark all the points on your machine once using the diagram in the manual, and keep a photo of it next to the grease gun.
The first operating hours of a new machine also deserve special attention: regular greasing flushes out of the joints the fine metal dust that forms while the parts bed in. We explain what to watch during this period in our running-in guide.
In muddy, wet and dusty work, and when working with a hydraulic breaker, grease is used up faster; under these conditions it makes sense to shorten the interval. You can read about the effect of breaker use on the joints in our hydraulic breaker guide, and find an hour-by-hour schedule of all maintenance items in our service schedule. Pressure washing can also force the grease out of the joints; don’t forget to grease after washing the machine.
The real cost of play
Play is not just one joint’s problem; it also wears out other parts of the machine. A joint with play makes the cylinder work at an angle and strains the seals on one side. We explain how cylinder leaks start this way in our hydraulic cylinder guide. Every bit of play also passes impact loads on to weld seams and connecting bolts, and the operator has to work harder to do precise work and tires more quickly.
In terms of repair costs, the picture is clear. Replacing pins and bushings is a job that can be done on site or during a short service visit. Once the bore has worn oval, however, the part has to be removed, built up with weld, re-machined and reassembled with new pins and bushings. During this process the machine may be out of action for days.
Example (illustrative ratios; do the sums with your own figures): if you call the total cost of replacing the pins and bushings 1 unit, a bore repair adds welding and machining labour, transport to the workshop and the cost of the longer downtime. For your own calculation you can use this formula: Extra cost of bore repair = Welding and machining labour + Transport + (Daily downtime cost × Extra days of downtime). Compare this difference with the few minutes spent on regular greasing.
Replacing pins and bushings: when and how?
Plan to replace the pins and bushings if any of the following applies:
- The play has become visible and grading precision has dropped noticeably.
- The joint won’t hold grease and starts making noise again soon after greasing.
- The pin retaining bolt keeps loosening or snapping.
- The bushing has started to turn in its bore.
Replace the pin and bushing together. Fitting a new pin in a worn bushing, or vice versa, causes the new part to wear quickly too. Bushings are an interference fit in the bore; they must be fitted and removed with a suitable press or puller. Random hammer blows damage the bore.
Don’t skip the safety rules during replacement:
- Support the bucket, arm or boom properly before removing the pin; the equipment may drop when the pin comes out.
- Don’t use your finger to line up the holes; use a drift or a bar.
- Striking a steel part with a steel hammer can send splinters flying; wear safety glasses and, if possible, use a soft-faced hammer or a spacer.
- Renew the pin retaining bolt, nut and spring washer; check the manual for the tightening torque.
Side play between the bucket and the arm, on the other hand, is usually adjusted with shims. If side play has increased, adding suitable shims reduces the clicking and balances the load on the pin. You can find parts such as shims, pins, bolts and spring washers by model compatibility in the fasteners section.
If you use a quick coupler, pay particular attention to its pins and locking mechanism. These are the parts that connect the attachment to the machine; play or wear here means not just a loss of precision but a risk of the attachment coming loose. We explain the daily check of the coupler in our quick coupler guide.
Common greasing mistakes
- Greasing only the easy-to-reach points: Hard-to-reach points such as the boom foot and the swing joint get neglected, and they are the first to wear.
- Greasing with the bucket in the air: In a loaded joint, the grease can’t spread around the pin.
- A dirty gun and an open grease tub: Sand gets pumped in with the grease.
- Forcing it with excessive pressure: Seals can be pushed out of place, especially in sealed joints.
- Working with a pin whose retaining bolt is missing: The pin rotates in its bore and quickly ruins it.
- Treating play as normal: The “it’s an old machine, that’s to be expected” attitude turns a problem that new pins and bushings would solve into a bore repair.
Summary
- Wear on pins and bushings is natural; the aim is to stop it spreading to the bore.
- Grease with the bucket on the ground, through a clean nipple, until the old grease comes out.
- The bucket and bucket cylinder joints are usually greased every day; for the other points, the manual is the reference.
- Clicking and loss of precision are the first signs of play.
- When replacing, renew the pin and bushing together, and don’t neglect the retaining parts and shims.
You can browse model-compatible pins, bolts, nuts, spring washers and shims on our fasteners spare parts page. If you are not sure whether the play in your joints calls for replacement, shoot a short video and send it to our service line on WhatsApp.