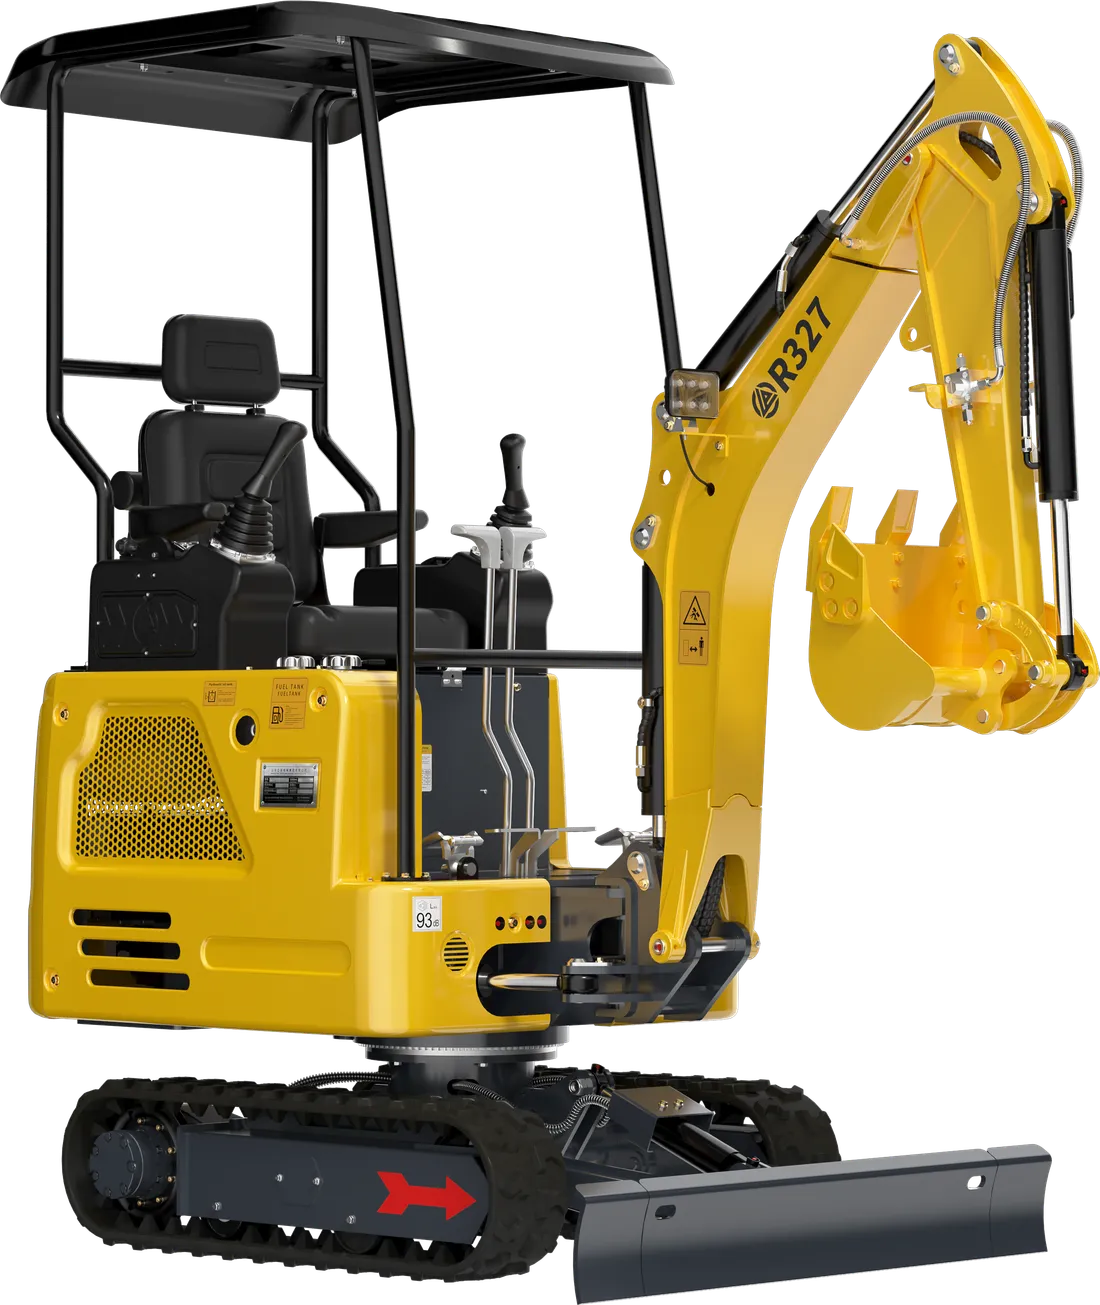
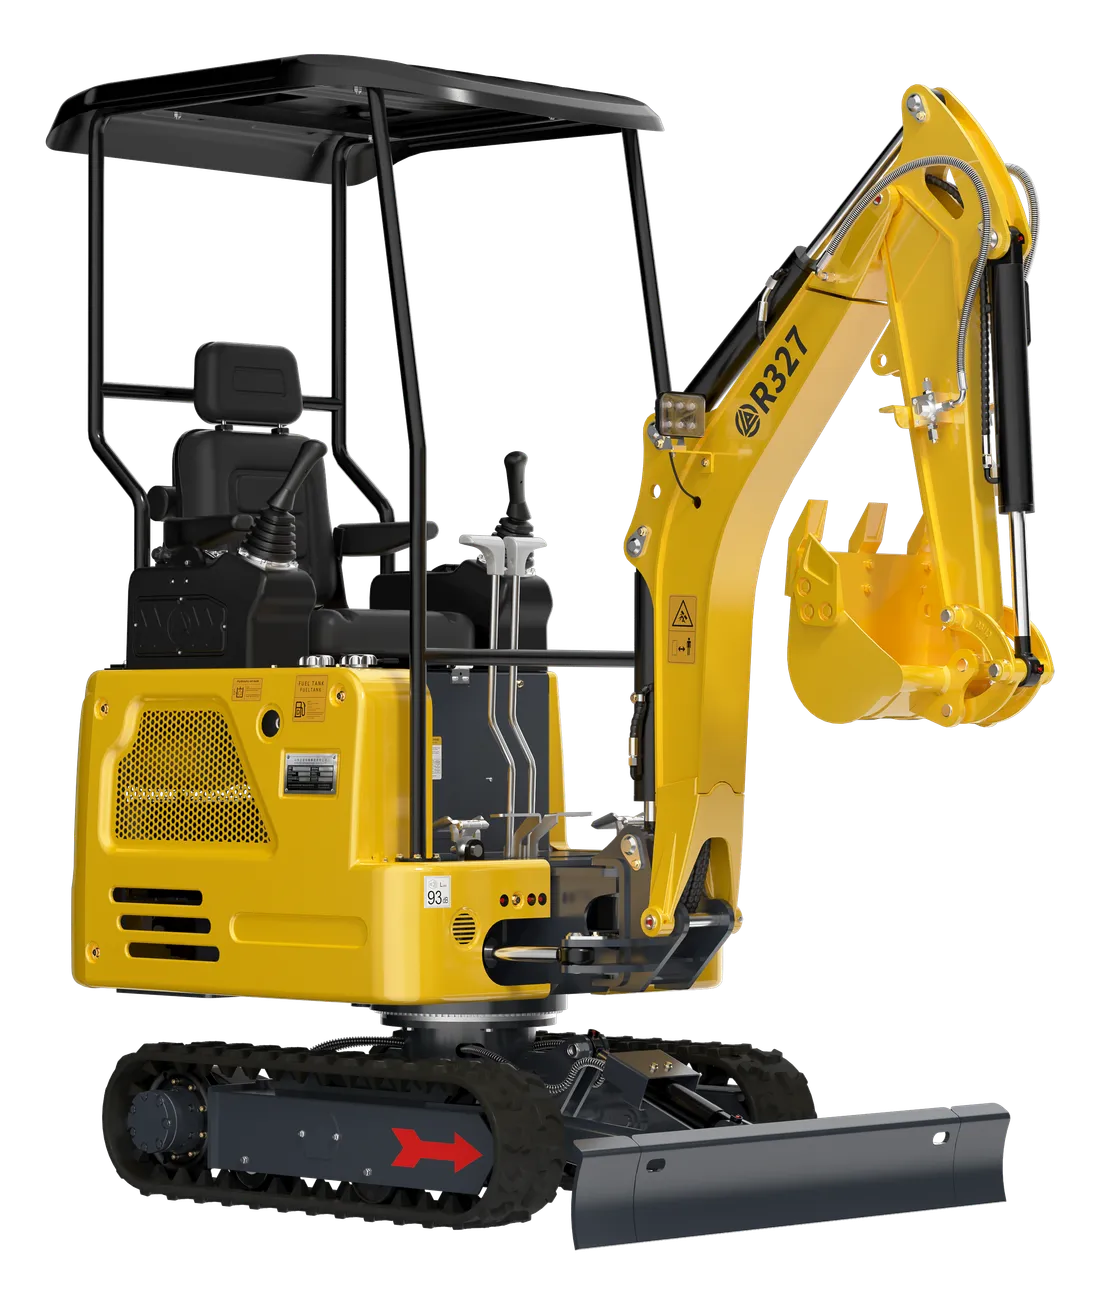
Everyone who works with a mini excavator knows this scene: the narrow bucket is fitted for the trench, and when that’s done you need to switch to the grading bucket. You have to knock out the pins, hammer them, move the arm millimetre by millimetre to line up the holes and, more often than not, ask a second person for help. The result is usually the same: the operator gives up on changing the attachment and “makes do” with the bucket already on.
This is exactly where a quick coupler comes in: it turns the pinned connection between attachment and arm into a short operation done with a single locking movement or a switch in the cab. But it doesn’t pay off equally for every machine, every attachment and every way of working.
In this guide we explain how the system works, the difference between mechanical and hydraulic types, the measurements you need to take before you buy, the safe locking check and how to work out when a quick coupler pays for itself in your own work.
What is a quick coupler and how does it work?
A quick coupler is an intermediate connecting piece fitted between the end of the dipper arm and the attachment. It is attached to the machine once, with the machine’s own pins, and stays there. Attachments such as buckets, breakers and augers are then connected to this piece rather than directly to the arm.
On most systems the connecting logic is the same: the coupler’s open jaw hooks onto one of the attachment’s pins, it is rotated with the bucket cylinder to seat in the second pin recess, and then the lock is closed. Depending on the type, the lock can be a screw-driven wedge, a spring-loaded latch or a hydraulic cylinder. Removal is the same sequence in reverse.
One point that often causes confusion: a quick coupler only speeds up the mechanical connection. The hoses of hydraulically powered attachments such as breakers, augers or hydraulic grapples are connected separately with quick-release couplings, apart from special fully automatic systems that connect the lines themselves.
Mechanical or hydraulic? The difference between the two types
There are two basic working principles on the market. Which one suits you depends largely on how many times a day you change attachments.
| Feature | Mechanical quick coupler | Hydraulic quick coupler |
|---|---|---|
| Locking | The operator gets out and locks it with a key, lever or screw | A cylinder locks it at the flick of a switch in the cab |
| Getting out of the cab to change | Needed every time | Not needed for most changes (except for hydraulic attachment hoses) |
| Extra equipment on the machine | Not required | Needs an auxiliary hydraulic line, a valve and a control switch |
| Maintenance | Greasing, cleaning the locking mechanism | The same jobs + checking the hoses, cylinder and safety device |
| Initial cost | Lower | Higher |
| Best use | One or two changes a day | Crews who change attachments often during the day |
There are also two common design approaches. With pin-grabber types, the coupler grips the attachment’s own pins; as long as the pin dimensions match, you can carry on using your existing buckets. With plate or wedge-type systems, each attachment has a system-specific mounting bracket on its back; your old buckets need this bracket added.
Hydraulic types usually have a secondary safety device alongside the main lock: a mechanical latch designed to stop the attachment falling even if the main lock opens for some reason. On mechanical types, a safety pin often does this job. Whichever system you choose, don’t work without the safety part in place.
6 measurements to take before you buy
Most disappointments with quick couplers come from incompatibility: the coupler fits the machine but not the buckets you have, or it carries the breaker but clashes with the thumb. Gather this information before you order:
- Pin diameter: The diameter of both the pins on the machine side and the pins on each attachment.
- Pin centre distance: The distance between the centres of the two pins on the attachment. This value can vary between buckets bought from different sources.
- Inside ear width: The gap between the attachment’s mounting ears; the coupler should fit into this gap comfortably but without too much play.
- Total weight: The coupler’s weight is added to the weight of each attachment. A combination that is heavy for the machine’s class affects stability and lifting capability.
- Hydraulic line and coupling type: If you will use a breaker, auger or grapple, whether there is an auxiliary hydraulic line and what the coupling sizes are.
- Thumb and bucket geometry: A coupler moves the bucket slightly further from the end of the arm; if you use a hydraulic thumb, check that the thumb still reaches the bucket tip.
Don’t forget the machine class either: couplers are usually made in different sizes for a particular weight class. The 1.2-tonne R10 and the 3.5-tonne R350 don’t use the same part, and fitting a coupler from a bigger class to a small machine means unnecessary weight and reduced breakout force at the bucket tip. If you are considering a hydraulic type, plan from the start whether your machine has a suitable line and control for it — and, if they have to be added later, the labour involved.
The most practical method is this: put each attachment on level ground, measure the pins and ears, take photos and send them to us together with your machine’s model and serial number. Checking compatibility before you order is far cheaper than dealing with welding and machining costs afterwards.
Work out the time it saves yourself
Measure the return on a quick coupler with the figures from your own site, not with a general claim. The formula is simple:
Hours saved per year = (pinned changeover time - quick coupler changeover time) × changes per day × working days per year / 60
Example (sample figures — calculate with your own values): Say a pinned changeover takes you 20 minutes and a quick coupler change takes 3 minutes. If you change attachments 3 times a day and work 150 days a year: (20 - 3) × 3 × 150 / 60 = 127.5 hours. Multiply this by the hourly value of the machine and operator and you will see the system’s yearly contribution.
Time the changes with a stopwatch rather than estimating: start the clock at your next pinned changeover and note the total time, including greasing and cleaning.
If you sell your services, be cautious with the calculation: every hour saved doesn’t automatically mean a new job. But being able to finish one more job at the end of the day reduces half-finished jobs that spill over into the next day and repeat transport trips. If you’re not sure, count only part of the time saved — say, half — as income; if the system still pays for itself, the decision is sound.
There is a second gain that doesn’t show up in the calculation: using the right attachment. When changing is effortless, the operator does the final trim with the 100 cm grading bucket instead of the 40 cm bucket. When the bucket width goes up two and a half times, the number of passes needed to trim the same area drops by roughly the same ratio.
When does it pay for itself, and when is it unnecessary?
Seriously consider a quick coupler if:
- You do different jobs on the same day, such as digging, screening, levelling and breaking.
- You run the machine selling services by the hour or by the job; every minute lost on changeovers is time you can’t invoice.
- The operator works alone and finding a helper for pin changes is difficult.
- You frequently fit and remove heavy attachments such as a breaker, auger or grapple; lining these up for a pinned change is both tiring and risky.
It can wait for now if:
- The vast majority of your work is done with one bucket (for example, always digging trenches of the same width).
- You change attachments once or twice a week.
- Your buckets’ pin dimensions differ a lot from one another and each would need an extra connecting piece; it may make more sense to simplify your attachment fleet first.
Safe locking check at every change
Let’s be honest: the most serious risk with a quick coupler is an attachment that isn’t fully locked falling off. This risk comes less from the system itself than from haste and habit. Follow this sequence at every change:
- Put the attachment on level, firm ground; make sure nobody is in the machine’s working area.
- Seat the coupler’s hook side fully on the attachment’s pin; don’t move on to the second step with a half-seated hook.
- Bring the second pin into its recess with the bucket cylinder and close the lock: on a mechanical type, the lock and safety pin; on a hydraulic type, the switch in the cab.
- Check visually that the locking tongue or pin is in place. If you can’t see it from the cab, get out and look, or ask a spotter for help.
- Do a test: lift the attachment slightly off the ground, open and close the bucket and press it down onto the ground in a controlled way. Most manufacturers recommend a similar test; the method in your manual takes precedence.
- With a hydraulic attachment, before connecting the hoses, release the pressure in the line as described in the manual, wipe the coupling ends and fit the dust caps.
Never disable the audible or visual warnings on hydraulic systems, and don’t let anyone stand under the bucket or between the attachment and the machine. Hanging a load from the attachment with a chain is a separate matter: don’t use this method unless your machine has a designated lifting point and the manual allows it.
The coupler needs maintenance too
A quick coupler is one of the parts that takes the most knocks at the end of the arm. When its maintenance is neglected, first the rattling starts, then the play grows and the pins go oval. On top of the intervals in your manual, get into these habits:
- Greasing: The pins that attach it to the machine and the locking mechanism should be greased regularly together with the other arm pins — more often in muddy and wet work.
- Wear check: If there is noticeable wear or play in the hook jaw, locking tongue or pin recesses, contact service before carrying on using it.
- Cleaning: Mud, stones and, in winter, ice packed into the lock recess can stop the lock closing fully. Look into the recess before every change.
- On the hydraulic type: Check the locking cylinder, its hoses and couplings for leaks.
- Storing attachments: Store unused attachments with their pins facing up, on blocks or a pallet rather than sunk in the mud; the next change will be both quick and clean.
For worn connecting parts you can look at our hydraulic spare parts; the catalogue includes parts such as quick attachment couplers. We explain how to prevent pin and bushing play separately in our pins, bushings and greasing guide.
Which attachments should it be considered with?
The gain from a quick coupler comes with the variety of attachments you have. For mini excavators, EKSFORK offers 20, 30 and 40 cm buckets, a 60 cm digging bucket, a 60 cm screening bucket, a 100 cm grading bucket, a hydraulic breaker, a ripper, an auger, a hydraulic grapple, a hydraulic thumb and a 60 cm rake; the quick coupler (Quick Up) is also on this list. You can see them all on the mini excavator attachments page.
Picture a typical landscaping day: the hard ground is loosened with the ripper and dug with the digging bucket, then the spoil is screened with the screening bucket, spread with the grading bucket and finished with the rake. That makes four or five changes, and this is where a quick coupler shows its real worth. We explain what each attachment does, one by one, in our attachments guide.
A cheap way to speed up this workflow is to set up a small attachment station on site. Line up the attachments you will use during the day in order of use, at a level, firm spot the machine can easily pull up to. Keep the hose ends of hydraulic attachments capped and off the ground. That way every change is made without taking the machine to the other end of the site and without getting soil on the couplings.
Using it together with a thumb needs separate planning: because the coupler extends the bucket tip, the contact point between the thumb and the bucket can change. For details, take a look at our hydraulic thumb guide.
Summary
- A quick coupler speeds up the mechanical connection; on most systems, hydraulic attachment hoses are connected separately.
- The mechanical type suits those who change rarely; the hydraulic type suits those who change often during the day.
- Before ordering, check the pin diameter, pin centre distance, ear width, weight and hydraulic line.
- Calculate the return with your own times, and add the gain from using the right attachment.
- Check the lock visually at every change and don’t skip the test movement.
To work out the right system for your machine together, look at the R327’s equipment or the page for the model you use, and send photos of your attachment dimensions on WhatsApp; let’s do the compatibility check together before you order.