When preparing a garden, a greenhouse or a new lawn, you often hear: “This soil is stony, it’s no good; let’s truck it away and bring in new soil.” Yet much of that stony soil is often perfectly usable. The problem isn’t the soil itself, but the stones, rubble and bits of root in it.
A screening bucket does this separation on site, on the machine. The soil passes through the grid and goes back where it came from, while the stones and roots stay in the bucket. In the right conditions it reduces both transport costs and the need to buy in soil.
In this guide we explain how a screening bucket works, which jobs it really pays off in, when it is efficient depending on soil moisture, a step-by-step method for screening on site, and the calculation between replacing soil and screening it where it is.
What is a screening bucket and how is it different from a normal bucket?
The body of a normal bucket is a closed steel shell; it carries whatever it picks up. In a screening bucket, the bottom and back of the body are a grid of spaced bars. When the bucket is filled with loose material and shaken, the fine soil passes through the grid; stones, rubble and bits of root larger than the grid spacing stay in the bucket.
The grid spacing determines what size is separated. The smaller the spacing, the finer the screened soil, but screening slows down and the grid is more prone to clogging. You can ask us before ordering about details such as the grid spacing and weight of the 60 cm screening bucket at EKSFORK; we will assess together whether it will do your job.
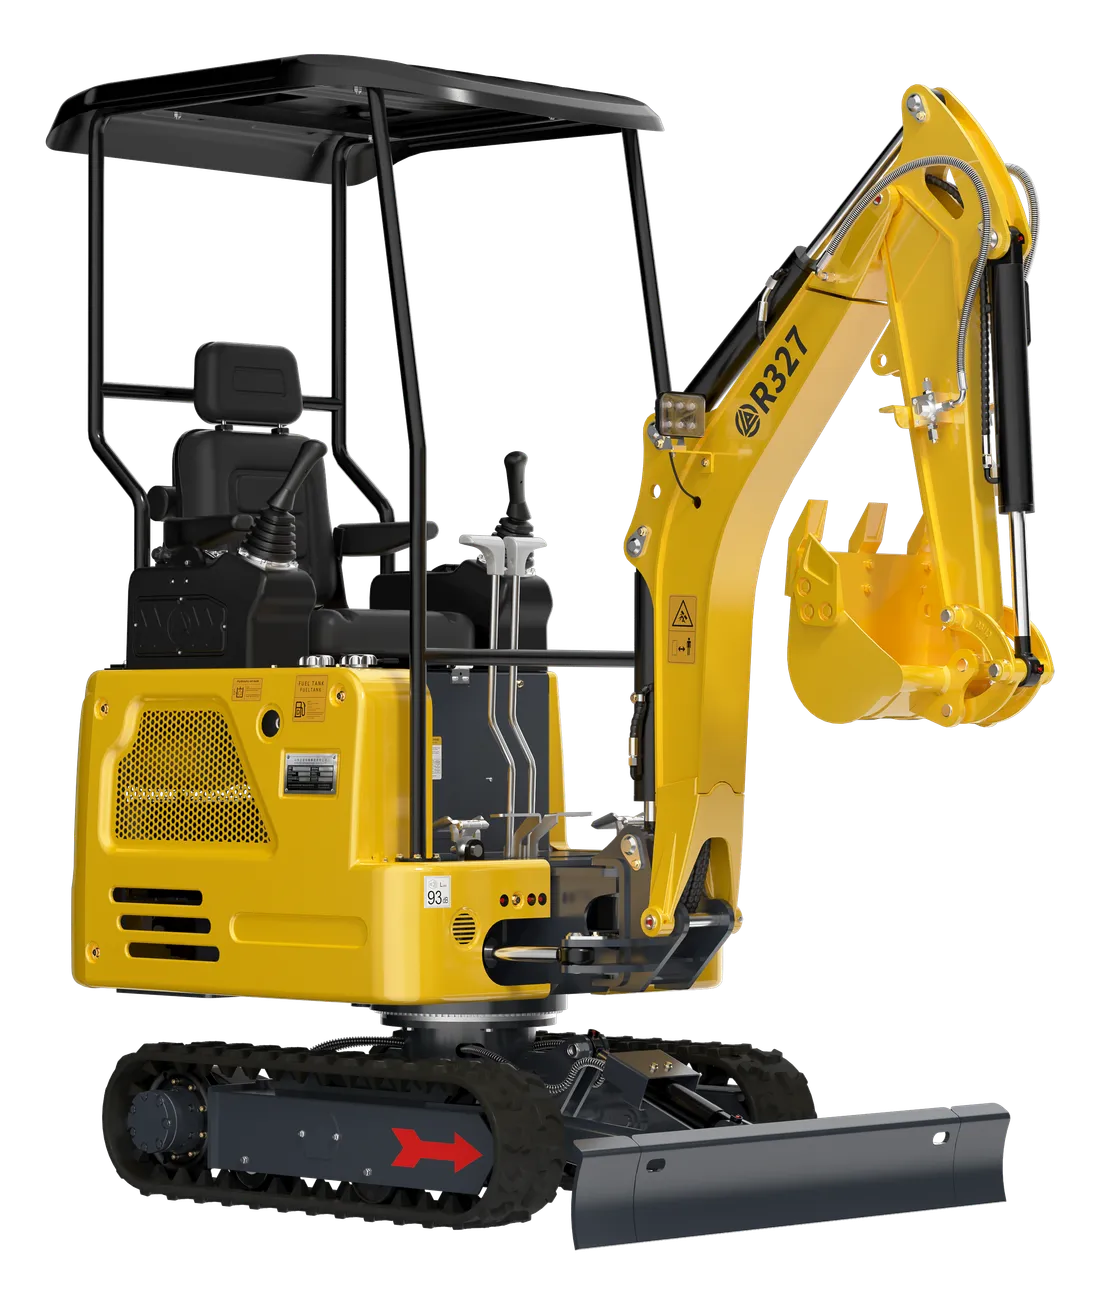
A note on width: the standard bucket is 40 cm on the R10, 45 cm on the R327 and 50 cm on the R350. The 60 cm screening bucket is wider than all of them. Since it is designed not for digging but for picking up loose material in volume and screening it, this width is an advantage; still, confirm that the mounting dimensions fit your machine.
Which jobs does it pay off in?
- Preparing gardens and lawns: Screening the topsoil to create a stone-free bed; it reduces surface stones before sowing grass or laying turf.
- Greenhouse and nursery soil: Cleaning stones and bits of root out of soil to be used inside a greenhouse or along sapling rows.
- Backfill: Screening the spoil from digging so that finer material can be used around pipe and cable runs. The backfill material required around a run depends on the project and the relevant authority’s requirements; confirm this in advance.
- Land clearing: Separating the heaps of stone and rubble that build up at field edges from their soil.
- After demolition: Recovering the soil from the soil and rubble mix left by small demolitions, and carting the rubble away separately.
- Collecting stone: Gathering the stones left in the screen on a separate pile and putting them to use in a drainage trench, a garden wall or road fill.
The last point is often overlooked: the output of screening isn’t just clean soil, but sorted stone too. If, instead of paying to take the stones off site, you find a job you can use them for, the calculation tips even further in your favour.
When doesn’t it pay?
A screening bucket isn’t the right answer for every stony soil. For a flower bed of a few square metres, a hand rake is enough rather than bringing in a machine. For very large volumes — for example, when hundreds of cubic metres of soil need screening continuously — dedicated screening equipment usually works more efficiently. If all the soil is heavy clay, screening is slow and laborious.
There is also a safety limit: don’t screen rubble from old buildings if there is any suspicion of asbestos-containing material or other hazardous waste. Screening breaks material up and raises dust; in such a case, stop the work and get the opinion of a qualified specialist.
Screen on site or replace the soil? How to calculate
Make the decision with the figures from your own site, not with general opinions. Write down the cost of both options in the same unit:
Cost of replacing the soil = (transport of the soil removed + tipping fee, if any) + (price of the new soil + its transport)
Cost of screening on site = screening time × (hourly cost of machine + operator) + removal of the separated stone and rubble, if needed
To estimate the screening time, count how many buckets you screen in the first half hour and multiply by the bucket’s full volume. That way you find the real hourly screening volume for your own soil and your own operator.
Example (sample figures — calculate with your own values): You have 40 m³ of stony soil, and in a trial you found you could screen 5 m³ an hour. Screening takes about 8 hours. On the other side, removing 40 m³ of soil and bringing in 40 m³ to replace it means several outbound and several inbound lorry trips, depending on the lorry’s capacity. Once you put the transport and soil quotes from your area into the formula, the picture becomes clear.
A common mistake in the calculation is to do with volume. Dug soil loosens, so its volume increases (this is called bulking), and when it is spread and compacted, it decreases again. Transport quotes are usually given by loose volume, whereas your fill requirement is a compacted volume. Make sure you use the same type of volume when comparing the two figures, or you may order less or more soil than you need.
Also note the gains that stay outside the figures: fewer lorries come onto the site, the ground in the garden and landscaped area isn’t crushed, the structure of the existing soil is preserved and the risk of bringing in weed seeds with imported soil goes down. Let’s be honest: if most of the soil is heavy clay or dense rubble, screening may not win this calculation; in that case, replacing the soil makes more sense.
Soil moisture and type: when is screening efficient?
A screening bucket’s productivity is determined more by the soil itself than by the machine. The same bucket that flows freely in dry, loamy soil can turn into a ball of mud in wet clay.
| Soil condition | Screening efficiency | Recommendation |
|---|---|---|
| Dry, sandy or loamy | ✅ High | Screen straight away; in windy weather position yourself out of the dust and wear a dust mask if needed |
| Slightly moist, crumbly | ✅ Good | Often the best-balanced condition; lumps break up as you shake |
| Wet, sticky, clay | ❌ Low | Clogs the grid; spread the soil out and wait for it to dry |
| Frozen | ❌ Won’t screen | Wait for it to thaw; frozen lumps strain the grid |
| Dense with large rocks and roots | Medium | First separate the large pieces with a thumb or grapple, then screen |
A practical test you can use on site: squeeze a handful of soil. If the ball crumbles when you open your hand, the soil is suitable for screening; if a sticky ball bearing your fingerprints remains, waiting will be more efficient.
Screening on site, step by step
- Choose the screening point: level, firm ground, with two separate pile areas either side of the machine for screened soil and for stone. The shorter the slew angle between the piles, the faster each cycle.
- Separate the large stones and roots on the surface beforehand; filling the bucket with large pieces strains the grid.
- Fill the bucket with loose material, but don’t overfill it; material spilling over the edge falls onto the pile unscreened.
- Bring the bucket over the screened soil pile and keep it close to the ground; the higher it is, the more dust and spillage.
- Make short, rhythmic open-and-close movements with the bucket cylinder. Stop shaking when the soil stops flowing; extra shaking only wastes time.
- Empty the stones and roots left in the bucket onto the stone pile.
- As the screened soil pile grows, spread it with the dozer blade or grading bucket; finish the final surface with the rake.
- If a stone or root gets stuck in the grid, lower the bucket to the ground, engage the hydraulic safety lever and only then clear it by hand.
There is no exception to the last point: nobody should reach into the bucket while the machine is running and the controls are live. During screening, nobody should stand around the bucket within range of the shaking movement either.
One more small organisational habit boosts productivity: as the screened soil pile rises, you have to lift the bucket higher, which means both more dust and longer cycles. Keep the top of the pile low by spreading it with the dozer blade from time to time. Once the operator settles into the fill, lift, shake, empty rhythm, the cycles start to look alike; noting the number of cycles in the first few days is the easiest way to see your real output.
Screening without wearing out the machine: what not to do
- Banging the bucket on the ground, the pile or a stone: The shock goes into the pins, bushings, cylinder and welds. If the material isn’t flowing, shake with a shorter rhythm, not a harder one.
- Digging with the screening bucket: The grid bars are designed for loose material, not for digging force. Loosen hard ground with a ripper first and do the digging with a digging bucket.
- Forcing wet clay: A clogged grid doesn’t screen; it just carries weight.
- Jamming stones into the grid: A stone forced between the bars can spread them apart over time.
- Shaking hard at full throttle: A rhythmic movement at a controlled engine speed is both more efficient and less stressful for the machine.
We explain how to use a ripper to loosen hard ground in detail in our ripper guide.
The team around the screening bucket
A screening bucket shows its real productivity not on its own but as part of a workflow. In a typical lawn preparation the sequence is: the hard ground is loosened with the ripper, dug out with the 60 cm digging bucket, screened with the screening bucket and spread with the 100 cm grading bucket or the machine’s dozer blade, and the final surface is prepared with the 60 cm rake. The dozer blade is 100 cm wide on the R10, 110 cm and adjustable on the R327, and 120 cm on the R350; the blade does a good job of spreading screened soil too.
In this workflow the attachment changes several times; if you have a quick coupler system, the time saving becomes significant. We explain the spreading and levelling side in our grading bucket and rake guide, and planning the job from start to finish in our guide to garden landscaping with a mini excavator. If you are wondering which bucket width suits which job, take a look at our bucket width guide too.
Maintenance and storage
- After every use, clean off clay stuck to the grid and any jammed stones; dried clay speeds up clogging on the next job.
- Check the grid bars for bending and cracks and the welds for separation; a bent bar changes the screening gap and can snap over time.
- Grease the mounting pins regularly together with the other bucket pins.
- Store the bucket in a dry place, on blocks to reduce its contact with the ground; less rust forms between seasons.
If you are thinking of repairing damaged bars by welding, the repair has to be done so that it doesn’t upset the grid spacing or the bucket’s balance. If you’re not sure, ask us first; a badly done repair can shorten the bucket’s life rather than extend it.
Summary
- A screening bucket passes soil through its grid and keeps stones and roots in the bucket; it isn’t a digging tool.
- Productivity depends most on soil moisture and type: good in dry or slightly moist soil, poor in wet clay.
- Decide between replacing soil and screening on site using the formula and quotes from your area.
- Don’t bang the bucket or force the grid; clear jammed stones only after the machine has been made safe.
- Plan from the start to put the separated stones to use in drainage, wall or fill work.
You can explore the screening bucket and the attachments that go with it on the mini excavator attachments page, and ask us on WhatsApp about compatibility with your machine and the current price.