A bucket is designed for carrying soil; it can’t hold a log, a large stone or a chunk of concrete. The operator tries to keep such loads balanced in the bucket, the load slips, several attempts are made for the same piece, and more often than not someone on the ground tries to help by hand.
A hydraulic thumb solves this problem without removing the bucket. Thanks to a movable finger mounted opposite the bucket, the machine holds the load the way a hand grips something between thumb and fingers.
In this guide we explain how a thumb works, the difference between mechanical and hydraulic types, the thumb designs on the R10 and R327, which jobs it pays off in, the correct technique and the mistakes that turn out expensive.
What is a hydraulic thumb and how does it work?
A thumb is a fork-shaped part mounted on the underside of the dipper arm, near the bucket linkage. On the hydraulic type, a cylinder opens and closes the thumb; the operator controls this movement with a button on the joystick or a pedal, depending on the machine.
Gripping works through the two parts acting together: the thumb braces against one side of the load, while the bucket closes and squeezes the load towards the thumb. Because the load is gripped from two sides, it doesn’t have to sit inside the bucket; a long log can be carried between the bucket teeth and the thumb, even sticking out beyond the bucket.
When not in use, the thumb folds right back against the dipper arm. In this position it doesn’t interfere with the bucket’s digging and dumping movement, so the machine works as a normal digger with the thumb fitted. That is the thumb’s real value: it adds the ability to grip without taking anything away from the machine’s digging capability.
Mechanical or hydraulic?
There are two basic types of thumb. The difference between them comes down to how often, and how much, the loads you handle change.
| Feature | Mechanical thumb | Hydraulic thumb |
|---|---|---|
| Position adjustment | Using pin holes, getting off the machine | From the controls, while working |
| Grip | Only the bucket moves, against a fixed thumb | The thumb moves too, so the grip is more precise |
| Extra hydraulics | Not required | Required |
| Maintenance | Pin and bushing | Pin and bushing + cylinder and hose |
| Suitable use | Occasional loads of similar size | Frequent loads of varying size and precise placement |
Because the position of a mechanical thumb is fixed, switching to a load of a different size means getting off the machine and moving the pin. With a hydraulic thumb, the operator positions the thumb from the cab for each load. If you handle objects of different sizes during the day, you will feel this difference quickly.
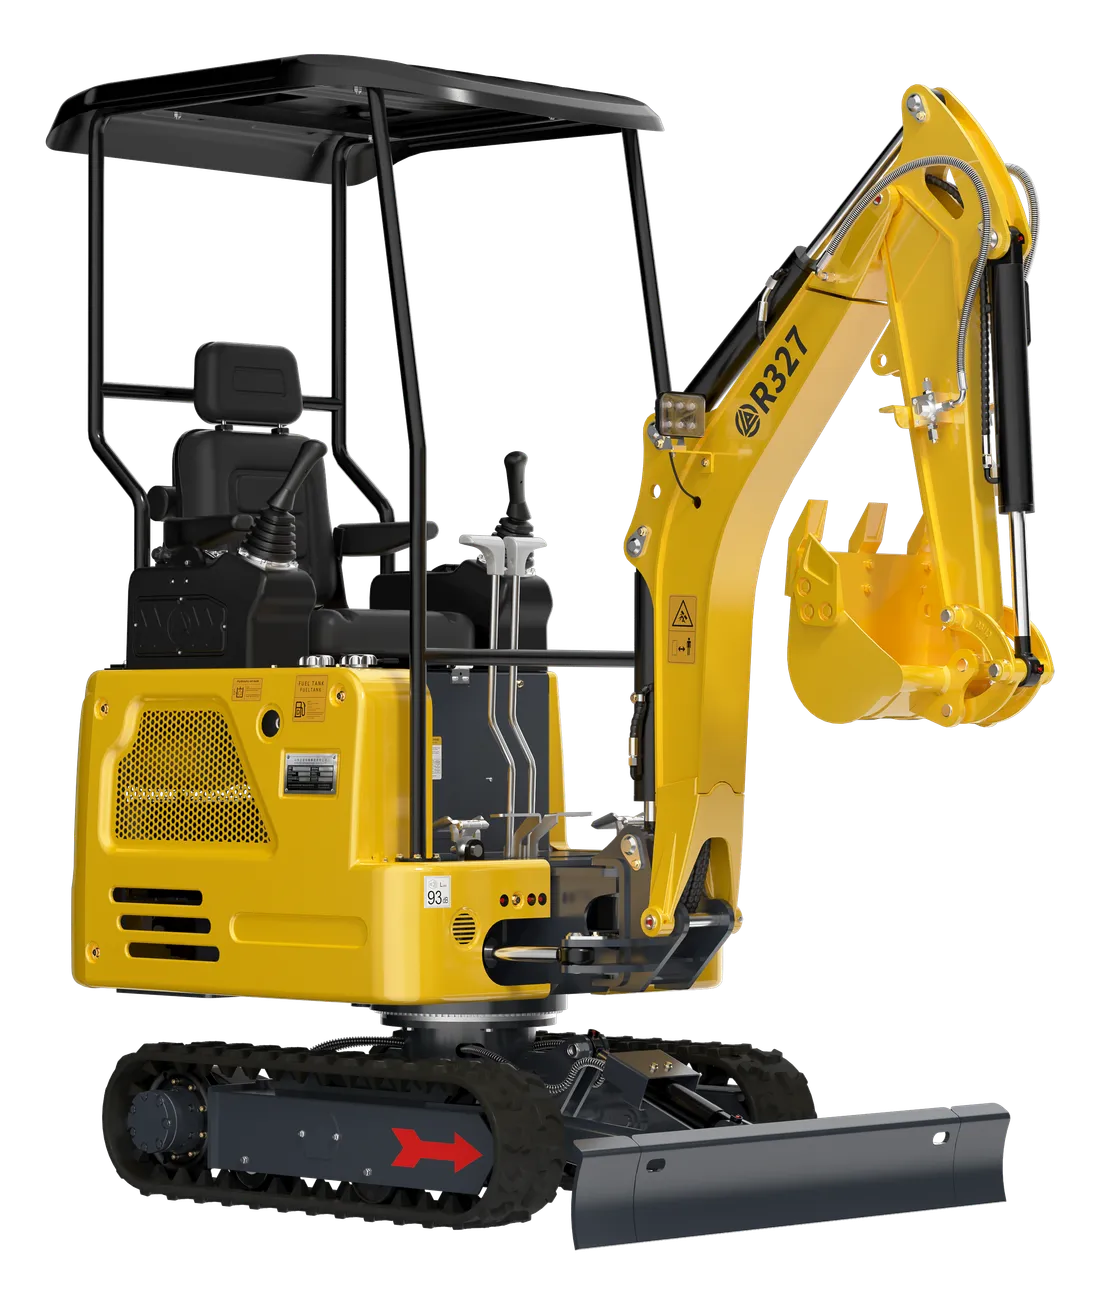
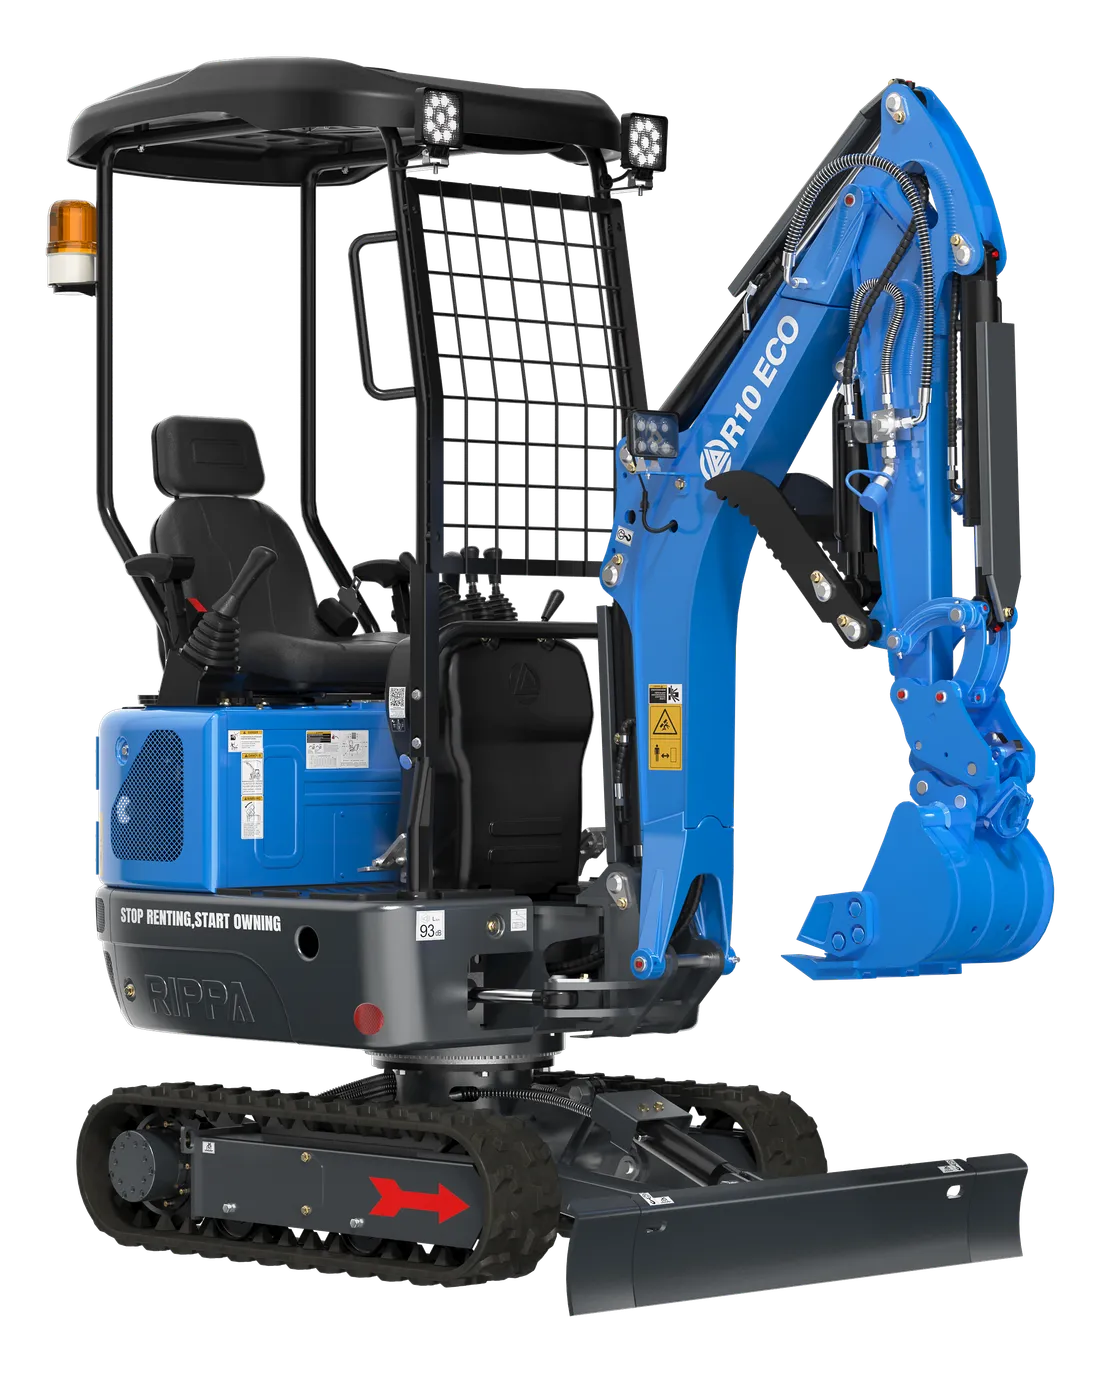
Thumbs on the R10 and R327: actuated and articulated designs
The specification lists of two EKSFORK models include a hydraulic thumb: the R10 has a hydraulically actuated thumb and the R327 an articulated hydraulic thumb. Both do the same basic job, but they are linked differently.
On the actuated type, the thumb opens and closes around a single pivot point with the help of a cylinder; it is simple in construction and easy to maintain. Articulated types have an additional link arm. These designs are arranged to help the thumb keep contact with the load over a wider range of angles as the bucket rotates; in practice, this makes gripping easier, especially with irregularly shaped loads. Since design details vary by manufacturer, go by the working range in your own machine’s manual.
The choice of bucket also affects the grip. A thumb usually gives the most balanced grip when used with a bucket close to its own width. With a narrow bucket, such as a 20 cm one, a wide thumb squeezes the load at points outside the bucket and the load tends to turn. With a very wide bucket, the thumb only holds the load in the middle and the ends of the load are left free. On days with a lot of carrying work, working with the machine’s standard bucket is often the most practical choice.
If you are thinking of adding one to a machine that doesn’t have a thumb, we can check the suitability of the hydraulic thumb we offer as an attachment against your machine’s model and serial number.
What can you do with a thumb?
- Land clearing: Gathering up, piling and loading cut branches, brush and logs onto a lorry.
- Stonework: Separating large stones from a field and setting stones in place one by one for a stone wall or garden border.
- After stump removal: Gripping the extracted root, shaking off its soil and carrying it to the stacking area. We explain the removal sequence in our stump removal guide.
- Sorting demolition waste: Separating concrete pieces, timber and metal into separate piles.
- Setting posts and pipes: Holding a fence post or a short length of pipe while lowering it into a hole. Limit the clamping force so as not to damage pipes; for heavy pipes, choose a suitable lifting method according to the manual.
- Channel and trench work: Lifting out large stones and old pipe sections that turn up during digging without them slipping from the bucket.
In clearing branches and brush, the thumb pays off twice. First it grabs scattered branches in one go; then it compacts the pile in the lorry body by pressing it down between bucket and thumb. That way the same body carries less air and more branches, and the number of trips goes down. When pressing down, take care not to hit the side walls and floor of the body, and make sure nobody is inside it.
In short, a thumb adds carrying and placing ability to a digging machine. If your work is mostly carrying and sorting, a hydraulic grapple may be more suitable instead; we compare the two options in our hydraulic grapple guide.
The correct technique
- Keep the thumb fully folded when digging. A half-open thumb hits the ground and prevents the bucket from dumping.
- Before gripping, bring the thumb to roughly the right position for the size of the load, then close the bucket to squeeze the load. Don’t close the thumb by slamming it into the load.
- Grip the load as deep as possible, close to the bucket body, not by its outer edges.
- Apply the squeezing force in a controlled way; forcing the bucket and thumb fully at the same time puts needless load on the pins and cylinders.
- When you lift the load off the ground, wait a moment: if the load turns between the bucket and the thumb, the gripping point is wrong — put it down and grip it again.
- While carrying, keep the load low and close to the machine, and slew slowly.
- When releasing, first set the load on the ground, then open the bucket and draw the thumb back.
The side-mounted pilot controls on the R10 and R327 make it easier to get precise results with small lever movements. Because the thumb is worked with a separate button or pedal, managing both movements at once can feel hard in the first few days. During this period, separating the movements — positioning the thumb first and then closing the bucket — noticeably reduces mistakes; as your hands get used to it, the two movements merge naturally.
Rules for the helper on the ground
The thumb’s least-mentioned gain is safety: with a machine without a thumb, someone on the ground tries to steady the load by hand; with a thumb, that person can stand clear of the load and simply guide. For this, make these rules clear on site:
- The person guiding always stands within the operator’s field of view; if the operator can’t see them, movement stops.
- While the load is in the air, nobody goes under the load, between the load and the machine, or between the load and a wall.
- Hand signals are agreed before work starts; a “stop” signal takes priority, no matter who gives it.
- If a final adjustment by hand is needed, the load is first set fully on the ground, the bucket and thumb are opened and drawn back, and the operator takes their hands off the controls.
- The person on the ground wears a hard hat, gloves, steel-toecap boots and a high-visibility vest.
Common mistakes and why they turn out expensive
- Using the thumb as a lever: Trying to prise out a root or stone with the thumb strains the pins, bushings, cylinder and the mounting bracket on the dipper arm. Leverage work calls for the right digging sequence, not the thumb.
- Digging with the thumb open: The thumb hits the ground, and the cylinder rod and pins take the impact.
- Gripping the load by its ends: The load slips and falls, and the bucket teeth and thumb tips wear unnecessarily.
- Pushing or propping up the machine with the thumb: The thumb isn’t designed for these loads.
- Neglecting the hoses: The thumb cylinder’s hoses run along the dipper arm on a route exposed to branches and stones; if a chafe mark isn’t caught early, the hose bursts in the middle of the job.
- Skipping the grease: Thumb pins work as hard as bucket pins; a dry pin soon develops play.
What these mistakes have in common is that the cost shows up not immediately but a few weeks later: first a slight knocking, then misalignment between thumb and bucket, and finally bushing and pin replacement. If the tips of the thumb and bucket no longer meet as they used to when closed, treat it as a warning.
Questions to ask when buying a thumb or having one retrofitted
- Does my machine have an auxiliary hydraulic line and control for a thumb, and if not, how will they be added?
- Is the thumb width right for the buckets I use? The standard bucket is 40 cm on the R10 and 45 cm on the R327; with much narrower or wider buckets, the grip changes.
- Do the thumb tips line up correctly with the bucket teeth — when closed, do they come between the teeth or directly opposite them?
- If I use a quick coupler, does the thumb still reach the extended bucket tip? We also cover this in our quick coupler guide.
- Is the mounting welded or bolted, and does it require a structural change to the dipper arm? On a machine under warranty, consult us before any such change.
- Are the grease points easy to reach, and is the hose route protected?
Maintenance: pins, bushings, cylinder and hoses
You don’t need a separate schedule for the thumb; include it in your arm and bucket maintenance. The intervals in the manual take precedence; on most machines the thumb pins are greased every working day along with the other front-end pins, and more often in muddy and wet work.
- Pin and bushing play: If the movement you feel with the thumb closed is increasing, bushing wear has begun.
- Cylinder rod: Look for scratches, rust and seal leaks; clean dried mud off the rod before starting work.
- Hoses and couplings: Check for chafe marks, cracks and sweating.
- Welds and bracket: Check for cracks, especially after heavy root and stone work.
We explain pin and bushing maintenance in detail in our pins, bushings and greasing guide. If you notice a leak at the cylinder, contact service about a seal replacement before the problem grows.
If the machine will be standing for a long time, leave the thumb in the position where as much of the cylinder rod as possible is inside the cylinder. An exposed rod is prone to rusting from moisture and dust, and the rust scratches the seal at the first start-up.
Summary
- A hydraulic thumb works together with the bucket to hold irregular loads; it adds carrying and placing ability without any loss of digging capability.
- The R10’s specification list includes a hydraulically actuated thumb, and the R327’s an articulated hydraulic thumb.
- When digging, keep the thumb folded; when gripping, position the thumb first, then close the bucket.
- A thumb isn’t a lever; checking the pins, bushings and hoses should be part of the daily routine.
- If one is being retrofitted, check the hydraulic line, bucket width, tooth alignment and quick coupler compatibility beforehand.
For the thumb and other attachments, take a look at the mini excavator attachments page, and ask us on WhatsApp about the right thumb option for your machine.