Anyone who works with a mini excavator notices it sooner or later: with a bucket of a different width, the same machine becomes a completely different machine. A narrow bucket cuts into hard ground like a knife but carries little soil per cycle. A wide bucket makes fast progress in soft soil, but in hard ground it strains the machine and makes the trench needlessly wide.
In this guide we explain how to choose bucket widths from 20 cm to 100 cm by job, ground and machine, how to calculate the target trench width and what risks a wide bucket brings on a small machine.
What does bucket width change?
Width isn’t just the answer to “how much soil does the bucket hold?”. It changes three things at once:
- Trench width: The trench can’t be narrower than the bucket. A bucket wider than necessary means digging out more soil than necessary — and then backfilling and compacting it again.
- Force distribution: The machine’s digging force is shared along the bucket’s cutting edge. The narrower the bucket, the more the same force is concentrated on a shorter edge, and the more easily the bucket bites into hard ground. Roughly speaking, halving the width with the same force doubles the force on every centimetre of the edge.
- Volume per cycle and stability: A wide bucket carries more material each time, but it is heavier when full. As reach increases, this weight puts the machine’s stability under strain.
These three effects often pull in opposite directions. You choose the right bucket by knowing which one matters most for your job: the trench dimension, the power to penetrate the ground, or the amount of soil moved per hour?
One more note: width isn’t the only thing that determines how much material a bucket carries. Two buckets of the same width can hold different volumes because of differences in depth and profile. When comparing buckets, ask for the volume and weight as well as the width.
Standard buckets and when you need an extra one
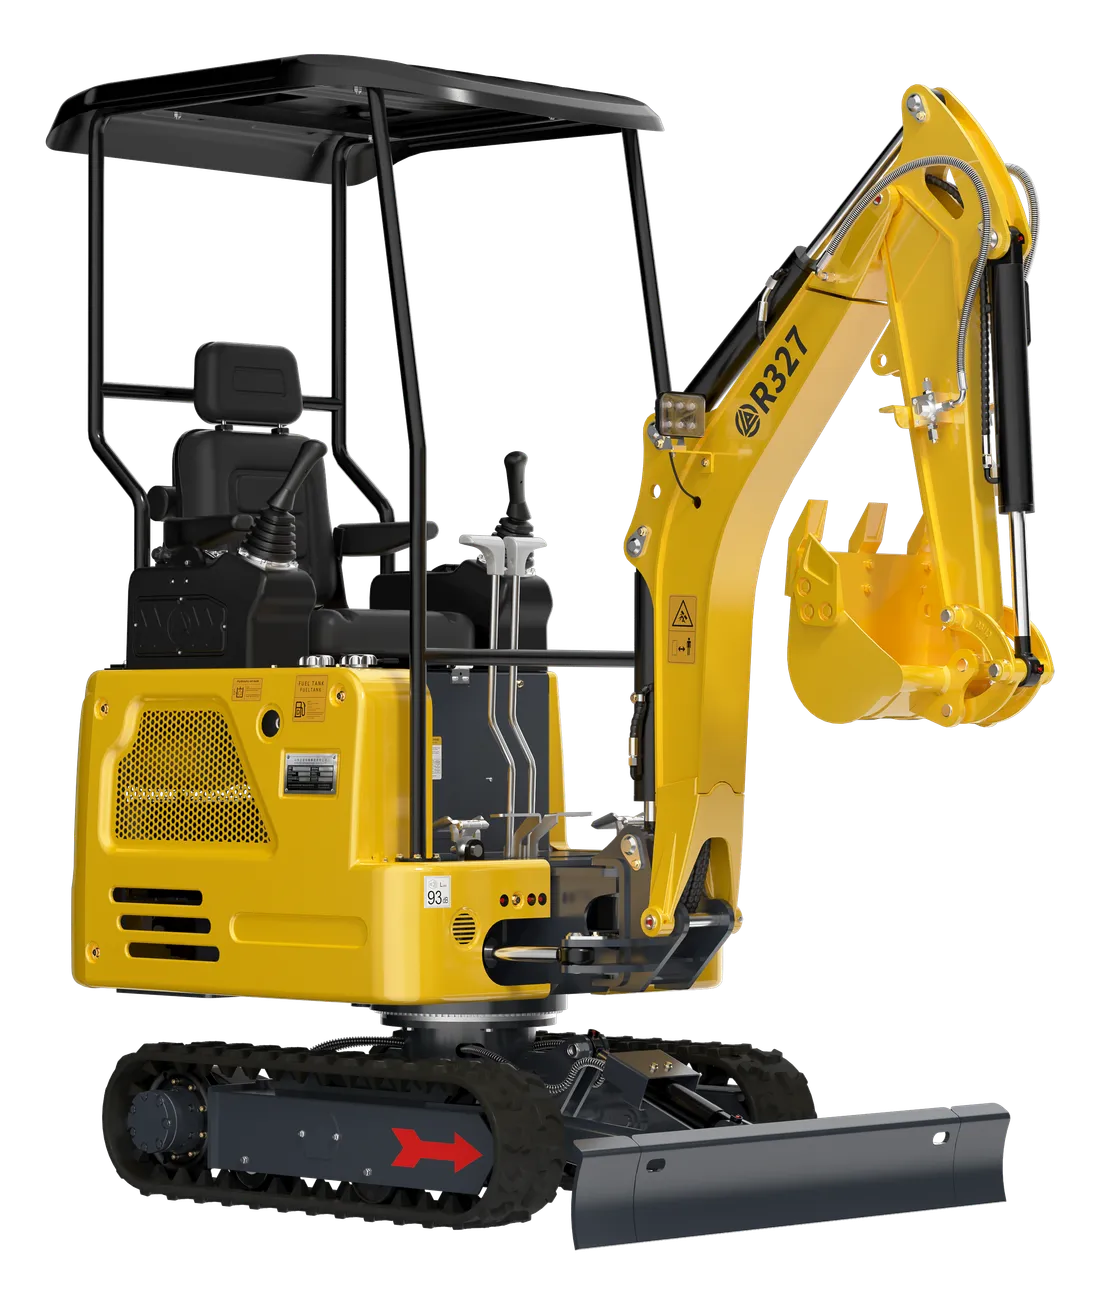
The machines come with a standard bucket: 40 cm on the Rippa R10, 45 cm on the R327 and 50 cm on the R350. These widths are a balanced starting point for general digging, medium-width trenches and moving soil. The need for an extra bucket usually comes from two directions:
- Narrower work: For cables, irrigation lines and small-diameter pipes, the standard bucket digs a trench that is wider than necessary.
- Wider work: For levelling, loading and bulk digging, the standard bucket increases the number of cycles and drags the job out.
The machine’s digging force also affects the choice. The bucket digging force is 11 kN on the R10 and 22.5 kN on the R350. This shows why, on a small machine with limited force, a narrow bucket is more efficient in hard ground: putting that limited force onto a shorter edge is how you make progress without straining the machine. On a bigger machine, a wider bucket can also work more comfortably in the same hard ground.
Bucket width by job: the table
| Bucket | Typical jobs | Suitable ground | Watch out |
|---|---|---|---|
| 20 cm bucket | Electric cables, drip irrigation lines, narrow drainage | Including hard and compacted ground | Low volume per cycle, the job takes longer |
| 30 cm bucket | Irrigation and drainage pipes, small-diameter services | Medium and hard | Check the pipe diameter and working clearance |
| 40 cm bucket | General trenching, garden work, around roots | Most ground types | The R10’s standard width |
| 60 cm digging bucket | Pits, bulk digging, moving soil, loading | Soft and medium | Strains the machine in hard ground |
| 60 cm screening bucket | Separating stones and roots from soil | Loose, already-dug soil | Not a digging bucket |
| 100 cm grading bucket | Levelling, slope trimming, ditch cleaning, loose material | Loose and soft | Not suitable for digging hard ground |
The table is a starting point. The same job may call for a different bucket depending on the ground: an irrigation trench that a 40 cm bucket digs easily in soft garden soil can go much faster with a 30 cm bucket in compacted fill.
Calculating the target trench width
In trench work, choose the bucket by measurement, not by guesswork. The logic of the calculation is: trench width = outside dimension of the pipe or cable + working clearance on both sides. The working clearance is there so the bedding material can settle, the backfill can be compacted and, if necessary, someone can get down into the trench to make connections. If the utility’s or the project’s specification gives a value, that value applies.
Example: suppose the project calls for 7 cm of working clearance on each side of a pipe with an outside diameter of 16 cm. The target width is 16 + 7 + 7 = 30 cm. Here a 30 cm bucket is the right starting point; a 40 cm bucket will do the job, but digs out unnecessary soil on every metre. The figures are examples; use your own project’s values.
Work out the cost of the extra width too. Example: if a 50-metre line, 60 cm deep, is dug with a 30 cm bucket, about 50 × 0.30 × 0.60 = 9 m³ of soil comes out. If the same line is dug with a 40 cm bucket, this rises to 12 m³. The 3 m³ difference is first dug out, then backfilled and compacted; if bedding material is used, more of that is used up too.
Remember: because the operator moves the arm slightly and because of the bucket’s side edges, the trench usually ends up a little wider than the bucket. After the first few metres, measure with a tape and adjust your technique if necessary. Before you start digging, find out from the relevant utilities where the electricity, gas and water lines run. As the trench gets deeper, safety issues such as trench slopes and shoring become important; we cover these in our guide to digging channels and trenches, and pipe laying in our guide to drainage and pipe laying.
Choosing by ground hardness
- Hard, compacted or stony ground: Choose a narrow bucket. If the bucket still won’t bite, loosening the ground with a ripper first saves time and protects the bucket teeth.
- Soft soil and sand: A wide bucket carries more material per cycle. In sandy ground, trench walls collapse easily; plan the width and depth with this in mind.
- Sticky clay: Wet clay sticks inside the bucket, and the bucket empties less each time. A medium-width bucket and keeping the inside of the bucket clean both help. Don’t shake the bucket clean by banging it on the ground; it damages the pins and bushings.
- Root-filled soil: A narrow, toothed bucket is more efficient for cutting roots, and a thumb for gathering them up.
Toothed or straight edge?
The bucket’s edge type changes the result as much as its width. A toothed bucket penetrates the ground, cuts roots and breaks up hard soil; it is the bucket for digging-heavy work. A straight-edged bucket scrapes the surface and leaves the trench floor smooth and clean; it is the one to choose for levelling and ditch cleaning. As the teeth wear, the bucket bites into the ground less easily and the machine strains more, so check the condition of the teeth regularly.
Wide bucket, small machine: stability and speed
The appeal of a wide bucket is easy to understand: more soil per cycle. On a small machine, though, it comes at a price. A full, wide bucket — especially with the arm fully extended and slewed out to the side — can bring the machine close to its tipping limit. The R10 has a machine weight of 900 kg and an operating weight of 1,200 kg; on a machine of this class, the weight of the bucket and the wet soil in it noticeably affects stability as the arm reaches out.
- Use a wide bucket in front of the machine and as close to it as possible.
- Don’t fill the bucket to the brim at full reach.
- On sloping ground, don’t slew sideways with a wide, full bucket.
- Dig with the dozer blade lowered to the ground; the blade gives the machine extra stability.
- Follow the load and stability warnings in the operator’s manual.
There is a similar trade-off on speed. A wide bucket that doesn’t fill in hard ground doesn’t reduce the number of cycles; in fact it makes every cycle longer. What increases the amount of soil moved per hour isn’t the width of the bucket, but a bucket of the right width for the ground coming up full every time.
Bucket maintenance and safe changeovers
Working with more than one bucket turns bucket changes and bucket maintenance into everyday tasks. A few habits extend the bucket’s life and prevent accidents during changeovers:
- Keep an eye on the teeth and cutting edge: A blunt tooth struggles to penetrate the ground, strains the machine and increases fuel consumption. Replace broken or worn teeth without delay.
- Grease the pins and bushings: Bucket pins are the most heavily loaded points; follow the greasing interval in the manual.
- Check the bucket body: If there are cracks at the welds or excessive thinning on the underside, have a mechanic check the bucket before you work it hard.
- Change buckets safely: Lower the bucket onto level ground, stop the machine and never put your finger into a pin hole while lining it up; use a suitable tool for alignment.
- Store spare buckets properly: Put them on blocks or a pallet, not in the mud, and keep the pins and retainers with the bucket so they don’t get lost.
If you change buckets often during the day, a quick coupler system makes the job both quicker and safer.
Checklist before choosing a bucket
- Is most of your work trenching, bulk digging or levelling?
- For trench work, have you calculated the target width (outside dimension + working clearance)?
- Is your ground hard, soft, clay or stony?
- Does the bucket match your machine’s connection dimensions (pin diameter and pin spacing)?
- Are the bucket’s weight and volume right for your machine’s class?
- Does your machine have a quick coupler, and does the bucket suit that system?
- Do you need a toothed or a straight-edged bucket?
Picture an example day: in the morning you dig a 20 cm-wide cable trench in a garden, and in the afternoon you close the trench and level the surface in the same garden. Using a 20 cm bucket for the trench and a grading bucket for backfilling and levelling gives a faster, cleaner result than spending the whole day with one bucket. Had you dug the trench with the standard bucket, you would have dug out extra soil and spent extra time backfilling it.
For most users a practical rule works: alongside the standard bucket, one narrow and one wide bucket. The narrow bucket handles trenching and hard ground, the wide bucket levelling and loading. If you would like to consider them alongside other attachments, take a look at our guide to all 14 attachments.
Summary
- Bucket width determines trench size, force distribution and stability all at once.
- For trench work, calculate the width as outside dimension + working clearance and measure over the first few metres.
- A bucket wider than necessary means extra digging and extra backfilling.
- In hard ground, a narrow bucket — with a ripper first if needed; in soft ground, a wide bucket.
- On a small machine, don’t use a full wide bucket at full reach or while slewing sideways.
- Adding one narrow and one wide bucket to the standard bucket covers most jobs.
Tell us your machine’s model and the work you will be doing, and we will share compatible bucket options and current prices. Explore mini excavator buckets and attachments or ask us on WhatsApp.