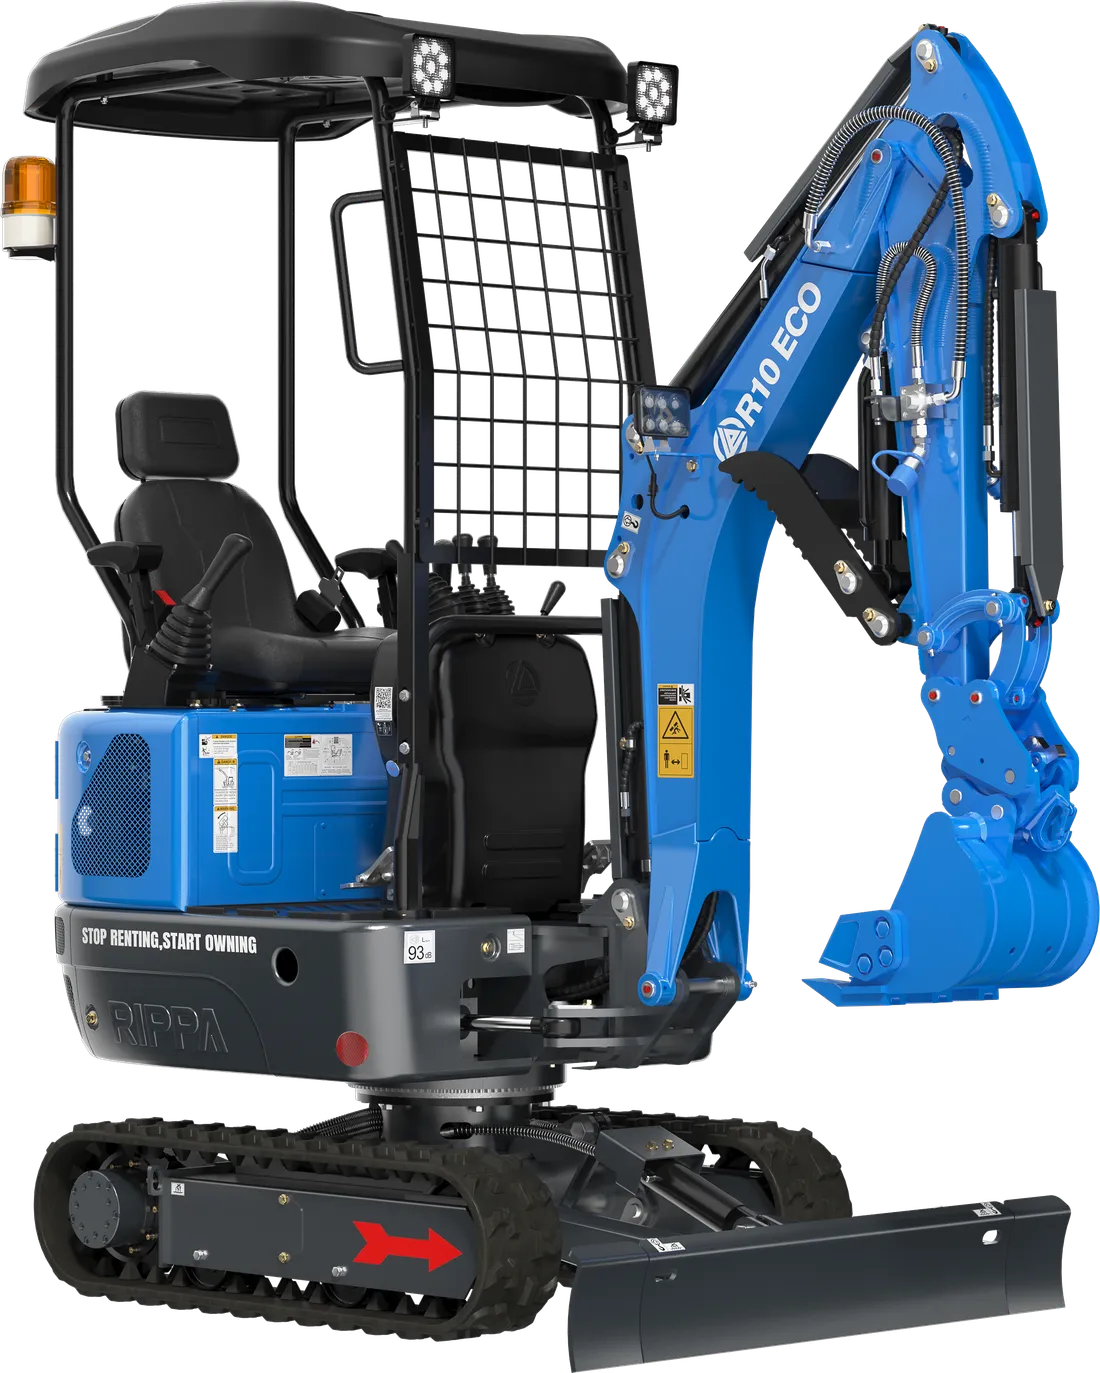
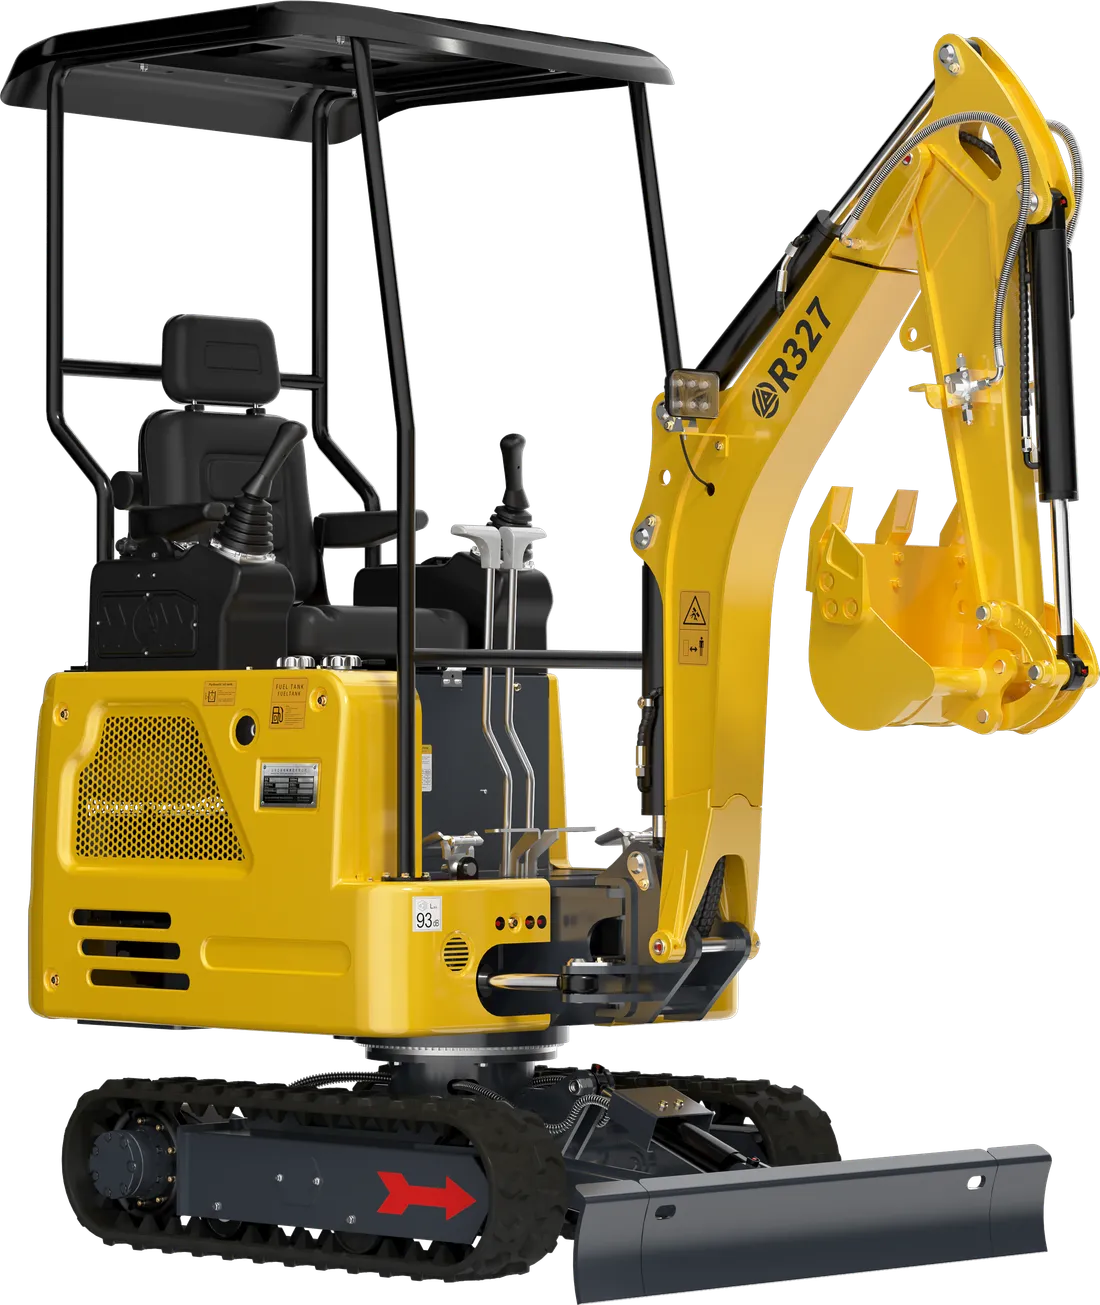
Hundreds of posts for a new vineyard, row after row of planting holes for an orchard, or a fence around a plot of land... Doing these jobs with a spade or a bucket is slow, and every hole means digging out more soil than needed. A mini excavator fitted with an auger (earth drill), on the other hand, digs vertical holes of the same diameter and the same depth, one after another.
In this guide we plan auger work from start to finish: line and spacing calculations, choosing diameter and depth for fence posts and saplings, drilling technique, ground-related problems, the steps after the hole and safety. The auger is one of the 14 attachments we offer for mini excavators; we introduce the others in our attachments guide.
How does an auger work, and how is it different from a bucket?
An auger has two main parts: the hydraulic drive unit attached to the end of the machine’s arm, and the spiral bit fitted to it. The drive unit is fed from the machine’s auxiliary hydraulic line and turns the bit; the spiral cuts the soil and carries it upwards. Most augers need bi-directional hydraulic flow so the bit can be reversed when it gets stuck.
A hole dug with a bucket is usually bigger than needed because of the bucket’s width and shape. A hole dug with an auger is exactly the diameter of the bit. This has three practical consequences:
- Less excavation: Less soil comes out, and the surroundings don’t get churned up.
- Less backfill and concrete: The amount of concrete or compacted backfill in a post hole goes down.
- Repeatability: The hundredth hole has the same diameter and depth as the first.
Bit and drive unit: what to look for
When choosing an auger set, look at three features. Each one determines both the quality of the hole and how hard the machine will have to work.
- Bit diameter and length: The diameter sets the width of the hole, and the length sets the depth you can reach in one go. Some systems use an extension piece for deeper holes; when using an extension, keeping the hole vertical takes more care.
- Cutting teeth and pilot point: The teeth at the bottom of the spiral cut the soil, while the sharp pilot point in the middle lets the auger start on the marked spot without wandering. There are different tooth types for soil and for stony ground; ask which one suits your ground.
- Drive unit torque and speed: Large-diameter bits and hard ground need high torque; small-diameter bits work efficiently at higher speed in soft soil. The hydraulic flow the drive unit needs must be within the range your machine’s auxiliary line can deliver.
A big bit on a small machine is constantly strained and jams often. Choosing the bit diameter with the machine’s class and the ground in mind means more holes by the end of the day.
Preparation: line, spacing and number of holes
An auger is a fast tool; the real time is lost or gained in the marking out. Before you start, run a string line and mark the hole positions with lime or paint. Moving along a marked line instead of realigning the machine for every hole improves both speed and accuracy.
Work out the number of holes at the start: holes in a row = (row length ÷ spacing) + 1. Example: if the posts on a 100-metre fence line are set 2.5 metres apart, you need 100 ÷ 2.5 + 1 = 41 holes. For planting, the number of saplings per decare is found with 1,000 m² ÷ (row spacing × in-row spacing); for example, at 5 × 4 metre spacing a decare takes 50 saplings. These spacings are only examples; sapling spacing varies with species and rootstock and should be set with your agronomist.
If the fence line is very close to a wall or a neighbour’s boundary, the machine’s boom swing comes in handy. The 120° boom swing on the R327 and R350 makes it easier to work along a boundary by swinging the boom out to the side, without putting the machine right on top of the line. We explain this feature in our guide to boom swing.
On sloping ground, watch two things. First, post and planting holes must be dug plumb, not square to the slope; if the auger is held square to the slope, the posts will stand crooked. Second, the machine itself must stay stable on the slope: if possible, position it facing up or down the slope rather than sideways across it. We explain the rules for working on slopes in our guide to safety on sloping ground.
Diameter and depth: for fence posts and saplings
| Application | How to choose the hole diameter | How to set the depth | Watch out |
|---|---|---|---|
| Fence post set in concrete | Post thickness + concrete allowance all round; noticeably wider than the post | Common practice: about a third of the post length; more depending on wind load and ground | Keep the posts on the string line and plumb |
| Post set in compacted backfill | Wide enough for the backfill to be compacted | Usually deeper, since no concrete is used | Compact the backfill layer by layer |
| Container-grown or potted sapling | Noticeably wider than the root ball | As deep as the root ball; no deeper | The root collar must stay at soil level |
| Bare-root sapling | Wide enough for the roots to spread without bending | So that the graft union stays above the soil | Plant without letting the roots dry out |
The rules in the table are general practice. If the fencing system manufacturer or your project gives a dimension, that dimension applies. In cold regions, post holes may need to go below the frost line; find out what the established practice is in your area. You can ask us which auger bit diameters suit your machine.
Step-by-step drilling technique
- Put the machine on level, firm ground. A hole dug from a tilted position will be tilted too.
- Seat the bit on the mark and check it is vertical. Before starting, and after the first few turns, stop the auger and confirm that the bit is plumb, using a helper standing to the side or a spirit level; the helper must stay at a safe distance while the auger is turning.
- Start at low speed. Turn the bit slowly until it grips the soil, then increase the speed.
- Don’t push — let it feed. The spiral pulls itself into the soil; too much down-pressure from the boom strains the motor and jams the bit.
- Lift and clear at intervals. After going down a few turns, lift the bit while it is still turning; the soil on the spiral is thrown out of the hole. In deep holes, repeat this several times.
- Reverse when it jams. If the bit catches on a stone or a root, don’t force it; free it with a short reverse turn and lift it out.
- Mark the depth. A depth mark on the spiral in paint or tape ensures that every hole is the same depth.
- Keep the mouth of the hole clear. Move the spoil away from the edge of the hole so it doesn’t fall back in.
Measure your own speed
There is no single answer to how many holes you can dig in a day; the ground, diameter, depth, distance between holes and the operator’s experience decide the result. The most reliable method is to count the holes dug in the first hour of the job. Divide the total number of holes by this hourly figure and you get a realistic picture of how many hours the job will take, including moving the machine along the line.
Problems and solutions by ground type
Clay ground
Wet clay sticks to the spiral and makes clearing harder. More importantly, the turning bit can smear and polish the walls of the hole; this “glazed” wall makes it harder for water and roots to get through. In planting holes, roughening the walls with a spade or fork reduces the problem. If possible, don’t work on days when the clay is very wet.
Stony ground
Small stones come out with the spiral; large stones stop the bit. Forcing it every time you hit a stone wears out the bit and the drive unit. On very stony lines, it is more efficient to loosen the hole positions with a ripper first or to remove large stones with the bucket.
Sandy and loose ground
Dry sand flows back into the hole as the bit is lifted, and the walls collapse. You need to set the post or sapling straight after digging the hole, and not spread the job over several days.
Root-filled ground
The auger cuts through fine roots, but when it meets a thick root or an old stump the bit stops. Rather than persisting at that spot, move the hole slightly, or first open up the root with the bucket and cut it. If you are working near existing trees, plan the holes far enough from the trunk to avoid damaging the tree’s main roots.
Very wet ground
In muddy soil the hole fills with water, the walls fall apart and the tracks churn up the ground. Waiting for the ground to dry out a little is the right decision, both for the quality of the hole and for the machine.
After the hole: setting posts and saplings
The hole is only half the job. Planning the setting of posts and saplings with the same discipline makes sure the time the auger saves isn’t wasted.
- For posts: First set the posts at both ends of the line and run a string between them; align the intermediate posts to this string. If concrete is being poured, fix the post plumb, pour the concrete, and don’t put any load on the post before the concrete has set. If no concrete is used, compact the backfill in thin layers.
- For saplings: Spread loose soil in the bottom of the hole, set the sapling so that the root collar stays at soil level and fill with the dug-out soil. Firm the backfill gently and water it in; in places exposed to wind, tie the sapling to a support stake.
- Make use of the spoil: The loose soil the auger brings up is usually suitable for backfilling; most of the time there is no need to bring in extra soil.
With wire fences, pay special attention to corner, end and strainer posts. These posts carry the tension of the wire; a corner hole dug to the same diameter and depth as the intermediate posts will lean over time. For these posts, most fencing systems recommend a wider and deeper hole, plus extra supports such as struts; take the dimensions from your fence manufacturer’s instructions.
Safety and a pre-start checklist
- Have you checked with the relevant utilities whether there are electricity, gas, water or telecoms lines below ground?
- Is the work area clear of everyone except the machine? A turning spiral wraps up loose clothing, rope and gloves in seconds; nobody should go near the bit while the auger is turning.
- When clearing soil from the spiral, has the auger come to a complete stop and are the controls disabled?
- Are the operator and helper wearing safety boots and safety glasses?
- Are the hydraulic hose connections tight and leak-free?
- Are the cutting teeth on the bit worn or broken?
- Have the open holes been covered or marked so nobody steps into them?
Summary
- An auger digs vertical holes of the same diameter and depth, one after another; it reduces excavation and backfill.
- Sort out the line and spacing first: number of holes = length ÷ spacing + 1.
- Set the diameter and depth according to the post, the sapling and the manufacturer’s dimensions.
- Don’t push, clear at intervals, reverse when it jams.
- In clay, roughen the walls; in stony ground, loosen first.
- Set the post or sapling as soon as the hole is dug; don’t leave holes open.
To find out whether the auger and other attachments suit your machine, and what they cost today, browse mini excavator attachments or message us on WhatsApp with your machine’s model.