When the digging is done, the job isn’t. For a garden to be ready for sowing grass, a plot for pouring concrete or a road for surfacing, the ground needs to be at the right level, at the right fall and clean. This final stage often takes more patience than the digging itself, and it does more than anything else to determine the quality of the result.
In this guide we look at the three tools for levelling land with a mini excavator: the machine’s dozer blade, the 100 cm grading bucket and the 60 cm rake. We go step by step, from level and fall calculations to saving the topsoil, and from fine grading technique to the end-of-job check. We cover the overall work plan for garden landscaping in our guide to garden landscaping with a mini excavator.
Three tools for levelling: blade, grading bucket and rake
| Tool | What does it do? | Best stage for it | Limitation |
|---|---|---|---|
| Dozer blade (on the machine) | Pushes soil, spreads fill, backfills | Rough grading | The rise and fall of the tracks as the machine moves is transferred to the surface |
| 100 cm grading bucket | With its wide, usually straight edge it skims and smooths the surface and shapes slopes | Fine grading, slope and ditch trimming | Not for digging hard ground |
| 60 cm rake | Combs out stones, roots and rubble and loosens the surface | Final surface preparation | Doesn’t carry fine soil, doesn’t dig |
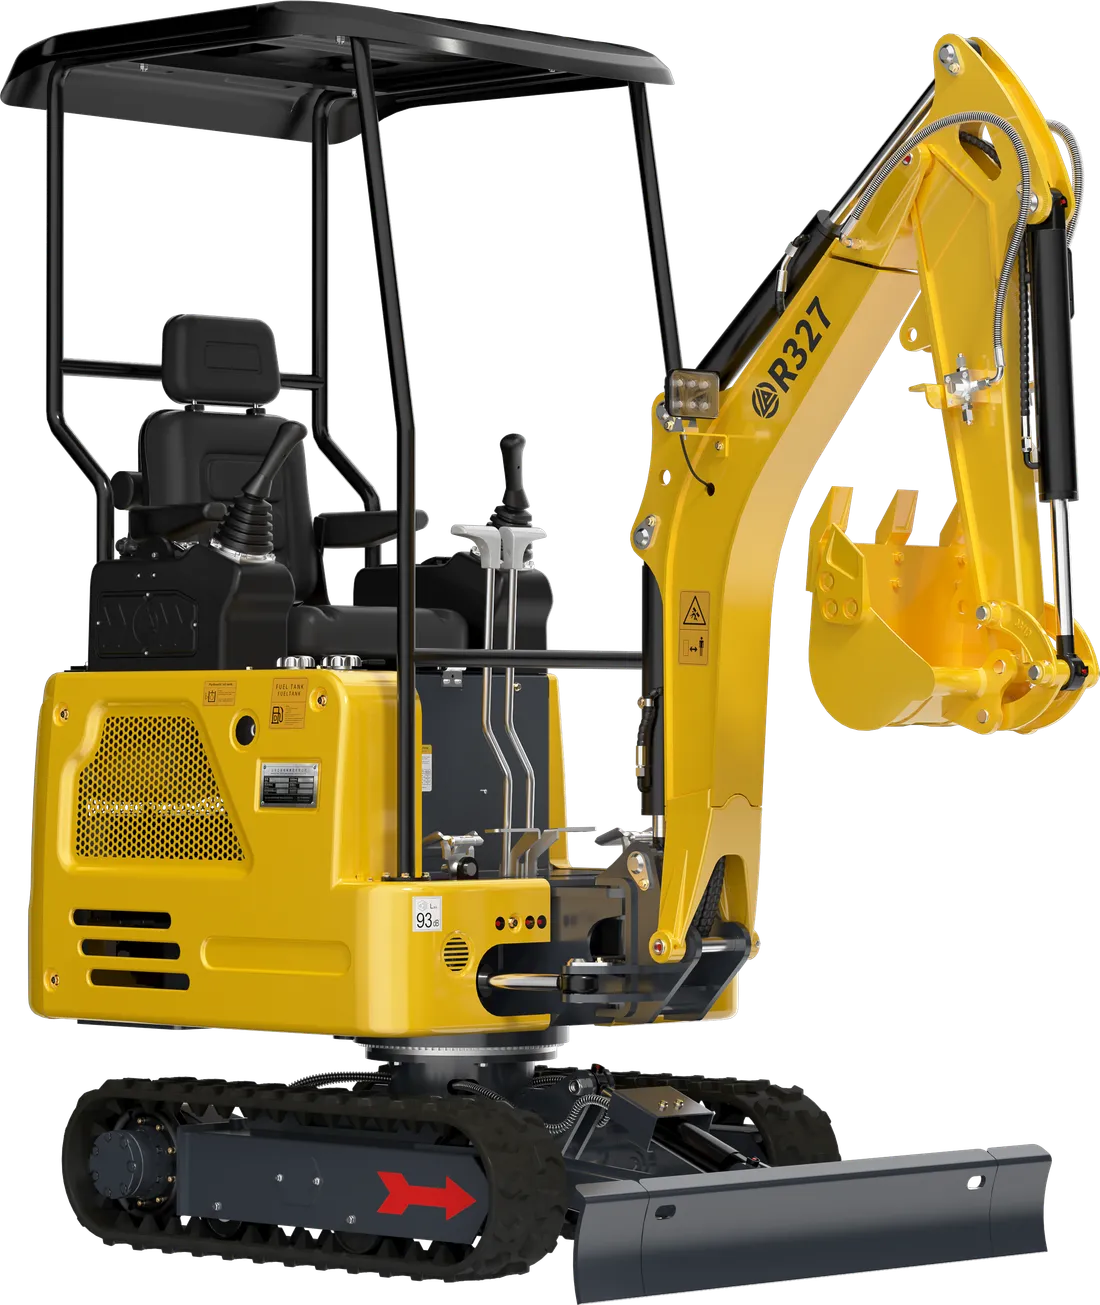
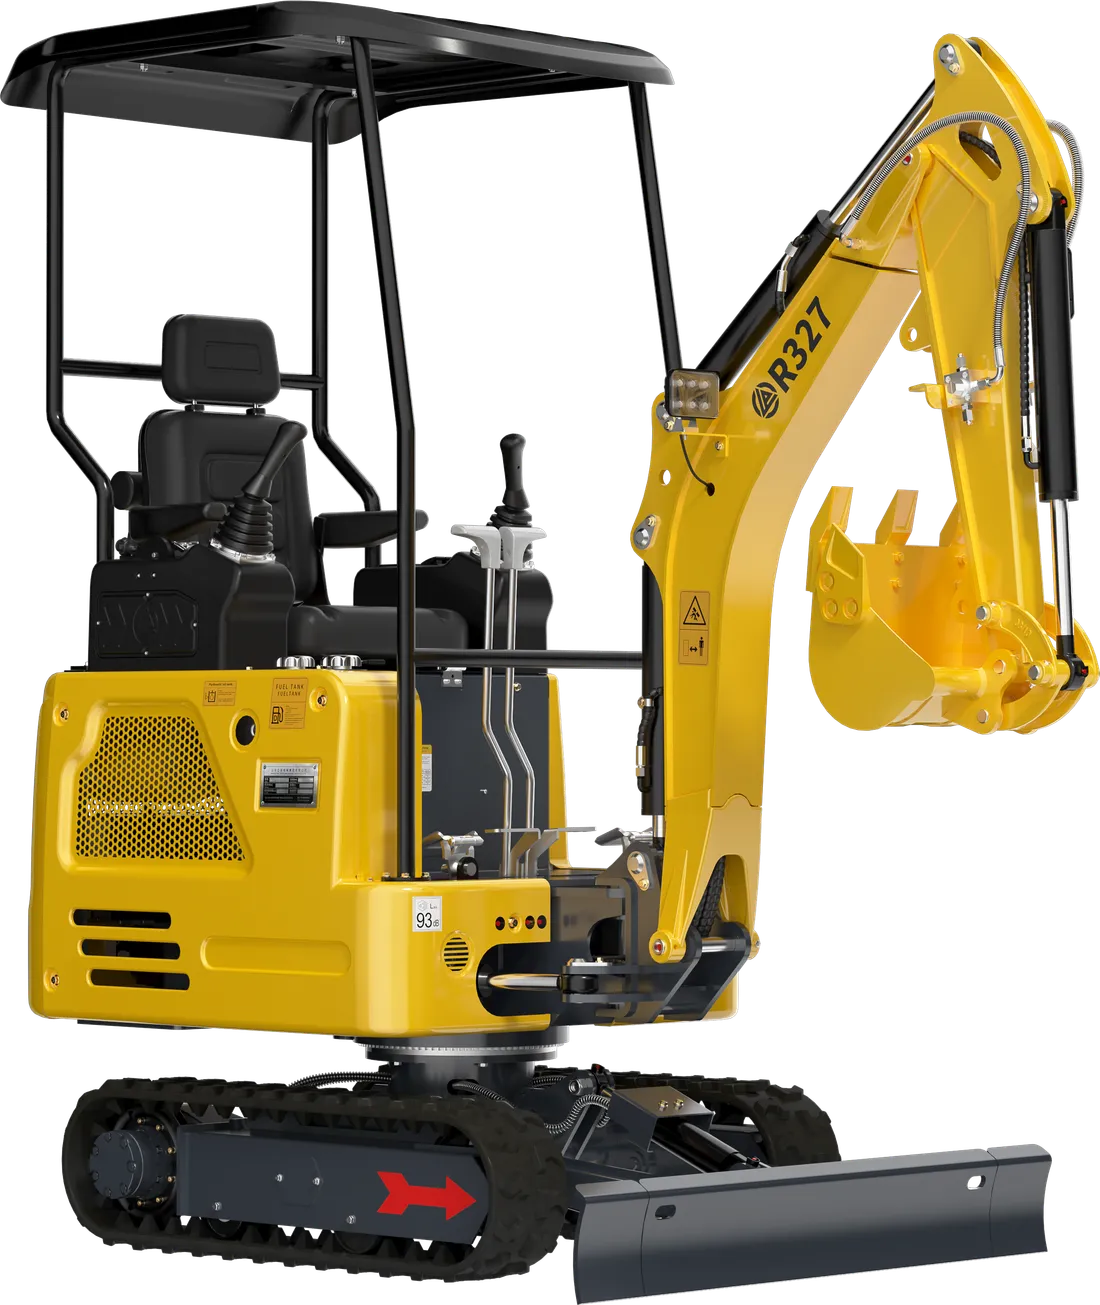
The dozer blade width is 100 cm on the R10, 110 cm (adjustable) on the R327 and 120 cm on the R350. The blade deals with rough work quickly but won’t give a fine surface on its own; the last few centimetres are taken off with a grading bucket controlled by the arm. The rake is the finishing touch that prepares the surface for sowing or surfacing.
When these tools are used in a set order, nothing needs redoing. The general sequence is:
- Drive in the level pegs and run the string lines.
- Strip the topsoil and stockpile it at the side.
- Do the rough grading by cut and fill, compacting the fill layer by layer.
- Do the fine grading with the grading bucket.
- Spread the topsoil back and prepare the final surface with the rake.
Levels first: the reference height and fall calculation
Ground levelled by eye shows you where the water collects at the first rain. That is why you should set a reference height before you start: a building threshold, a kerb edge or a fixed peg. Drive level pegs at the corners of the area and at regular intervals, mark the finished surface level on the pegs and run string lines between them.
Writing next to each peg how much cut or fill is needed at that point makes the operator’s job much easier. For example, “C 10” means 10 cm of soil is to be taken off at that point, and “F 15” means it is to be filled by 15 cm. The operator can then work from the pegs, without going back to measuring on every pass.
A laser level is the most practical way to measure; if you don’t have one, a clear hose filled with water will also reliably give you the level difference between two points. As long as there are no air bubbles in the hose, the water level at both ends always stays at the same height.
The area is given a slight fall so that surface water runs away from the building. Take the fall value from the landscape design or your contractor; the calculation is simple: level difference (cm) = distance (m) × fall (%). Example: with a 2% fall, there is a 15 × 2 = 30 cm difference between the two ends of an area 15 metres long. The figures are examples; use your own project’s value.
Keep the topsoil separate
The dark, organic-rich layer at the very top of the ground is the topsoil, and it is the layer the garden, the grass and the saplings really feed on. If this layer gets mixed with the raw soil beneath it during levelling, or ends up buried under fill, it can never be recovered.
- Before you start levelling, strip the topsoil and stockpile it in a separate heap at the edge of the area.
- Do the cut and fill — the actual grading — in the raw soil below.
- Once rough and fine grading are finished, spread the topsoil back in an even layer.
Don’t drive the machine over the topsoil heap; compacted soil loses its structure. If the heap will sit for a long time, covering it is a good precaution to stop weeds taking over and the wind blowing it away.
Rough grading: balancing cut and fill
In rough grading, the aim is to move soil from the high points to the low points and get close to the levels on the pegs. On a well-planned job, bringing soil in or carting it away is kept to a minimum. In areas where you will be cutting, even if only shallowly, find out from the relevant utilities beforehand where the electricity, gas and water lines run.
- Spread the fill in thin layers and compact each layer. Fill laid thick in one go settles over time and leaves hollows in the surface.
- Don’t mix roots, turf or branches into the fill. As organic material rots, the ground sinks.
- Compact with suitable equipment. Tracking over it compacts it to some extent, but unevenly; if the area is large, use compaction equipment such as a plate compactor or roller.
- Watch the moisture. Very dry soil doesn’t compact well; very wet soil turns to mud and the tracks leave deep ruts.
If cut and fill don’t balance, work out how much soil you will need at the start: volume needed (m³) = area (m²) × average fill thickness (m). Example: if an area of 200 m² needs an average of 10 cm of fill, you need 200 × 0.10 = 20 m³ of compacted soil. Because soil loses volume as it is compacted, you need to order more than this in loose form; discuss the allowance with your supplier. The figures are examples.
Working technique with the blade
When pushing soil with the blade, move forward slowly and at a steady speed; raising and lowering the blade with sudden movements leaves waves in the surface. Don’t try to push too much soil in one go; move it in several short passes. When spreading fill, hold the blade slightly above the surface and let the material flow out under the blade in a thin layer. On sloping ground, don’t position the machine so that it leans sideways across the slope; as far as possible, work straight up and down the slope and follow the slope warnings in your manual.
Levelling land with a grading bucket: fine grading technique
- Position the machine outside or at the edge of the area to be levelled. Tracking over the finished surface undoes your work.
- Keep the machine level. If the machine is tilted, the surface you pull with the bucket will be crooked too; lower the dozer blade to the ground to steady the machine.
- Keep the bucket edge parallel to the surface. If the edge points down, the bucket digs; if it points up, it slides over the material.
- Hold the height with the boom while drawing the arm towards you. Using the arm and boom together keeps the bucket moving along a straight line. Work slowly at first; the smoothness comes with time.
- Take only a little material. In fine grading the bucket skims off an excess of a few centimetres; too much load spoils the line.
- Make use of the back of the bucket too. Curling the bucket and pushing back with its back to spread loose material or press it down lightly works well for fine finishing.
- Check against the string often. Every few strips, measure the distance between the string and the surface.
- Finish by working backwards. If the machine works away from the finished surface, you won’t leave track marks; close up any remaining marks on the last pass.
Trimming slopes
Slopes on the edges of fill, trench banks and garden terraces are a job for the grading bucket too. Work the slope from top to bottom and keep the bucket edge parallel to the slope angle; that way the surface comes out in one smooth piece. Take the slope angle from the design or your contractor; a slope left too steep washes away in the rain. Never position the machine near the loose edge of a slope; the edge can collapse under the machine’s weight. For high slopes and situations that need retaining structures, consult a specialist before starting work.
A wide bucket speeds up fine grading, but on a small machine you also need to respect weight and stability limits; we explain this balance in detail in our bucket width guide.
Final preparation with the rake
Even on a graded surface, stones, bits of root and rubble remain. The 60 cm rake combs these pieces off the surface and gathers them to one side, leaving the soil in place. Don’t press the rake down too hard on the surface; the aim is to comb, not to dig. Remove the gathered stones and roots from the area, or they will be spread over the surface again on the next pass.
The rake is useful before levelling starts, too. If shrub roots, clumps of weeds and old garden debris on the surface are raked up before the topsoil is stripped, the topsoil stays cleaner and no organic material gets mixed into the fill.
If there are a lot of stones in the soil, the rake only picks up those on the surface. On ground like this, a screening bucket is the better tool for sieving the soil and reusing it on site.
The surface before sowing and planting
In an area to be sown with grass, the final surface should be both level and slightly loose; seed takes better in fine, raked soil. Use the rake lightly in parallel strips on the last pass and leave the surface ready for sowing without over-compacting it; plan the after-sowing work with your landscape contractor. In areas where concrete or paving will be laid, it is the other way round: the surface needs to be compacted layer by layer, not loose.
End-of-job checklist
- Does the measurement between the level pegs and the surface hold across the whole area?
- Does the fall run away from the building? Pour water from a bucket or hose to check the run-off by eye; fix any spots where it pools.
- Are there any large stones, roots or rubble left on the surface?
- Have the track marks been closed up?
- Are there soft spots in the filled areas that may settle?
- Has the topsoil been spread in an even layer?
- Have the level pegs and strings been collected or marked so nobody trips over them?
Common mistakes
- Grading wet soil: The soil sticks to the bucket, the surface doesn’t come out smooth and the tracks leave deep ruts.
- Working without level pegs: The eye is not a good measuring tool; even a reverse fall of a few centimetres makes water collect.
- Leaving the fall towards the building: Surface water collects at the foot of the wall.
- Burying the topsoil: Grass and saplings grow poorly afterwards.
- Thick fill in one go: It comes back months later as settlement and hollows.
- Driving over the finished surface: Track marks and compacted strips call for a second round of finishing.
Most of these mistakes come from rushing and poor planning. If you level ground regularly for your customers, we look at which combination of machine and attachments will speed up your work in our guide to a machine fleet for landscaping firms.
Summary
- The blade for rough work, the grading bucket for the fine surface, the rake for final preparation.
- Start with level pegs, string lines and a reference height; calculate the fall with distance × fall.
- Separate the topsoil at the start and spread it back at the end.
- Spread fill in thin layers and compact it.
- Don’t drive over the finished surface; finish by working backwards.
Let’s work out together which machine and attachments suit your land levelling job. For the grading bucket and rake, explore mini excavator attachments, or message us on WhatsApp for current prices.