The bucket teeth can’t get into the ground, the machine strains with every cycle, the front of the tracks lifts off the ground, and an hour’s job isn’t done in half a day... Every operator who works in hard, compacted or stony ground knows this picture. Most of the time the problem isn’t the machine’s power, but power being used the wrong way.
A ripper is a simple but effective attachment that loosens hard ground by concentrating this power on a single point. In this guide we explain how a ripper works, which ground it helps in and which it doesn’t, how to choose one, the right working technique and how to use it without wearing out the machine.
What is a ripper and how does it work?
A mini excavator ripper is a single tooth with a sharp, curved tip, fitted in place of the bucket. With a bucket, the machine’s digging force is shared between the teeth along the cutting edge; with a ripper, all of it goes into a single tip. Because the same force is applied to a much smaller area, the ground cracks and loosens where a bucket would struggle.
Bucket teeth break up the ground too, but the wide bucket body behind the teeth rubs against the hard ground, and part of the force is lost in this friction. With a ripper, there is no wide surface behind the tooth dragging against the ground; almost all the force goes into driving the tip forward.
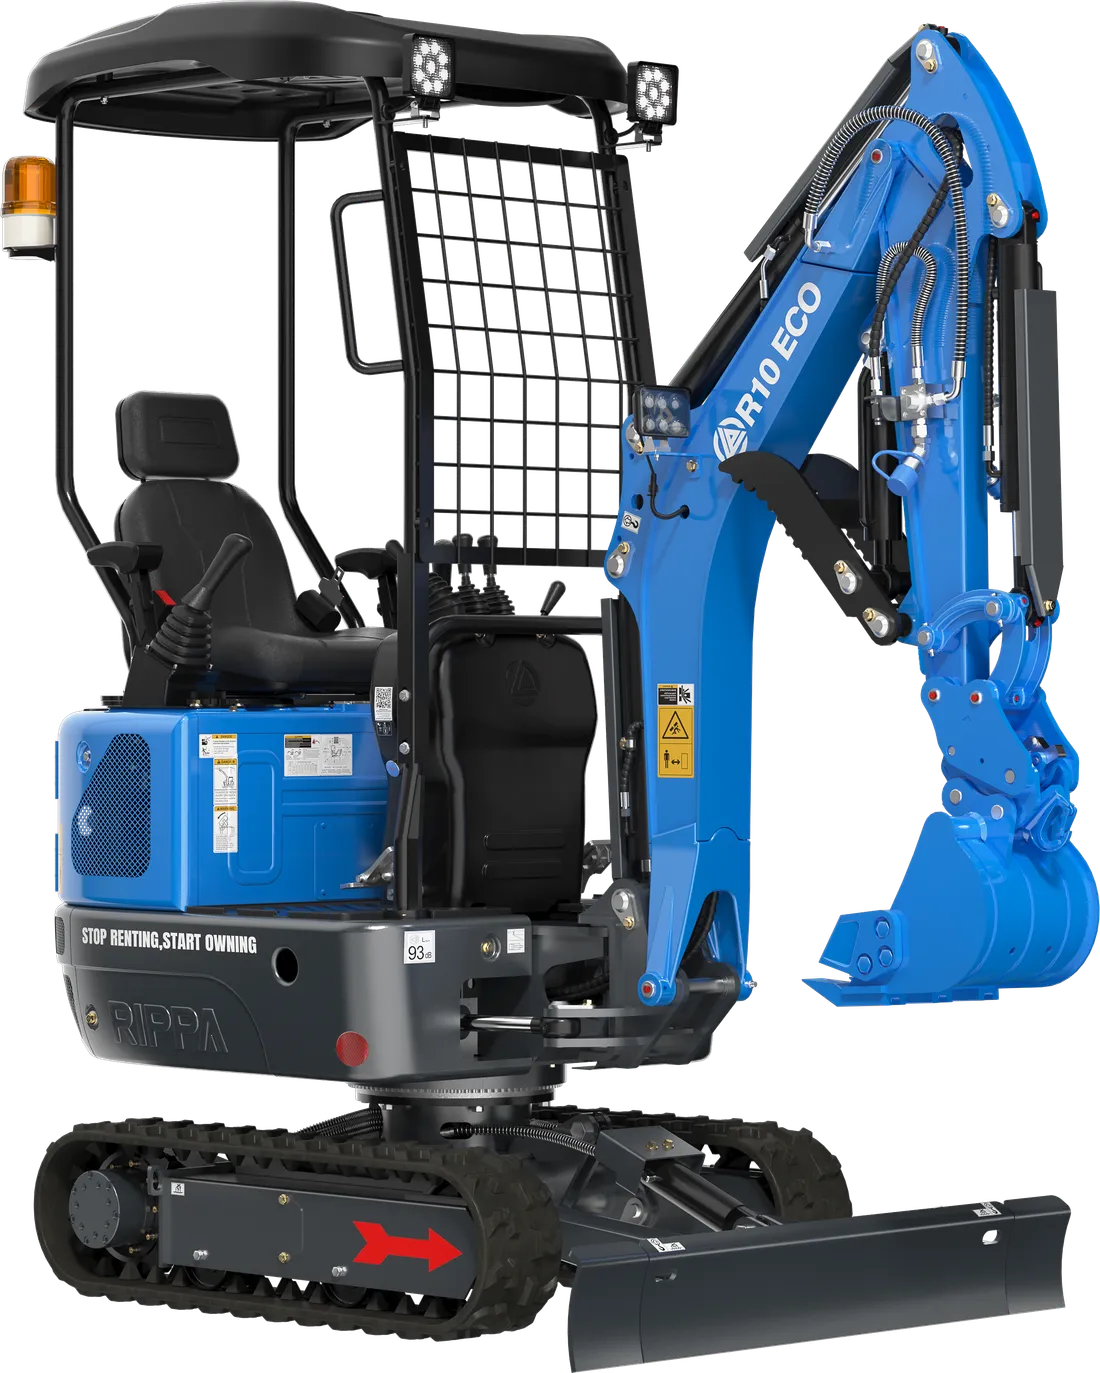
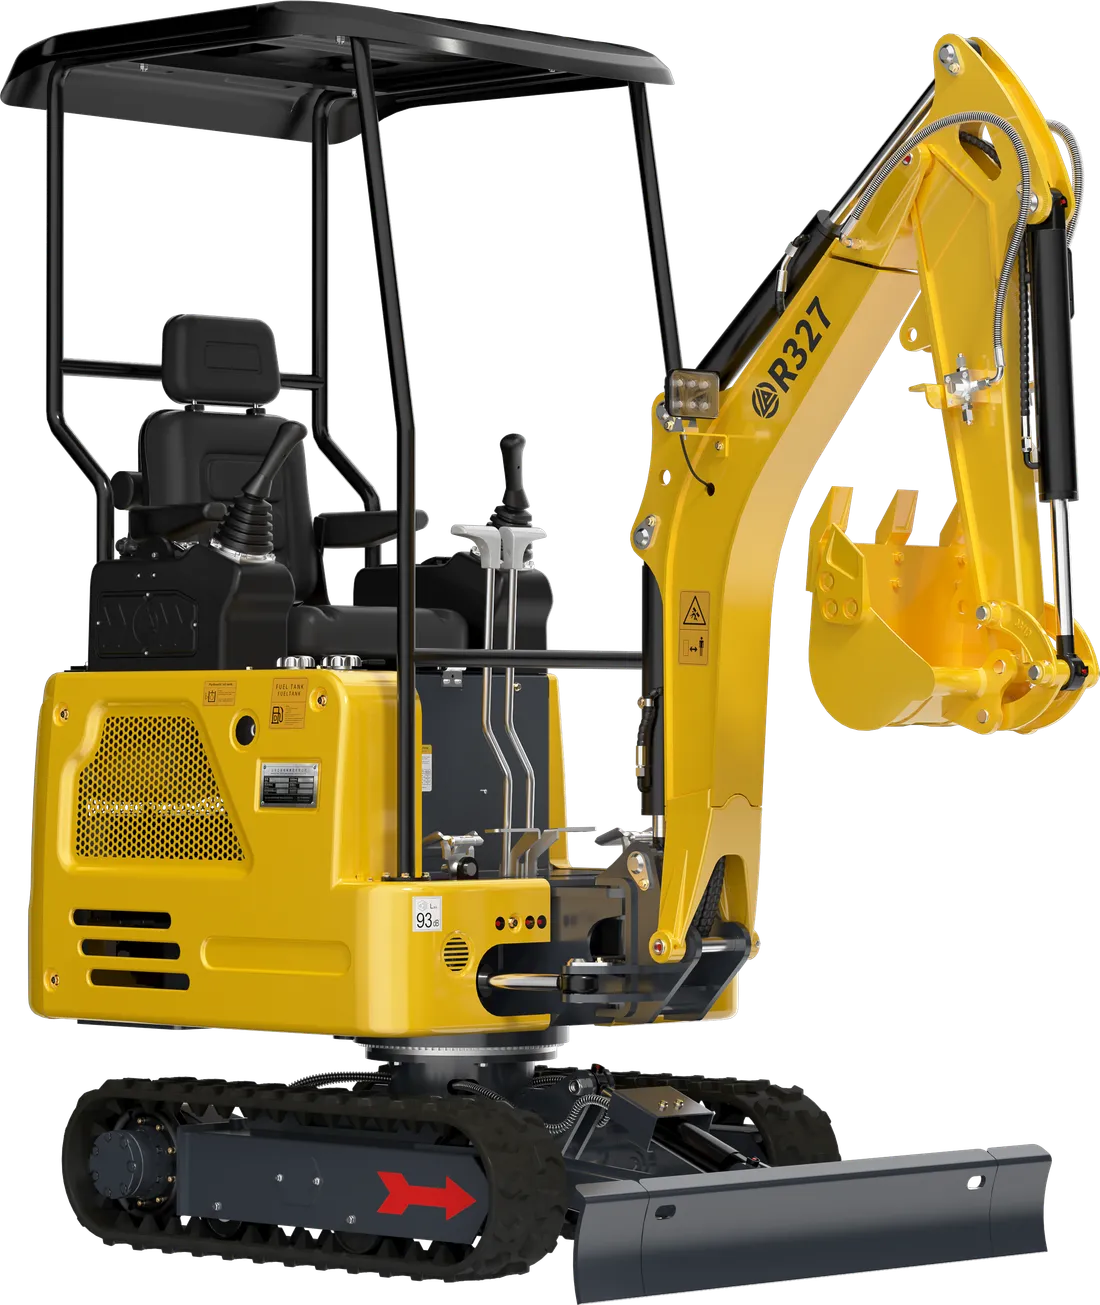
This difference matters even more on a small machine. The bucket digging force is given as 11 kN on the R10 and 22.5 kN on the R350. Rather than a machine with limited force wrestling with hard ground using the bucket, loosening first with the ripper and then scooping with the bucket is both faster and easier on the machine.
A note on terms: in farming, “chisel” usually means an implement towed behind a tractor that loosens the soil deep down. This guide is about the single-tooth ripper fitted to an excavator’s arm; the two tools serve a similar purpose but work in different ways.
Which ground does it work in, and which not?
| Ground or material | Ripper | Note / alternative |
|---|---|---|
| Compacted soil, old road and fill layers | ✅ | The most typical use |
| Clay that has dried out rock-hard in summer | ✅ | Loosen it with parallel lines |
| Hard lime layer (caliche) | ✅ | Work in thin layers |
| Fractured, weathered soft rock | ✅ | Follow the direction of the cracks |
| Root masses and around stumps | ✅ | Loosens by cutting the roots |
| Thin frozen surface layer | ✅ | Don’t force it in deep frost |
| Solid, unfractured rock | ❌ | Needs a hydraulic breaker |
| Reinforced concrete slabs and foundations | ❌ | Breaker plus separate rebar cutting |
Ground hardness also changes with the seasons. A clay soil that a bucket digs easily in spring can dry out and set rock-hard by the end of summer. If you can be flexible with the schedule, factor the condition of the ground into your planning; if you can’t, put the ripper into the work plan from the start.
The rule is simple: a ripper loosens, it doesn’t break. If the material has a weakness, crack or porosity the tip can get into, a ripper is very effective; if not, you need a breaker. We explain choosing and using a breaker in our hydraulic breaker guide. You will find the general method for removing stumps and roots in our guide to stump removal and land clearing.
Choosing a ripper: length, tip and weight
Rippers look alike from the outside, but how well one suits the machine and how it behaves in the ground come down to three features:
- Length: A long tooth goes deeper, but because the lever arm is longer it puts more load on the connection points. On a small machine, an oversized ripper brings strain instead of gains.
- Tip: The tip is the part that wears. On types with a replaceable tip, only the tip is renewed and the shank is preserved. Ask about the tip type and the availability of spares from the outset.
- Weight and mounting: The ripper’s weight and connection dimensions must suit your machine’s class. Confirm the pin diameter, pin spacing and quick coupler compatibility before you buy.
The right working technique with a ripper
- Find out about utility lines first. A ripper tip goes deeper and harder into the ground than a bucket; it can sever an underground cable or pipe without you noticing. Check with the relevant utilities whether there are electricity, gas, water or telecoms lines in the dig area.
- Put the machine in a stable, level position. Lower the dozer blade to the ground; it stops the machine sliding forward as you pull.
- Sink the tip and pull towards you. Push the tip into the ground and draw the arm in towards the machine so the tip moves through the soil. A ripper works most efficiently in this direction.
- Work in parallel lines. Choose the distance between the lines so that the block in between can be scooped up easily with the bucket. If the ground is very hard, narrow the spacing.
- Go down layer by layer. Don’t try to rip the full depth in one go. Loosen one layer, scoop it out with the bucket, then move on to the next layer.
- Cross-rip if needed. In very hard ground, a second pass at right angles to the first lines breaks the blocks down further and makes the bucket’s job easier.
- Don’t force it when it catches. If the tip hits a large stone and won’t advance, lift it out and move the line slightly. Don’t try to lift the machine with the ripper.
Reading the ground and setting the entry angle
The first few pulls tell you a lot about the ground. If the tip goes in and moves forward cutting a clean groove, you are on the right track. If the tip bounces and vibrates, there is rock or a very hard layer underneath. If the tip skids along the surface without going deeper, the entry angle is too shallow.
Set the entry angle with the bucket cylinder. If the tip goes in too steeply, it catches as it moves forward and strains the machine; too shallow, and it skids along the surface without gripping. At the right angle, the tip naturally pulls itself slightly downwards into the soil as you draw the arm towards you. You will get the feel for it after a few tries; reset the angle whenever the ground changes.
Example workflow: a trench in dried-out clay
Imagine you have to dig an irrigation trench in clay that has set rock-hard at the end of summer. If the bucket just scrapes a few centimetres and skids, try this sequence: pull two parallel lines with the ripper along the trench line, then scoop out the loosened layer with the bucket; repeat the same process for the second layer. Compare the metres you advance with this method in the first hour of the job with the metres you advance using the bucket alone. The difference shows most clearly what the ripper gains you in your ground.
Because you will switch between ripper and bucket many times a day on this kind of job, attachment changeover time matters. A quick coupler system cuts this switch down to minutes.
Working without wearing out the machine
Used correctly, a ripper protects the machine; used wrongly, it wears out the boom, arm and pins most of all. Avoid these habits:
- Pulling sideways: Forcing the ripper left and right with the slew or boom swing while the tip is in the ground puts loads on the boom and slewing assembly in directions they weren’t designed for.
- Pulling with the tracks: Reversing the machine while the tip is buried uses the ripper like a plough and strains the connection points.
- Working at full reach: With the arm fully extended, the force drops while the leverage on the connection points increases. Pull your lines at a reasonable distance from the machine, and move the machine forward when needed.
- Keeping the hydraulics constantly at their limit: The straining noise you hear when the system hits its limit means the oil is heating up. Rather than persisting through that noise, change the line or take a thinner layer.
- Neglecting greasing: Ripper work puts shock loads on the pins and bushings. Greasing the arm and bucket pins regularly delays the development of play; we explain the details in our guide to pins, bushings and greasing.
Ripper, breaker or a bigger machine?
When you come up against hard ground, think it through in this order:
- The bucket strains but makes progress: A narrower bucket may be enough.
- The bucket won’t go in, and the ground is soil or loose rock: A ripper.
- Even the ripper only scratches the surface and won’t advance, and the material is solid: A hydraulic breaker.
- The job is big and deep, and the ground is hard throughout: Consider a heavier-class machine. The R350, for example, with its 3,500 kg operating weight and 25 HP Kubota D1703 engine, works more comfortably in ground where a 1-tonne class machine struggles.
In mixed ground it is also possible to use both attachments together. If a seam of rock runs through the soil, splitting the seam with a breaker and loosening the hard soil around it with a ripper is much faster than working the whole line with a breaker.
Let’s be honest — a ripper isn’t a miracle. In genuinely solid rock, or in a very large volume of hard ground, a mini excavator and ripper will finish the job, but not in an economical time. On a job like that, choosing a machine of the right scale saves time and fuel.
Safety when working with a ripper
A ripper is a simple attachment, but it works with large forces in hard ground. A root that suddenly snaps free, a stone that shifts or an edge that collapses is a risk to the people around and to the machine.
- Clear the work area: Roots under tension and pieces of stone can fly off in unexpected directions; nobody should be within the machine’s reach.
- Keep away from existing structures: Ripping around foundations, retaining walls and pipelines loosens the ground and can affect these structures. At such points, consult a specialist first.
- Take care on slopes: Soil loosened on a slope can slide; position the machine safely for the slope and don’t let anyone work below it.
- Don’t neglect personal protective equipment: Anyone working around the machine should wear a hard hat, a hi-vis vest and safety boots.
Wear, maintenance and checklist
The part of a ripper that wears most is its tip. When the tip starts to go blunt, it gets harder to drive into the ground and the machine strains more. Carry out the following checks before work:
- Is the tip blunt, cracked or broken?
- Are there cracks, bending or weld separation on the shank?
- Are the mounting pins and their retainers in place and tight?
- Is there visible play in the pins and bushings?
- Have the arm and bucket pins been greased?
- Have the underground lines in the work area been identified and marked?
The tip type and replacement method vary with the ripper model; get in touch with your model details for a ripper and spare tips that suit your machine.
Summary
- A ripper concentrates the machine’s digging force on a single tip; it loosens hard ground but doesn’t break it.
- It is effective in compacted soil, dried-out clay, caliche and fractured rock; solid rock and reinforced concrete need a breaker.
- Choose a ripper whose length, tip and weight suit your machine’s class.
- Sink the tip and pull towards you; work in parallel lines and layer by layer.
- Don’t pull sideways, don’t drag with the tracks, don’t keep the hydraulics constantly at their limit.
- For frequent switching between ripper and bucket, a quick coupler makes life much easier.
If you have a job in hard ground, send us photos of the ground and your machine’s model, and we will assess together whether a ripper will be enough. Explore mini excavator attachments or ask on WhatsApp for a current price.