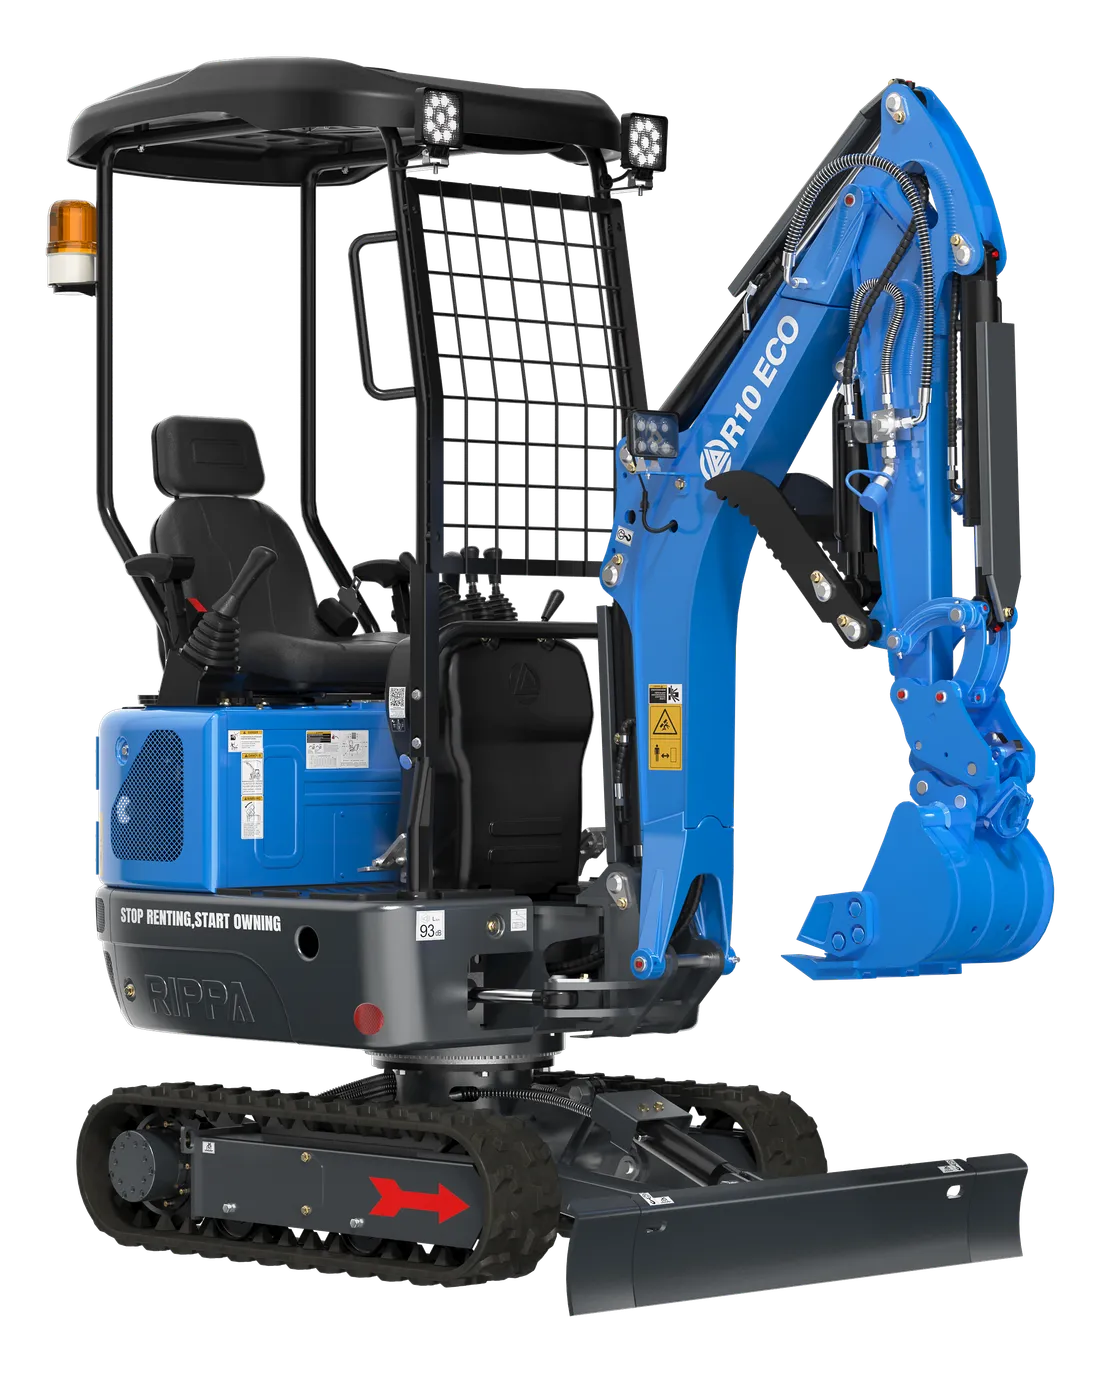
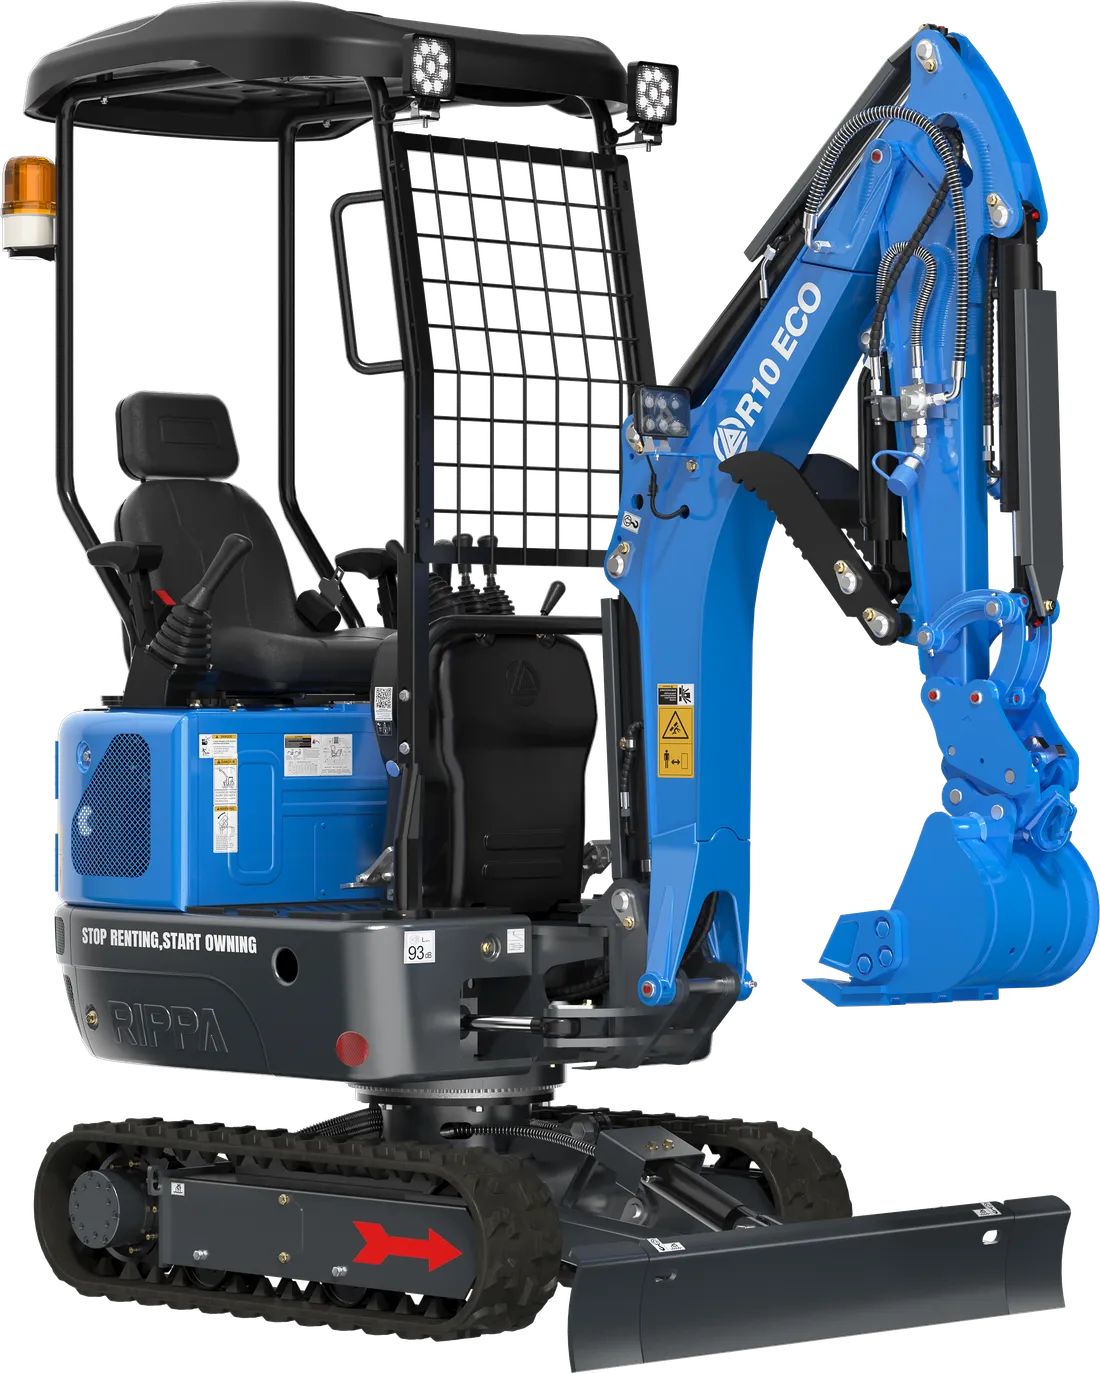
Trench digging is the job a mini excavator does most often: irrigation lines, drainage pipes, sewer connections, power and telecom cables. The machine people look for on site as a trenching machine, trench digger or channel-digging excavator is usually a mini excavator too. The job looks simple: you dig along a line and keep going. But the difference between a good trench and a problem trench lies in small decisions about dimensions, fall and safety.
This volume explains the decisions you need to make before you start digging the trench and the order to follow on site. We cover one by one how to choose the bucket width, how depth relates to the machine, how to give the bed a fall and why trench walls collapse.
Let’s start with a warning: the biggest risk in trench digging falls not on the machine but on the person who goes down into the trench. Don’t skip the safety section of this article.
First define the trench dimensions
Every trench is defined by four dimensions: width, depth, longitudinal fall and length. Starting the machine before these four dimensions are clear means having to make decisions on site.
- Width: Set by the diameter of the pipe or cable to be laid and the space needed around the pipe for working and bedding material.
- Depth: Comes from the project, the requirements of the relevant authority or the need to protect the line from frost and loads. Set it from the project, not by guesswork.
- Longitudinal fall: In drainage and sewer lines, where water flows by gravity, the bed needs to run at a set fall. In cable and pressurised water lines, fall is less critical.
- Length: Determines how far you will progress each day, where the soil will be piled and how long the trench will stay open.
In practice, the width decision means choosing the bucket, because the bucket’s width sets the trench’s width. The table below gives a starting point:
| Trench type | Suitable bucket | Note |
|---|---|---|
| Cable, drip irrigation feed line | 20 cm bucket | Least soil movement, easiest backfill |
| Main irrigation line, small-diameter pipe | 30 cm bucket | Leaves room for bedding around the pipe |
| Drainage pipe and gravel bedding | 40 cm bucket | Width is needed for the gravel surround |
| Trenches in hard, stony ground | 60 cm digging bucket | For hard ground; ask whether it suits your model |
| Wide open channel | Several passes | Dig in stages, leaving the sides battered |
Using a bucket wider than necessary means both digging extra soil and doing extra backfill. We explain the details of choosing a bucket in our bucket width guide; you can see all the bucket options on the mini excavator attachments page.
Depth: the machine’s limit and the reality of the job
The maximum digging depth in the spec sheet is the lowest point to which the machine can lower the bucket: 1,650 mm on the R10, 1,580 mm on the R327 and 2,927 mm on the R350. This value is measured in ideal conditions; in practice, as you approach the maximum the bucket can’t scrape the bed cleanly, the cycle gets longer and the operator tends to move the machine closer to the trench edge.
Let’s be honest: if your trench depth is very close to the machine’s limit, the machine is at its limit for that job. Trying to gain depth by moving closer to the edge weakens the ground under the tracks and increases the risk of the machine tipping into the trench. For jobs like this it is better to use a machine that digs deeper, such as the R350 with its 2,927 mm digging depth, or to solve that section another way; moving from the R10 to the R327 does not gain depth.
When positioning the machine, most manuals recommend digging from the dozer-blade end with the blade lowered to the ground; the blade acts as an extra support point and increases stability. Stand over the middle of the trench line, dig in front of you and move the machine backwards as the work progresses. The positioning recommendation in your own machine’s manual always takes priority.
Why do trench walls collapse?
A trench wall is a vertical face carrying the weight of the soil beside it. The soil can carry this load for a while, but the type of ground, water, vibration and extra load at the edge can suddenly upset the balance. A collapse usually happens without warning and within seconds.
| Ground | Behaviour | What to do? |
|---|---|---|
| Sand and gravel | Won’t stand vertical, keeps running | Battered digging or shoring essential |
| Clay | Stands vertical for a while, then can suddenly break away | Don’t rely on it standing; take precautions from the start |
| Fill and rubble | Unpredictable; may contain voids | Shoring and frequent checks |
| Ground with water ingress | Walls soften, bed flows | Remove the water, increase the precautions |
| Fractured rock | Generally sound, but blocks can fall | Clear away loose blocks |
There are three basic methods against collapse: leaving the walls sloped (battered excavation), digging the walls in steps (benched excavation) and holding the walls with temporary support (shoring). Which one is needed, and to what degree, depends on the ground, the depth and whether people will enter the trench. Occupational safety regulations make these measures mandatory under certain conditions; confirm the requirements for your own job with your OHS specialist or the project engineer.
Anything that increases the load on the wall increases the risk: soil piled close to the edge, a machine standing or travelling along the trench edge, parked vehicles and vibration from passing traffic. After rain, and on mornings after the trench has been left open overnight, always check the walls before starting work.
How to dig a channel with a mini excavator, step by step
- Mark the route: Drive stakes at both ends of the line and at the turning points, stretch string between them and transfer the line to the ground with spray paint.
- Find out about underground lines: Find out where electricity, gas, water and telecom lines are from the relevant authorities. When you approach a known line, stop the machine and confirm its position by exposing it by hand.
- Position the machine: Stand at the start of the line, on the trench axis; lower the blade and make sure there is no one in the swing area.
- Set aside the topsoil: On farmland and in gardens, put the topsoil that comes out on the first pass in a separate pile; it will go on top during backfill.
- Dig in layers: Instead of going to full depth in one pass, take a similar thickness on each pass. This gives a neater bed and puts less strain on the bucket and the machine.
- Pile the soil on the right side: Leave the soil on one side of the trench and away from the edge; keep the side where you will lower the pipe and materials clear.
- Measure depth and fall: Take a measurement from a fixed reference every few metres; we explain the method in the next section.
- Trim the bed: Take off the last few centimetres by scraping with the bucket lip; leave no stones or sharp rubble on the bed where the pipe will sit.
- Backfill to a plan: Surround the pipe with the material specified in the project, cover it in layers and compact; save the topsoil for last.
Bed fall: the critical dimension in drainage and sewers
In lines where water flows by gravity, the bed fall decides whether the pipe will work. A drainage line with no fall, or with reverse falls in places, doesn’t carry water; it collects it. That is why the fall is checked not by eye but against a fixed reference.
The simplest method is to stretch a string along the trench parallel to the design fall. Because the string sits at a fixed height above the bed, all you need to do is measure the distance from the string to the bed at each point: if the distance is the same everywhere, the fall is right. On longer lines a laser level does the same job faster.
Example: If the project specifies a fall of 1 cm per metre on a 30-metre drainage line, the lower end of the line must be 30 cm deeper than the upper end. If you have fixed the string 1 metre above the bed, you should measure 1 metre from the string to the bed at every measuring point. The figures are an example; use the fall in your own project.
A practical habit: start the dig at the lowest point, where the water will discharge, and work upwards. That way, rain or seepage water that gets into the trench while you work drains away by itself and the bed doesn’t turn to mud. We cover the details of the pipe-laying stage in the drainage and pipe-laying volume.
Safety rules for trench work
- Think before going into the trench: For every trench a person will enter, plan collapse protection from the start; nobody enters an unsafe trench, not even “for a minute”.
- Leave a way out: There must be a ladder or safe exit so that anyone who goes down into the trench can get out quickly.
- Keep a distance between the machine and the edge: Don’t bring the tracks close to the trench edge; any weight that crushes the edge ground strains the wall.
- Keep the swing area clear: If someone working in or beside the trench is in the machine’s swing area, the machine stops.
- Personal protective equipment: Hard hats, high-visibility vests and safety boots apply to everyone on site.
- Close off the area: Surround an open trench with barriers and mark it so it is visible at night; put traffic management in place at roadsides.
- Dig by hand near lines: If you know you are approaching a power or gas line, expose the last part by hand, not with the machine.
We have gathered the rules that apply across the site in the construction machine safety on site volume.
Backfill: closing the trench
Closing the trench takes less time than digging it, but this is also the stage where mistakes cost the most. Dropping soil with large stones onto the pipe, filling in one go without compacting, or not recording where the line runs come back months later as a sunken surface or a crushed pipe.
- Around the pipe: Use the bedding material specified in the project; don’t empty the bucket onto the pipe from a height, place the material by pushing it in from the side.
- Layers: Backfill in thin layers and compact each layer; a trench filled in one go settles over time.
- Warning tape: It is common practice to lay a warning tape over cable and pipe lines to alert anyone who digs at that spot in the future; check the relevant authority’s requirements.
- Record: Photograph the route and depth of the line with measurements to fixed points, and keep the record.
Choosing the machine and the alternatives
For most shallow, narrow trenches the R10 is enough; its 1,650 mm digging depth comfortably covers irrigation and cable lines. For trenches dug along a wall or fence, the boom swing on the R327 and R350 lets you shift the line right up to the wall without the machine rubbing against it; we explain the technique in the boom swing volume. For deep sewer connections and long lines in hard ground, the R350’s 2,927 mm digging depth and 22.5 kN digging force come to the fore.
For shallow irrigation ditches running hundreds of metres across a field, however, an excavator is not always the most efficient tool. In jobs like this a ditching attachment fitted to a tracked tractor can open the line while moving forward continuously; we make the comparison in the digging irrigation channels with a tractor volume.
Quick checklist
- Width, depth, fall and length have been taken from the project
- The bucket width has been chosen to match the trench width
- The positions of underground lines have been obtained from the relevant authorities and marked on site
- The type of ground has been assessed; the need for battering or shoring has been settled with the OHS specialist
- An area away from the edge has been set aside for the spoil pile
- A string or laser reference has been set up to check the fall
- The dig will start from the lowest point
- Barriers, night marking and personal protective equipment are ready
To choose the right machine for your trench work, look at our mini excavator models, or write to us on WhatsApp with the depth of the line and details of the ground to get a machine and bucket recommendation.