Foundation digging is one of the least forgiving jobs a mini excavator does. A hole overdug in a garden is covered with soil; in a foundation, a wrong level, a disturbed base or a grid line dug in the wrong place becomes a problem carried into the rest of the building.
This volume treats foundation digging as a planning and sequencing job. We explain step by step what you need to have before you start digging, how to prepare the site, in which order to dig and at which points to stop and check.
This article is no substitute for the foundation design. The foundation type, its depth and the ground conditions are set by the building project and the engineer; the machine operator’s job is to transfer these decisions accurately to the site.
What you need before digging
Before calling the machine to site, make sure the following documents and information are ready:
- Approved project and foundation plan: The foundation type, dimensions and levels come from here. Permit and approval procedures are a matter for your municipality; don’t start digging before they are complete.
- Ground information: The geotechnical report, if there is one; it shows what ground the excavation will meet at which depth, and the water situation.
- Setting out: Marking on site, by authorised persons, of the building’s position on the plot and its corner points.
- Level reference: A fixed benchmark from which all heights will be measured. It must be somewhere that will not be disturbed during the dig.
- Underground lines: Information on the electricity, water, gas and sewer lines crossing the plot must have been obtained from the relevant authorities.
- Spoil plan: How much of the excavated soil will stay on site, how much will be hauled away and where it will be tipped.
The shape of the dig by foundation type
The work the machine does varies with the type of foundation. Even on the same plot, different foundation types call for different digging strategies:
| Foundation type | Shape of the dig | Key point for the machine |
|---|---|---|
| Strip foundation | Long, narrow trenches under walls | Bucket width and straight trench walls; similar to trench digging |
| Pad foundation | Separate pits under columns | The level of each pit is checked separately |
| Raft foundation | A flat pit over the whole building area | Large area, flat base and high spoil volume |
| Garden wall and outbuilding foundations | Shallow strips or small pad pits | A light-class machine is usually enough |
Digging a strip foundation is in practice a neat trench dig; we explain the behaviour of trench walls and the safety rules in detail in the channel and trench digging volume. With a raft foundation, the main issues are volume and a flat base.
Preparing the site
A well-prepared site saves more time than the dig itself. Before you start digging:
- Protect the setting-out stakes: If the corner stakes are inside the excavation area, they will be lost with the first bucket. Transfer the stake lines to offset stakes and profile boards outside the excavation area; by stretching string throughout the dig, you can find the grid lines again whenever you want.
- Set the access road and truck position: Plan from the outset where the spoil truck will stand, how it will turn and how far it will stay from the edge of the excavation.
- Strip the topsoil: Put the topsoil in a separate pile; it is reused in landscaping, and sending it away with the spoil is a waste.
- Divert surface water: Make a shallow ditch or bund around the area so that rainwater doesn’t flow into the excavation.
- Set up a safety perimeter: Close off the excavation area with barriers or tape; stop people coming from off site from approaching the edge of the excavation.
Digging sequence: from rough to fine
The soundest method in foundation digging is to think of the work in two stages: bulk digging and fine digging. But first decide where to start the dig.
Starting point and exit ramp
In wide pits such as raft foundations, the machine usually goes down into the pit. In that case, start the dig at the corner furthest from the exit and work back towards the exit; otherwise the machine gets trapped in the pit it has dug. Leave a sloping ramp that the machine, and the helper if needed, can safely climb out on, and remove the ramp with the last of the digging. The ramp’s gradient must not exceed the slope limits in the machine’s manual.
Bulk digging
Most of the volume is removed at this stage. The machine works quickly, and the soil goes straight onto the truck or onto the pile on site. Don’t take the bulk dig down to the design level; leave it slightly above the design level. That way the base layer isn’t disturbed by the machine’s tracks and bucket teeth.
Fine digging and trimming the base
In the last part the machine slows down. The operator uses the bucket not by digging with the teeth but by scraping with the lip; a helper guides the operator, constantly taking measurements from the level reference. Corners and points the machine can’t reach are finished by hand.
The most important rule at this stage is: dig too little rather than too much. A few centimetres left over are easily removed by hand. An overdug part, however, has disturbed the firm base, and filling it with loose soil and compacting is usually not accepted; it has to be made good with the material and method the engineer specifies.
Once the base is ready, it should not be left waiting without being checked. A base left exposed softens in rain and dries out and cracks in the sun. Keep the time between the base check and the next stage as short as possible.
Water, spoil and neighbouring buildings
Water: A foundation pit can turn into a pool in the rain. Leaving a small sump in one corner of the pit and pumping the water from there stops the whole base turning to mud. If water keeps coming in during the dig, this may point to groundwater; assess the situation with your project engineer. If possible, plan the dig so that the days when the base will be exposed don’t coincide with a period of heavy rain; a schedule in which the concrete crew and materials are ready shortens the time the pit stands open.
Spoil: Excavated soil takes up more space than its volume in place, because it bulks up when dug. Take this into account when planning the number of trucks. If you will leave soil on site for backfill after the foundation is finished, pile the clean soil suitable for fill separately, and add soil containing rubble and organic material to the spoil to be hauled away. Keep the pile away from the excavation edge and somewhere it won’t block the truck route.
Example: An average dig of 1 metre over a 10 × 12-metre raft area means 10 × 12 × 1 = 120 m³ of soil in place. Find out the ground’s bulking factor and the truck’s load volume from your haulier, divide the volume by the truck volume, and you will have the number of trips. The figures are an example; do the calculation with your own dimensions.
For the machine to load a truck, its dumping height must clear the top edge of the truck body. The R350’s 2,932 mm dumping height is an advantage here; even so, check the body height of the vehicle you will use in advance.
Neighbouring buildings: If your excavation is close to the foundation of a neighbouring building and goes below its level, there is a risk of weakening the neighbouring foundation. In that case the excavation method, the need for shoring and the digging sequence must be set by a civil engineer, and the work carried out section by section in a controlled way.
Choosing a mini excavator and attachments for foundation digging
On site, a foundation-digging machine usually means a mini excavator; the right class is set by three measurements: depth, volume and ground hardness.
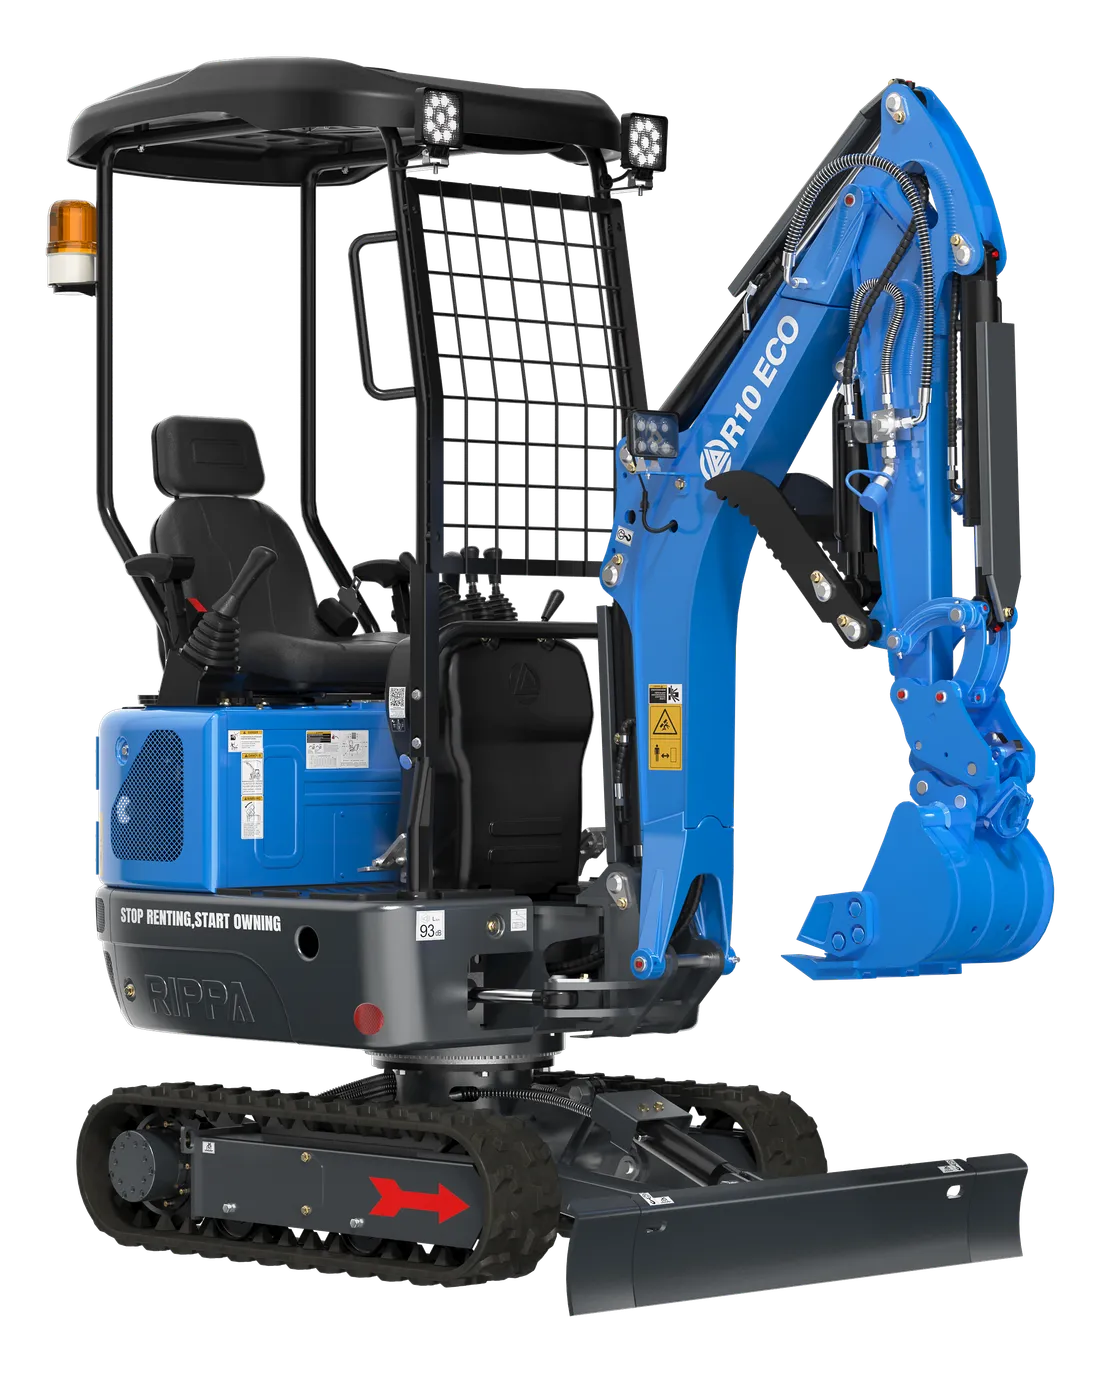
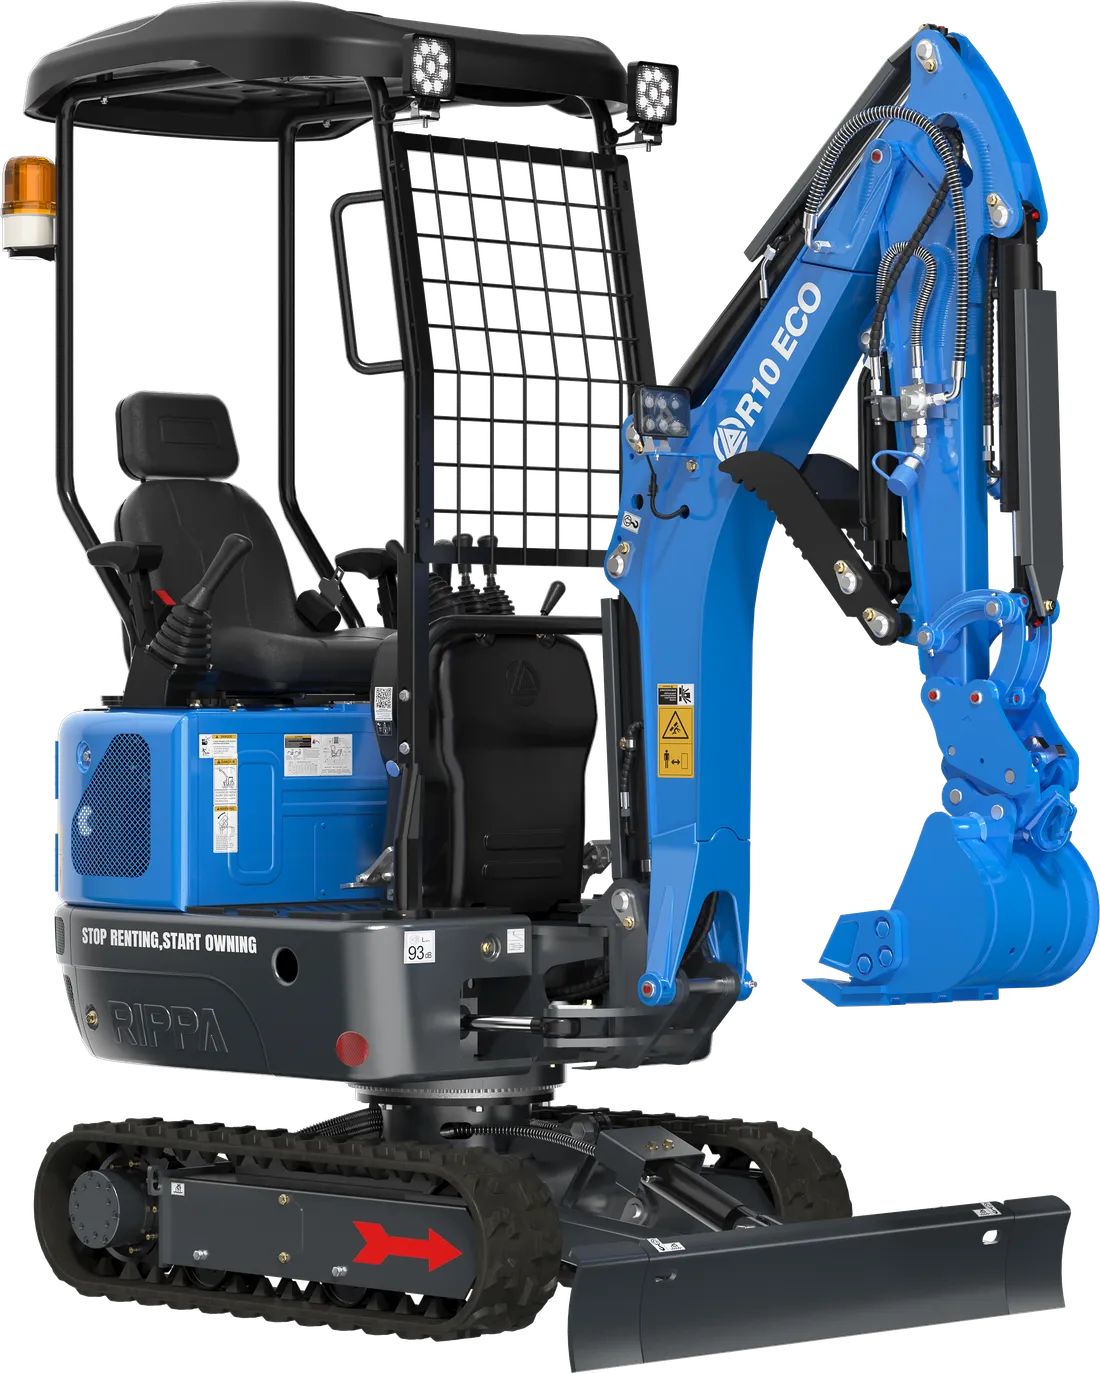
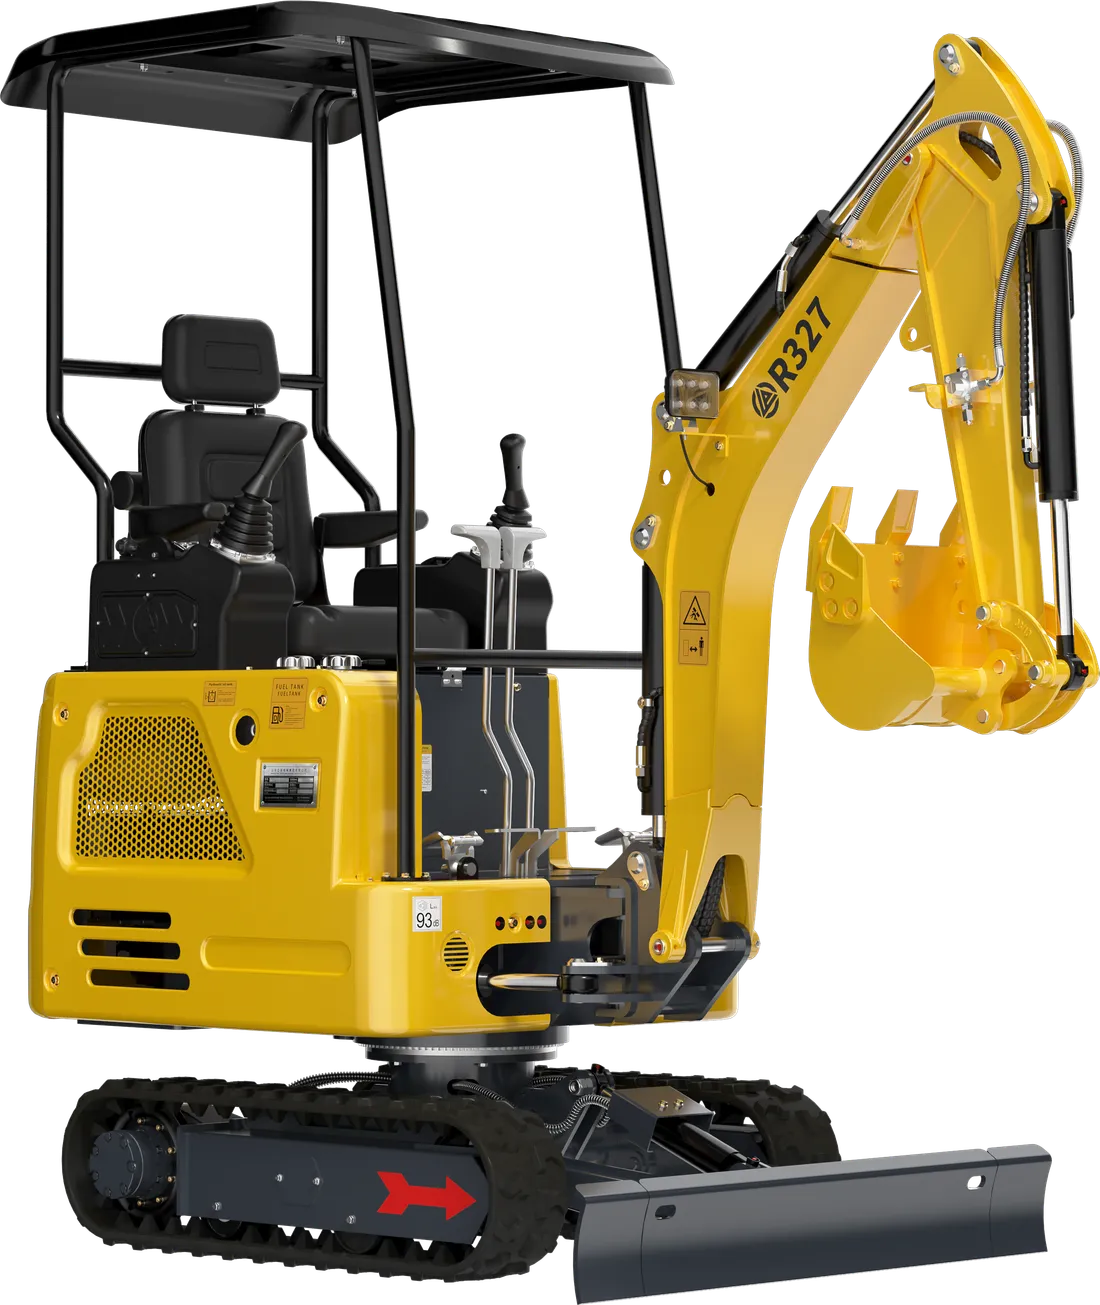
- Garden walls, outbuildings, small garages: For shallow strip foundations the R10 and R327 may be enough; the R10’s digging depth is 1,650 mm and the R327’s 1,580 mm. The R327 doesn’t gain depth; for a deeper foundation, look at the R350.
- Detached-house foundations: The R350’s 2,927 mm digging depth, 22.5 kN digging force and 5,007 mm digging radius suit these jobs. The air-conditioned enclosed cab protects the operator from dust and the weather during digs that last for days.
- Basement or large-volume excavations: Let’s be honest — these jobs are outside the mini excavator class. It is more efficient to do the bulk dig with a bigger machine and use the mini excavator in tight corners and for fine work.
Bucket choice also matters for strip foundations. The trench width is set in the project; if your bucket is narrower than this width you dig the trench in two passes, and if it is wider, every extra centimetre you dig means extra concrete or fill. Standard bucket widths are 40 cm on the R10, 45 cm on the R327 and 50 cm on the R350; you can see bucket and digging-bucket options in other widths on our attachments page. Leaving the trench walls neat and vertical also makes the formwork and concrete work easier.
In hard, compacted ground, loosen the ground first with a ripper instead of forcing the bucket. If old concrete, foundation remains or rock turn up in the excavation area, you will need a hydraulic breaker. You can pin down which tonnage suits your job with the measurement form in the what size mini excavator to buy volume.
If you dig foundations regularly as a service, you can find the calculation of the machine against labour and time in the mini excavators for construction subcontractors volume.
Safety in the pit: operator and helper
In foundation digging the operator doesn’t work alone; a helper who takes levels, stretches string and trims the base by hand is usually within a few metres of the machine. This is also the moment when an accident is most likely. That is why a clear routine must be set up within the team before work starts:
- The machine stops while measurements are taken. If the helper is going into the pit or near the bucket, the operator lowers the bucket to the ground and locks the controls.
- Signals are agreed in advance. The signals for stop, slow, up and down are discussed by the team; on a noisy site, nobody communicates by shouting.
- Nobody stands under the bucket or in the swing area. A helper with whom eye contact can’t be made is somewhere the operator can’t see.
- Edges and trucks: Trucks and materials are kept away from the excavation edge; the precautions against wall collapse in deep sections are set with the OHS specialist.
- End of the day: The bucket is lowered to the ground, the machine is locked, the excavation is closed off and marked so it is visible at night.
Occupational safety regulations require a risk assessment and precautions for excavation work; confirm the current obligations on your own site with your OHS specialist.
Checkpoints by stage
| Stage | What to check | Who checks? |
|---|---|---|
| Before digging | Setting out, level reference, underground lines | Building owner, technical supervisor |
| After bulk digging | Grid dimensions, remaining digging allowance | Operator and site manager |
| After fine digging | Base level, base ground, whether there is any overdig | Project engineer |
| Before concreting | Water, softening, fallen soil | Site manager, engineer |
Quick checklist
- The approved project, foundation plan and level reference are on site
- Setting out has been done; the stakes have been offset outside the excavation area
- Underground lines have been obtained from the relevant authorities
- Truck access, turning area and spoil tipping site are set
- The topsoil is in a separate pile; surface water has been diverted away from the excavation
- The bulk dig was left above the design level, and the fine dig was done with measurement
- An engineer’s opinion has been obtained for sections close to the neighbouring foundation
- The excavation has been closed off with barriers, and personal protective equipment is being used
If you are looking for a powerful mini excavator with a cab for foundation digging, look at the R350’s technical specifications, or send us your project’s foundation dimensions on WhatsApp to get the current price and a recommendation for suitable attachments.