An epoxy-coated floor gleams in the first few days and looks easy to clean. A few months later the picture changes: dulling on walkways, black tyre marks in forklift aisles, oil stains around machine tools and a grey film left behind by the mop. At this point most businesses increase the detergent or fit a harder pad, and that is often exactly where the real damage begins.
Epoxy is a resin coating applied over concrete. The aim in cleaning is not just to remove dirt but also to avoid wearing away this coating or leaving a slippery residue on the surface. In this guide we explain brush and pad choice by floor type, the pH and dosing of chemicals, machine choice by area size and a step-by-step cleaning routine.
What makes epoxy floors different?
Bare concrete is hard and porous; a slightly aggressive pad usually doesn’t harm it. On epoxy, however, the surface the brush touches is the very coating that protects the floor. A worn coating doesn’t come back by itself; you only regain the shine through resurfacing. So the rule of epoxy cleaning is: be strong enough to remove the dirt, and gentle enough to protect the coating.
When cleaning epoxy, watch out for three things:
- Abrasive particles: Sand, metal swarf and concrete dust act like sandpaper under the brush. What takes away the shine is often not the pad but the sand the pad drags around.
- Residue film: Too much detergent or soap-based products leave a thin layer on the surface. This layer holds dirt, dulls the floor and makes it slippery when wet.
- Incompatible chemicals: Strong solvents and some acidic and oxidising products can dull the surface of the coating or change its colour.
Know your floor first: glossy, matt or anti-slip textured
Epoxy installations differ in surface texture, and the cleaning method changes accordingly. If you don’t know what type of floor you have, ask the installer or run your palm over the surface: does it feel smooth and glossy, or does it have a sandy texture?
| Floor type | Risk in cleaning | Brush / pad | Chemical |
|---|---|---|---|
| Glossy, smooth (self-levelling) | Scratching, dulling, slipperiness when wet | Soft pad or soft-bristled brush | Neutral cleaner, low dose |
| Matt or satin surface | Residue film shows up as patches | Medium pad or brush | Neutral; dilute alkaline on oily spots |
| Anti-slip textured (sand-broadcast) | Dirt stays in the hollows of the texture | Medium brush (instead of a pad) | Neutral or mildly alkaline, thorough rinse |
| Forklift and pallet truck aisles | Tyre marks, black streaks | Medium pad and local pre-treatment | Product suited to tyre marks, at the dose on the label |
A common mistake on anti-slip textured floors is fitting the same pad used on glossy floors. A pad is a flat surface; it touches the peaks of the texture and leaves the dirt in the hollows where it is. On these floors, a brush whose bristles can get into the texture gives better results. We cover brush and pad types in detail in our brush and pad selection guide.
Choosing chemicals: pH, dosing and residue
The basic rule for daily cleaning of an epoxy floor is simple: a neutral cleaner (pH around 7) that leaves no residue, at the dose on the label. Most everyday dirt is dust, shoe marks and light stains; strong chemicals aren’t needed for these. Using a strong product every day wears the coating unnecessarily.
For oily areas
Around machine tools and equipment, in maintenance workshops and loading areas, a neutral cleaner may not be enough. Here an alkaline degreaser whose label states that it is suitable for epoxy or painted floors is used, only on the stained area and diluted; this is followed by another pass with clean water and no detergent. We cover how to break down heavy oil build-up in a separate guide: removing oil and stubborn dirt from factory floors.
For tyre marks
Most black streaks in warehouses and production areas are rubber transferred to the floor from forklift and pallet truck wheels. They build up most where there are sharp turns, sudden braking and at the bottoms of ramps. These marks often don’t come off in a single pass with a neutral cleaner; but the solution isn’t a harder pad — it is the right product and dwell time.
- Apply a cleaner suited to tyre marks to the mark and leave it for the time stated on the label.
- Make a pass with a medium pad; if the mark remains, repeat the process rather than switching to a harder pad.
- The lasting solution is at the source: reducing speed at turning points, avoiding sharp turns on the spot and asking your forklift supplier about non-marking wheel options all reduce the marks.
What to avoid
- Solvent-based products (thinners, acetone and the like) can soften or dull the surface of the coating.
- Strong acidic cleaners are generally unnecessary for epoxy; don’t use them unless your installer approves.
- Soapy household products “with shine” leave a film on the surface; the floor shines at first, then becomes slippery and holds dirt.
- Dosing by eye: The logic of “let’s add a bit extra, it’ll clean better” works the other way on epoxy. Too much detergent leaves a residue the squeegee can’t pick up.
Before applying a new product to the whole area, test it in a hidden corner and check the shine and colour once it has dried. In areas where disinfection is required, such as food and healthcare, confirm the disinfectant’s compatibility with the coating with both the installer and the product manufacturer; in most cases cleaning and disinfection need to be planned as two separate steps. You can find detergent types and dose calculation in our detergent selection guide.
Choosing a machine by area size
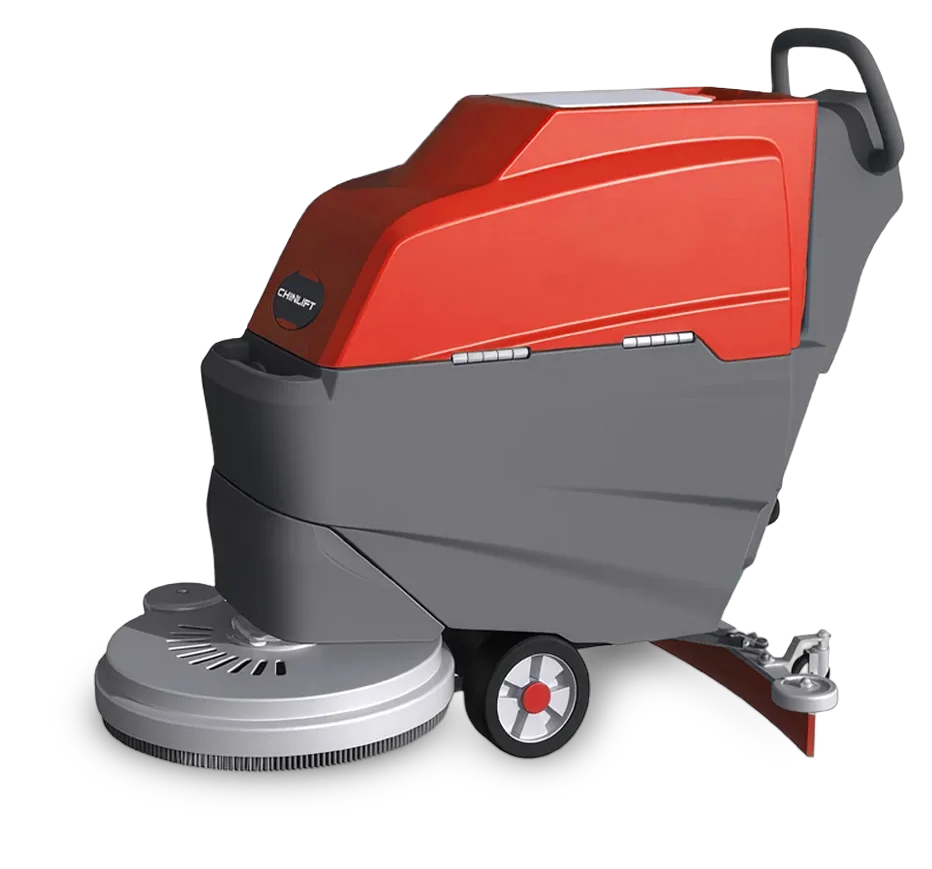
On an epoxy floor, the machine’s main contribution is less the scrubbing than taking the dirty water back up without leaving it on the surface. Much of the grey film on mopped epoxy floors comes from dirty water being spread back over the floor. A floor cleaning machine that scrubs and picks up with the squeegee in the same pass breaks this cycle.
| Model | Type | Brush / squeegee | Catalogue output | Clean / dirty water |
|---|---|---|---|---|
| K1 | Walk-behind | 510 / 800 mm | 3,760 m²/h | 40 / 45 L |
| K2 | Walk-behind | 510 / 800 mm | 2,400 m²/h | 55 / 65 L |
| HY660 | Ride-on, twin brush | 660 mm cleaning width | ≥ 6,950 m²/h | 90 / 95 L |
| KL860 | Ride-on | 860 / 1,200 mm | 5,600 m²/h | 155 / 165 L |
Catalogue output is calculated assuming the machine moves at a certain working speed without ever stopping. Turns, refilling water and breaks to empty the tank reduce the real output; so when comparing models, look at the tank volume and run time too. For example, the 155 L clean water tank and 4–5 hour run time of the KL860 ride-on floor scrubber help you finish a large production hall with fewer breaks.
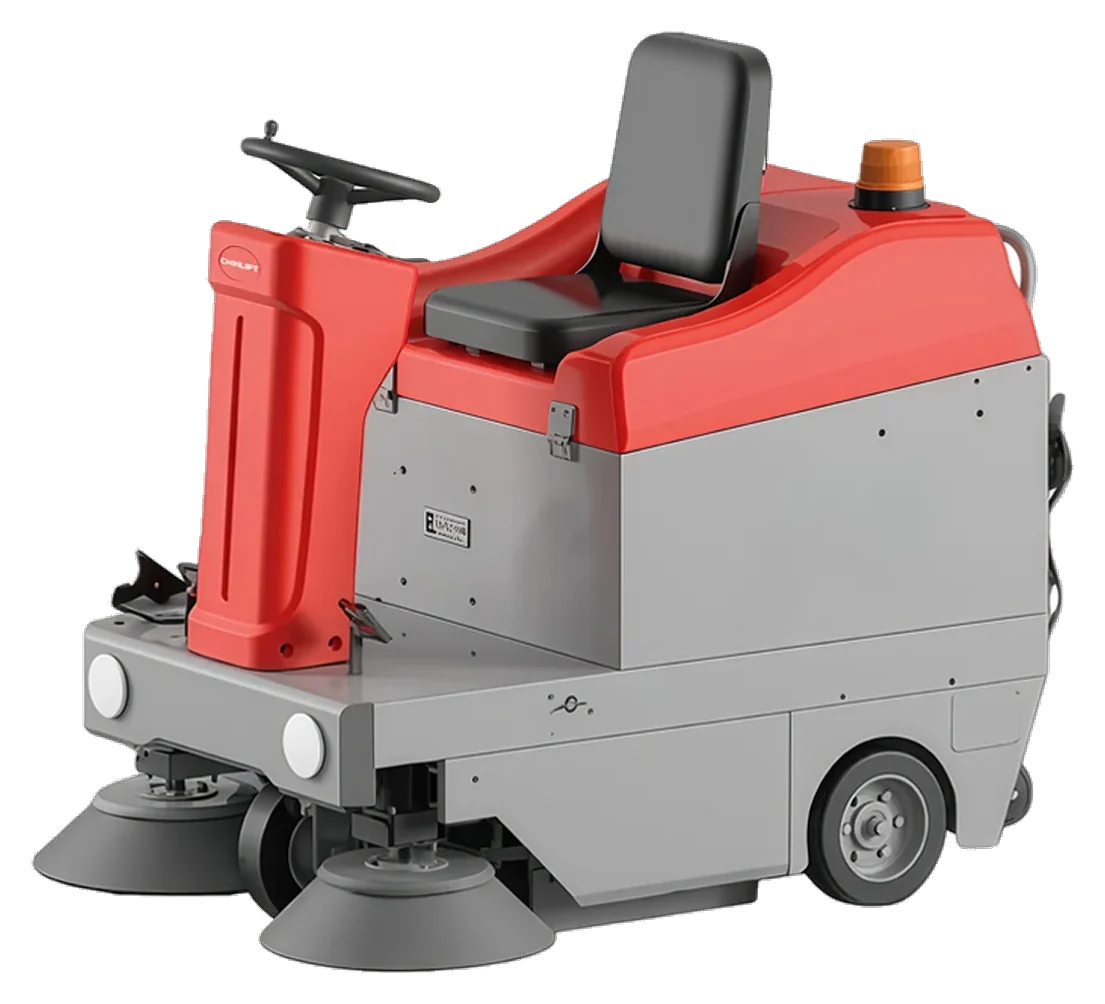
The layout of the floor also affects the decision. In an area crowded with machine tools, racks and equipment, a walk-behind machine offers manoeuvrability; in an open, wide hall, a ride-on machine finishes the same job in less time without tiring the operator. If there is a lot of sand, swarf or packaging debris on the floor, a dry pre-clean with a sweeper before wet cleaning protects the coating.
Whichever model you choose, set two things correctly for epoxy from the start: brush pressure and water quantity. If your machine has a pressure setting, start on a low setting for daily cleaning and increase it only for stubborn dirt. Keep the water flow at a level that wets the floor but that the squeegee can easily collect; on glossy epoxy, too much water causes as many problems as too much chemical.
Machine cleaning epoxy step by step
- Prepare the area. Remove pallets, cables and small items; put out wet floor warning signs. Keep pedestrian and forklift traffic away from the strip being cleaned.
- Do a dry pre-clean. Sweep up sand, swarf and dust. Skipping this step means putting sandpaper under the brush.
- Pre-treat stains. Apply a suitable product to spots with oil and tyre marks; move on to the machine without exceeding the dwell time on the label.
- Measure out the solution. Fill the clean water tank and add the detergent with a measuring jug. Dosing by eye is the number one cause of residue film.
- Start with the water turned low. Epoxy doesn’t absorb water; excess water escapes past the edges of the squeegee and fills joints and cracks. Just enough water to wet the surface is all you need.
- Work in straight, overlapping strips. Overlap each pass slightly with the edge of the previous one; don’t leave wet strips behind.
- Don’t let the brush spin on the spot. A brush or pad that keeps turning while the machine is stationary can leave circular marks on glossy epoxy. When you stop, raise or switch off the brush.
- Look behind you. If there is a water line behind the squeegee, check its blades; a squeegee that leaves lines makes a clean floor look patchy.
- Finish edges and corners by hand. Use a damp mop or a hand pad for the bases of columns and along walls.
- Clean the machine before you finish. Empty and rinse the dirty water tank, and clean the squeegee and filter.
Habits that preserve the shine
What extends the life of an epoxy floor isn’t infrequent heavy cleaning but regular, light cleaning. If dirt isn’t allowed to build up on the surface, there is no need for aggressive pads and strong chemicals.
- Stop dirt at the door: Sand and mud from outside are epoxy’s biggest abrasive. Use gratings and mats at entrances.
- Don’t scrape tyre marks with a metal scraper: It scratches the coating. The right chemical and a medium pad are usually enough.
- Don’t forget the rinse pass: If the floor feels sticky or slippery, do a pass with clean water and no detergent. If the surface improves, the problem is residue.
- Spot damage early: Water seeping in through a crack in the coating can lead to blistering over time. Report any cracks or lifting you see to your installer.
To be honest — not every dull appearance is a cleaning problem. No machine or chemical can restore a coating that has worn, blistered or started to dust over the years to its original state. On a floor like that, the right step is first to discuss resurfacing with the installer; the machine then preserves what resurfacing has restored.
Sample cleaning plan
The plan below is an example for a production area with moderate traffic; adjust the frequencies to your own traffic and soil levels.
| Task | Sample frequency | Note |
|---|---|---|
| Dry sweeping | At the end of every shift | During the shift too at sandy entrances |
| Wet machine cleaning (neutral) | Daily or a few times a week | Depending on pedestrian and forklift traffic |
| Local alkaline treatment on oily spots | As needed | Followed by a clean water pass |
| Rinse pass without detergent | Weekly or monthly | Prevents residue build-up |
| Squeegee, filter and tank check | After every use | Fix a squeegee that leaves marks straight away |
| Reviewing the condition of the coating | Periodically | Log of cracks, blistering and wear |
The machine’s own maintenance is also part of this plan; we explain how to check squeegee blades and filters in our floor cleaning machine maintenance guide.
Summary
- Epoxy is a coating; the aim in cleaning is to remove the dirt without wearing away the coating.
- Always sweep dry before wet cleaning; sand becomes sandpaper under the brush.
- For daily cleaning, a neutral, residue-free product, dosed with a measuring jug, is enough.
- On anti-slip textured floors, use a brush that gets into the texture instead of a pad.
- Slipperiness and dullness often come from residue; do a rinse pass with clean water.
- Choose the machine by area size, density of obstacles and tank volume.
Tell us your area’s square metres, floor type and daily traffic, and we’ll work out together which machine is suitable. Explore our floor cleaning machines, or for current prices contact us on WhatsApp.