A large share of “the machine doesn’t clean well” complaints are caused not by the machine but by the brush or pad underneath it. The brush is the machine’s only point of contact with the floor: choose the wrong one and either the dirt stays put or the floor gets scratched and dulled. A worn brush wastes even the best detergent and the most accurate water setting.
Choosing brushes and pads looks complicated, because there are dozens of types and colours on the market. But the decision really rests on three questions: how delicate is the floor, how stubborn is the dirt, and what is the surface texture like?
In this guide we explain the difference between a brush and a pad, the types available, a selection table by floor type, how to find the right size, the signs of wear and maintenance. For the machine’s general working principle, see our guide to how it works.
Brush or pad? The basic difference
Both attach to the machine’s brush motor and rotate, but they touch the floor in different ways:
- Brush: The bristles reach into recesses, grout lines and the hollows of textured surfaces. It is usually more effective on rough surfaces such as grouted ceramic tiles, textured anti-slip tiles and uncoated concrete.
- Pad: Makes contact with a smooth surface over a wide area. It gives a more even and gentler result on epoxy, PVC, linoleum, polished and glossy floors. A pad is fitted to the machine by means of a pad holder (pad driver disc).
In practice you can think of it like this: rough floor, brush; smooth and delicate floor, pad. In the cases in between, the decision depends on how stubborn the dirt is. On delivery, check which brush or pad holder comes with your machine; planning from the start for a second type you will need avoids disappointment in the first month.
Floor scrubber brushes: the types
Although the names vary by manufacturer, brushes are usually classified by bristle material and stiffness:
- Standard polypropylene bristle brush: Covers most daily cleaning. Used on hard-wearing floors such as ceramic tiles, porcelain tiles and unpainted concrete.
- Stiff, thick-bristled brush: For dirt lodged in the pores of concrete and heavy soil. Carries a risk of scratching delicate surfaces.
- Abrasive-grit brush: Abrasive grit is added to the bristles. Effective on difficult marks such as tyre marks, stuck-on dirt and oil film; it can dull the coating on coated floors.
- Soft-bristled brush: For light daily cleaning on delicate and polished surfaces.
When buying, don’t just ask for “a brush”; always ask about the bristle stiffness and whether there is an abrasive additive. Two brushes that look the same can behave very differently on the floor.
Floor scrubber pads: types and the logic of colours
Pads are usually distinguished by colour, and with many manufacturers the logic is similar: the lighter the colour, the softer the pad; the darker, the more abrasive. Light colours such as white are used for polishing and burnishing, mid tones such as red for light daily cleaning, blue and green tones for heavier scrubbing, and brown and black tones for stripping and heavy work.
To be honest — this colour system isn’t a standard. One manufacturer’s green pad can be as abrasive as another’s blue pad. If you are going to use a new brand or range, check the manufacturer’s own chart and apply the testing method we describe below.
Dark pads need particular care: a dark pad used for daily cleaning on a polished PVC or linoleum floor strips the polish in a few passes. Stripping is a planned job; it shouldn’t be a side effect of daily cleaning.
Selection table by floor type
The table below is a general starting point. If the floor manufacturer or coating installer has a recommendation, that always takes priority.
| Floor | Daily cleaning | Heavy soiling | Avoid |
|---|---|---|---|
| Ceramic, porcelain tiles (grouted) | Standard brush | Stiff brush | Flat pads that don’t clean the grout lines |
| Textured anti-slip tiles | Standard or stiff brush | Abrasive-grit brush | Pads (they don’t reach the hollows of the texture) |
| Uncoated concrete | Stiff brush | Abrasive-grit brush | Soft pads (they break up quickly on a rough surface) |
| Epoxy, polyurethane coating | Soft brush or light pad | Medium pad, test first | Abrasive brush, dark pad |
| PVC, vinyl, linoleum | Light pad | Medium pad | Dark pad (strips the polish) |
| Marble, natural stone | Soft pad | Specialist support | Abrasive pads and acidic products |
Floors not in the table
- Wood and laminate: Sensitive to water. Water seeping through the joints can cause swelling and lifting; wet machine scrubbing is generally unsuitable for these floors. Follow the floor manufacturer’s cleaning recommendations.
- Rubber floors: Found in gyms and some hospital departments. A soft brush or light pad is preferred; since some chemicals can affect the surface of rubber, ask the flooring manufacturer about product compatibility.
- Paving, asphalt and outdoor areas: These are rough, abrasive surfaces that wear out brushes and pads quickly. In these areas the first step is often sweeping, not scrubbing.
- Carpet: This isn’t a job for a floor scrubber; carpet needs separate equipment.
On coated floors, the brush and the chemical must be considered together; we cover the details in our epoxy floor guide. We explain product choice for acid-sensitive stone such as marble in our detergent selection guide. For tyre marks and oil film on concrete floors, see our factory floor guide.
Example: three different floors in the same building
Imagine a facility with porcelain tiles at the entrance, an epoxy-coated production area and PVC on the office floor. In this building, cleaning everywhere with a single brush either leaves the tile grout dirty or gradually dulls the epoxy. A better arrangement is: a standard brush for the entrance, a soft brush or light pad for the production area, and a light pad for the office. Three sets, three labels and a note showing which set is used where are kept with the machine. If you always plan the cleaning in the same order, from the delicate floor to the rough floor, set changes are limited to once or twice a day and grit from the rough floor isn’t carried onto the delicate one.
The right size and the right fitting
Even the best brush is useless if it doesn’t fit the machine. Pay attention to two things: diameter and fitting type.
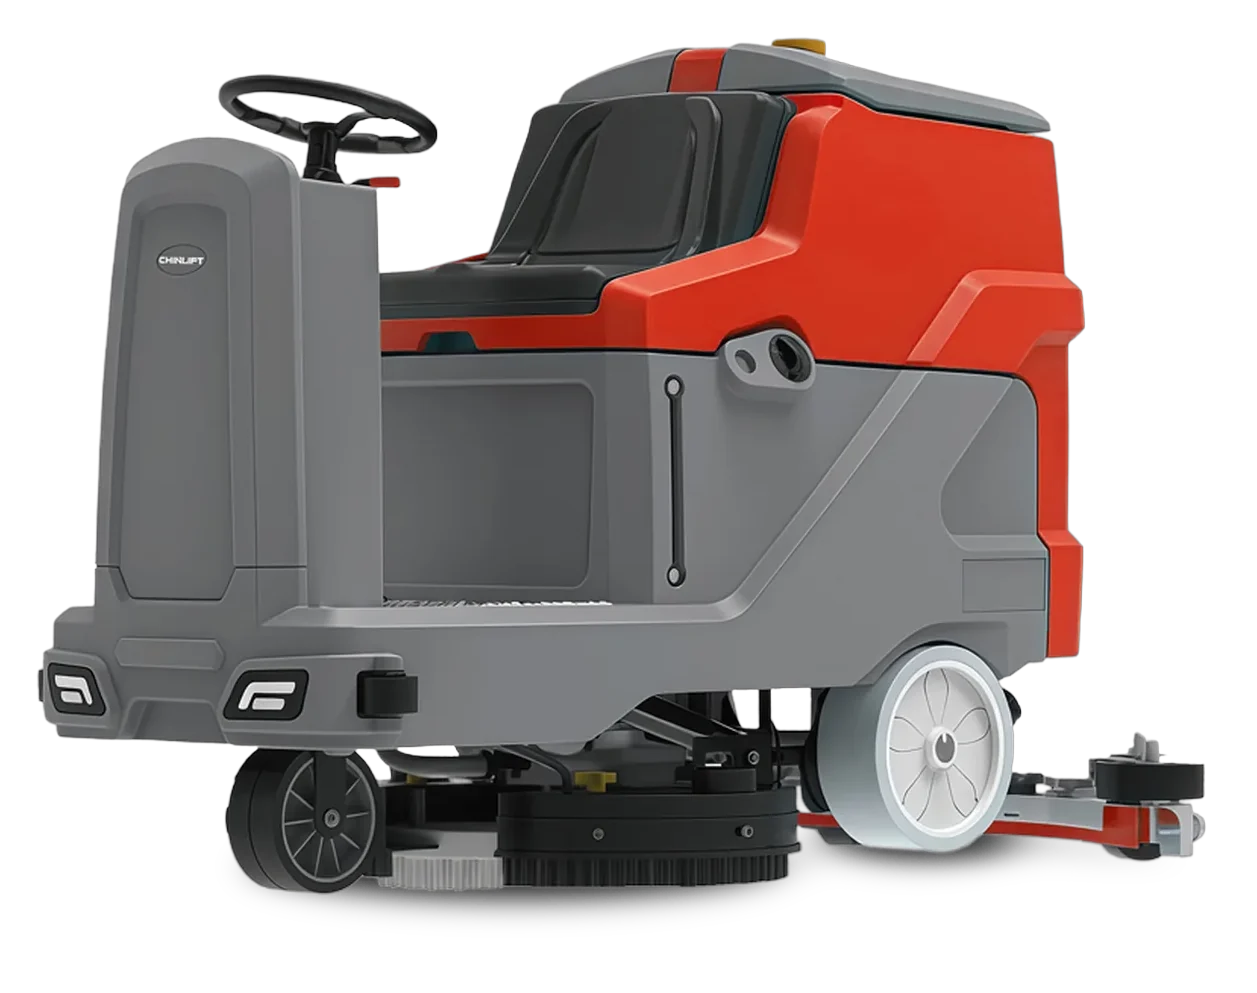
- Diameter: The brush or pad must match the machine’s brush size. On the K1 and K2 the brush width is 510 mm. The HY660 has twin brushes and cleans a total width of 660 mm; the KL860 has an 860 mm brush width and two brush motors. On twin-brush machines, brushes and pads are replaced as a set; one new and one old brush leaves an uneven cleaning pattern.
- Fitting type: The hub by which the brush or pad holder attaches to the machine differs from manufacturer to manufacturer. A brush whose size fits but whose hub doesn’t can’t be fitted.
When ordering, send the machine model, the serial number if available, and photos of your current brush from both the front and the hub side. We describe this method for construction machine parts in our guide to finding the right spare part; the same logic applies to cleaning machines.
Signs of wear and when to replace
Brushes and pads are consumables; they don’t last for ever. It is not the calendar but the following signs that tell you when to replace them:
- If the bristles have become noticeably shorter or have splayed out, the brush can’t apply enough pressure to the floor. Some manufacturers state the minimum bristle length; check your manual.
- If the bristles have worn unevenly, the brush makes more contact on one side and the cleaning pattern becomes uneven.
- If the pad has thinned, torn or glazed over, it has lost its scrubbing power. A glazed pad clogged with dirt polishes the floor instead of cleaning it.
- If the result drops with the same settings and there is no problem with the water, detergent or squeegee, the brush is the first place to look.
The mistake that shortens a brush’s life fastest is running it on a dry floor. When the clean water tank runs empty, raise the brush; bristles spinning dry heat up and deform, and pads quickly fall apart.
Keep a spare set. A brush or pad can wear out on your busiest day. Keeping at least one spare set for each machine stops the machine working with poor results, or not working at all, while you wait for an order to arrive. If you use different sets in several zones, plan the spares accordingly. To find out how fast you use them, note the date of each change and the approximate working hours in between; after a few changes, how often you need to order becomes obvious.
Brush and pad care: a daily checklist
Proper care extends the life of brushes and pads and gives you the same result every day:
- When the job is done, remove the brush or pad from the machine.
- Remove hair, string, stretch wrap and packing tape wound into the bristles.
- Rinse the brush with clean water; if it was used in an oily area, clean the dirt out thoroughly.
- Wash pads with water, and don’t refit a dirt-clogged pad for the next job as it is.
- Leave brushes to dry so the bristles aren’t crushed, and lay pads flat to dry.
- If the machine will stand for a long time, remove the brush or raise it off the floor; bristles left under the machine’s weight bend permanently.
- If you use separate sets for different zones (such as an oily workshop and an office corridor), label the sets and don’t mix them up.
We describe the maintenance of the rest of the machine — squeegee, filter and tank cleaning — in our maintenance guide.
How to test a new brush or pad
In floor cleaning, irreversible mistakes usually come from trials done across the whole area in the spirit of “let’s just try it”. The right method is:
- Start with the least abrasive. If the result isn’t enough, move up one step in stiffness; never the other way round.
- Choose a small, inconspicuous area: a corner, behind a cabinet or a little-used room.
- Make one pass at your normal settings and wait for the floor to dry; a wet floor hides scratches and dulling.
- Once it is dry, look from the side, against the light. If there are scratches, dulling or a change in colour, that brush or pad isn’t suitable for that floor.
- Note the result: writing down which pad and which settings you used on which floor stops the knowledge being lost when the team changes.
Summary
- A brush is usually the better choice on rough, grouted floors, a pad on smooth, delicate ones.
- When buying a brush, ask about bristle stiffness and abrasive additives; when buying a pad, ask for the manufacturer’s colour chart.
- The diameter and hub fitting must suit the machine; on twin-brush machines, brushes are replaced as a set.
- Shortened bristles and thinned or glazed pads are signs that it’s time to replace them.
- Never run the brush on a dry floor; always test a new pad on a small area, starting with the softest.
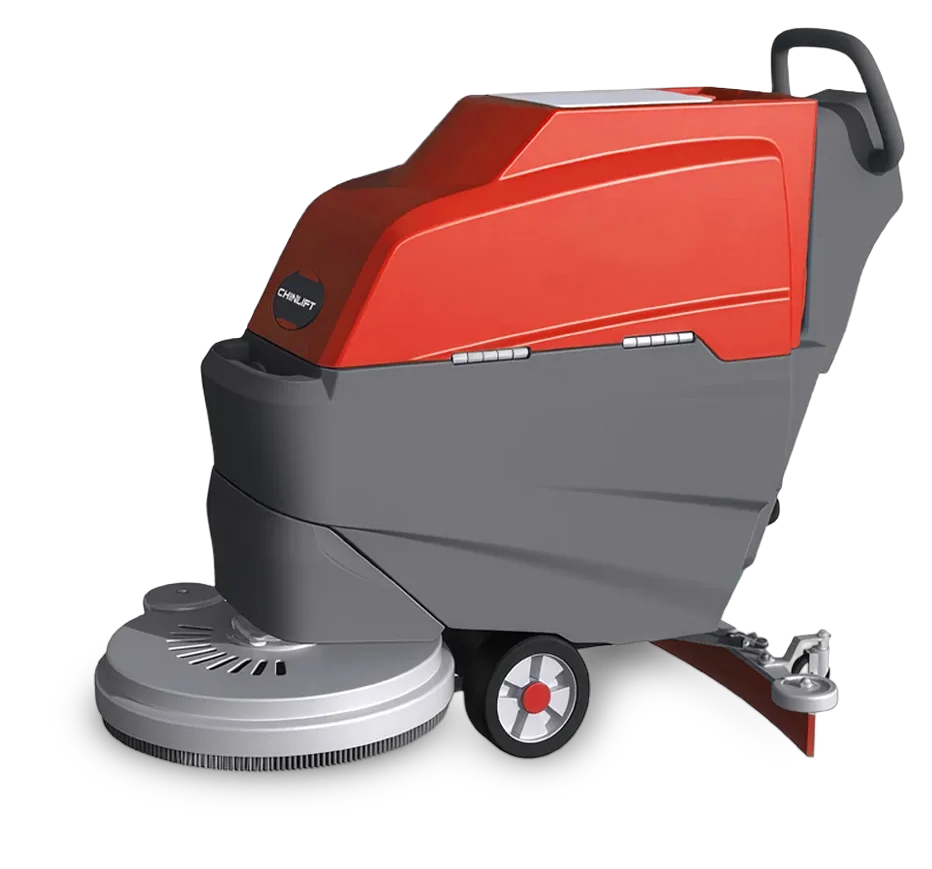
Take a look at the K1 walk-behind floor scrubber, with its 510 mm brush width and 160 rpm brush speed. For the right brush or pad for your machine and floor, send us your model and a photo of your floor on WhatsApp.