A swimming pool in the garden, an irrigation pond in the low corner of the land or a small ornamental pond in the middle of the landscaping… They all start the same way: a hole of the right size, at the right level, with stable sides. Calling in a large excavator for that hole is usually unnecessary: it won’t fit through the garden entrance, it damages the lawn and landscaping, and it is expensive for a small-volume job.
A mini excavator is exactly the right scale for these jobs; the machine people search for as a “pond digger” is usually this one. But in digging terms, a pool and a pond are two very different jobs: one needs a hole that matches the plans exactly, the other needs soft edges that blend in with nature.
In this guide we cover the differences between the two jobs, the volume and spoil calculation, machine choice, the digging sequence and what to watch out for when working with water and mud.
Pools and ponds: how they differ for digging
Even when the same machine does the work, these jobs have different requirements. The table below shows the general picture; the final decisions depend on your project and ground conditions.
| Aspect | Swimming pool | Ornamental pond | Irrigation pond |
|---|---|---|---|
| Dimensional accuracy | High; the dimensions and levels in the plans are binding | Flexible; shaped to the design | Medium; volume and level matter |
| Base | Flat, firm, ready for formwork or a prefabricated shell | Stepped; may include planting shelves | Usually bowl-shaped |
| Sides | Working space left for formwork | Gently sloping, natural-looking | Gently sloping and stable |
| Water retention | Reinforced concrete or a prefabricated shell | Geomembrane or clay | Compacted clay or geomembrane |
| Spoil | Usually taken off site | Can be used in the surrounding landscaping | Can be used for the embankment and edge fill |
| Engineering | Plans and structural calculations required | A simple plan may be enough at small scale | Plans may be needed, depending on size |
Before digging: permits, ground and underground services
Before you start digging, clarify three things:
- Permits and plans: In most places a swimming pool counts as a structure, and permit and planning requirements vary from one municipality to the next. Large irrigation ponds may also need additional permits for water use and safety. Check the current requirements with your municipality and the relevant authorities.
- Underground services: In gardens, electricity, water and gas lines often don’t run where you think they do. Get information from the relevant utilities, and watch out for old irrigation and drainage pipes too.
- Ground and groundwater: Digging a trial pit on site shows the soil type, whether it is stony and at what depth groundwater appears. Building a pool where the water table is high calls for separate measures; discuss this with the engineer who prepares the plans.
During the site visit, also plan where the machine will get onto the site. The width of the garden gate, the lawn along the way, steps and irrigation pipes all have a direct bearing on the choice of machine.
Volume and spoil calculation
To predict how many truckloads of soil will come out, where it will go and how long the job will take, work out the volume first. For a rectangular hole, the basic formula is:
Excavated volume (m³) = length × width × average depth
For a pond with sloping sides, the top and bottom dimensions differ, so taking the average of the two is a simple and practical approach.
Example (illustrative figures): A pool hole measuring 9 m × 5 m including the formwork working space, with an average depth of 1.6 m, gives 9 × 5 × 1.6 = 72 m³ of excavation. Once dug, this soil loosens and its volume increases, so when you plan trucks and tipping you need to allow a margin on top of the excavated volume. Because the bulking factor varies with soil type, confirm the number of truckloads with your haulier.
Decide where the soil will go before you dig:
- Topsoil is stockpiled separately and reused in the landscaping, around the pond or in the garden.
- Subsoil can be used for the pond embankment, for levelling the ground or as backfill around the pool; any surplus is taken off site.
- Stony soil can be sifted with a screening bucket: the fine fraction can then be used as fill, and the stones set aside for drainage and landscaping work.
Keep the stockpile away from the edge of the hole; soil heaped at the edge both loads the edge and reduces the machine’s room to manoeuvre.
Choosing a mini excavator for pool digging: depth, access and speed
Three things decide the choice of machine for pool and pond digging: target depth, site access and total excavation volume.
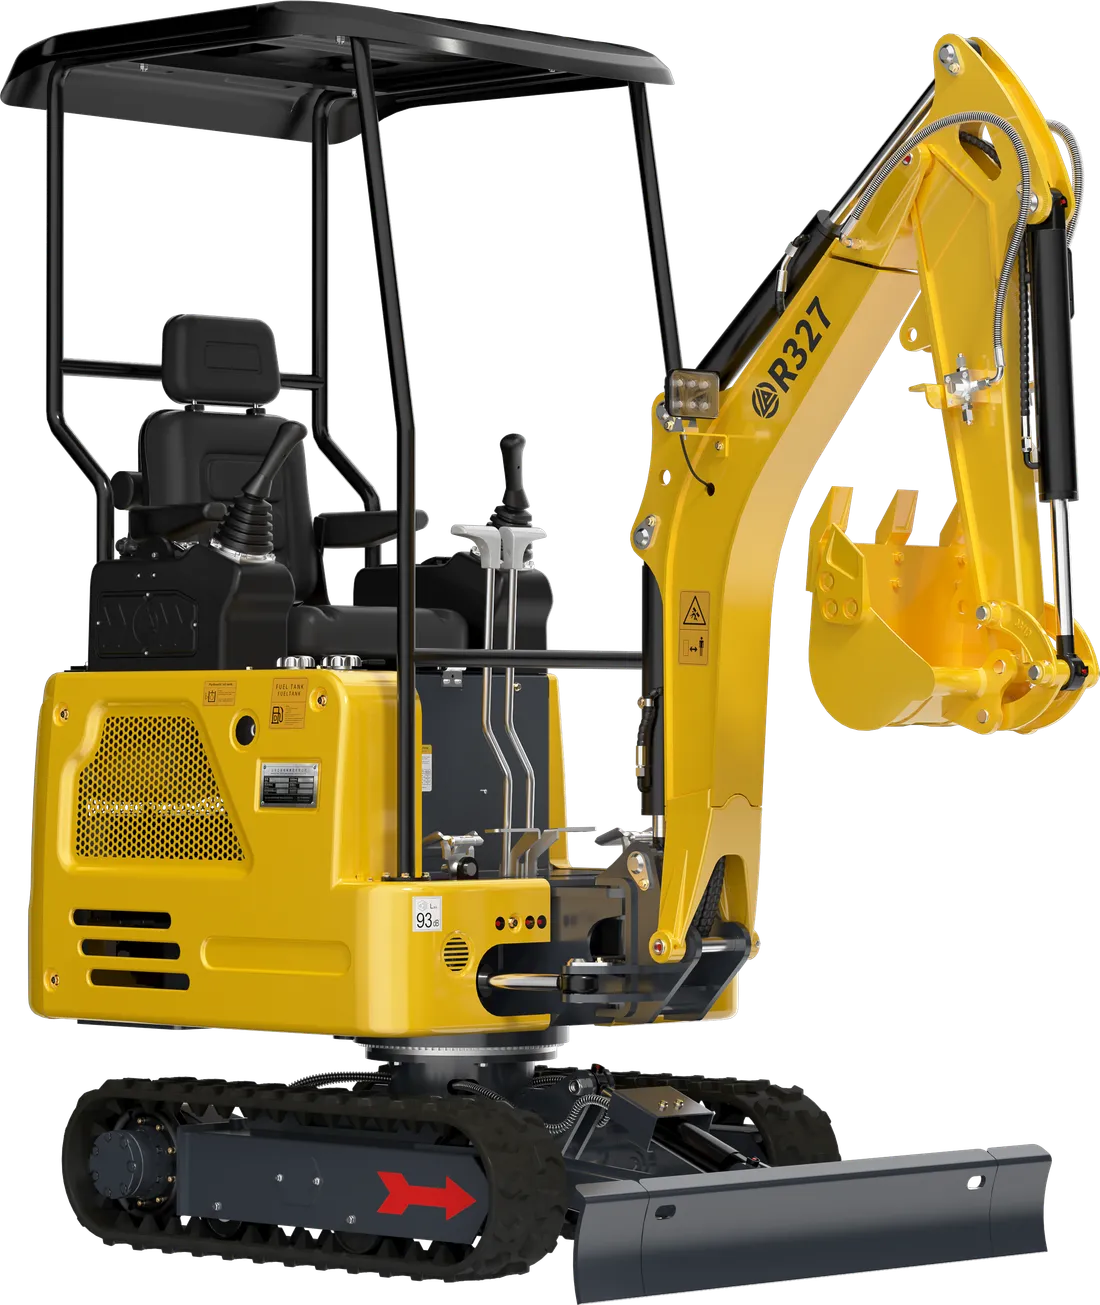
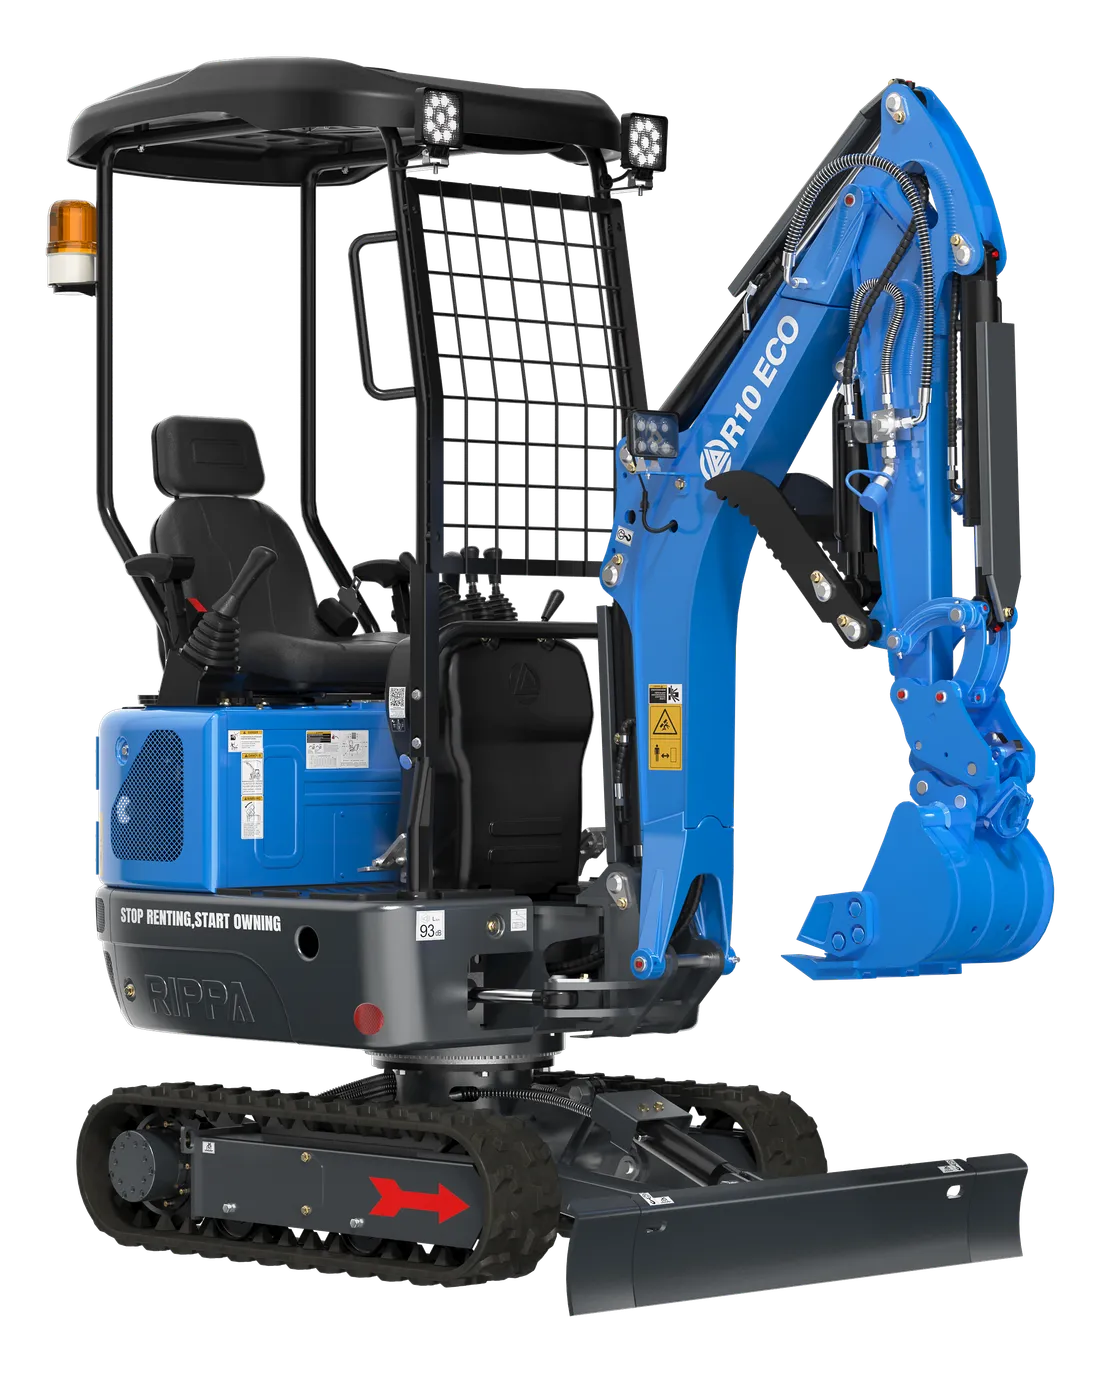
- Depth: The machine’s maximum digging depth should leave a margin below the deepest point of the hole; a machine working at its limit is both slower and less precise. The maximum digging depth is 1,650 mm for the R10, 1,580 mm for the R327 and 2,927 mm for the R350, which is why the R350 stands out for a deep pool.
- Access: Compact machines have the edge at narrow garden entrances. The R10 is 930 mm wide; the R327, with its telescopic tracks, passes through narrow gaps with the tracks retracted and extends them while working for a wider footprint.
- Volume and time: As the excavation volume grows, bucket width and digging force have a direct effect on the time taken. The R350’s 22.5 kN bucket digging force, 50 cm bucket and 5,007 mm digging radius give it an advantage on large-volume jobs, and its air-conditioned enclosed cab protects the operator through long working days.
In short: the R10 or R327 for small ornamental ponds and narrow gardens, while the R350 makes more sense for swimming pools and deep, wide ponds. You can also take a look at our guide to choosing mini excavator size, where we cover tonnage selection in detail.
Dig from the edge or from inside the hole?
For small ponds, the machine can stand at the edge and dig the hole from outside; the soil goes straight onto the stockpile or into a trailer, and the ground isn’t churned up. If the hole is wider than the machine can reach, it goes in down a ramp and works its way down layer by layer.
If you will be loading trucks while digging from inside, take the dumping height into account: with the machine on the floor of the hole, the truck body is effectively that much higher. The R350’s maximum dumping height is 2,932 mm; position the truck at the edge of the hole, ideally at the top of the ramp, and measure the height of the body side in advance.
Digging sequence: from setting out to final level
- Mark out: Draw the outline of the hole on the ground with lime or paint; for a pool, fix the corners with pegs and write the reference level on them.
- Strip the topsoil: Scrape the topsoil off the whole area and stockpile it separately.
- Plan a ramp: If the machine will work from inside the hole, leave a gently sloping ramp for getting out and dig the ramp away last. Never leave the machine in a hole with no way out.
- Go down in layers: Deepen the whole area in even layers. Leaving one corner deep and another shallow leads to collapsing edges and level errors.
- Approach the final level carefully: As you near the target level, only part-fill the bucket and take thin layers. An over-dug base that is made good with loose fill will settle over time.
- Level the base: Use a wide bucket without teeth for the final surface; a 100 cm grading bucket leaves the base free of ripples.
- Check: Measure the base level at several points with a level or laser and compare it with the plans.
The level and sequencing logic of foundation digging applies to pools too; you’ll find the details in our foundation digging guide.
Ponds only: slopes, shelves and water retention
Whether a pond looks good and stays trouble-free for years depends largely on how its edges are designed.
- Edge slopes: Don’t leave the sides of a pond steep. A steep side softens and collapses as the water rises, and it also makes it harder for a person or animal that falls in to get out. Set the right slope for the soil type; we explain the general principles of edge stability in our channel and trench digging guide.
- Planting shelves: In ornamental ponds, leaving stepped shelves running inwards from the edge makes room for aquatic plants and makes the edge safer.
- Water retention: If a geomembrane liner is to be laid, stones and root fragments must be carefully cleared from the base, with a protective underlay beneath it if needed. If you are considering a clay seal, the clay is laid and compacted in layers; ask a specialist whether this method suits your ground.
- Inlet and overflow: Where the pond will get its water from, and where the excess water will overflow without doing any damage, must be planned before digging. A pond without an overflow point will spill over its edge in heavy rain and wash out the embankment.
For an irrigation pond, the size is set by need, not by design. Consider the size of the area to be irrigated, your crop’s seasonal water requirement and how many times the pond can refill, then add a margin for evaporation and seepage. Because these values vary a great deal by region and crop, do the calculation with an agricultural engineer or a local farm adviser; the excavator’s job is to open up that volume at the right level with stable sides.
Pools only: working space and base
For a swimming pool, the excavator’s job is to prepare the hole for the reinforced concrete or prefabricated shell exactly as the plans require. The neater the excavation, the easier the work of the teams who follow.
- Working space: For reinforced concrete pools, a gap is left outside the pool dimensions for formwork, waterproofing and drainage. This allowance is set by the plans and the contractor; agree it before digging.
- Deep and shallow ends: The pool floor is often sloped. The points where the slope starts and ends should be marked with pegs, and the final level checked separately in each section.
- Firm base: Don’t loosen the base and don’t over-dig. Once the base is ready, don’t move on to the concrete or shell stage until the person responsible for the project has inspected it.
- Service routes: Plan the trenches for the plant room and the drain and supply pipes together with the main dig; digging them while the machine is on site saves losing an extra day.
Water, mud and safety
Because of the depth of the hole and the presence of water, digging a pool or pond calls for more care than an ordinary dig:
- Keep away from the edge: Don’t bring the machine or the spoil heap close to the edge of the hole; especially after rain, the edge can collapse without warning.
- Nobody in the hole: In a deep excavation with no battered sides or shoring, nobody should go down into the hole. Agree the measures your ground needs with your health and safety adviser.
- Manage the water: If groundwater or rainwater collects, pump it out; on a muddy base the machine can get bogged down and level control becomes impossible.
- Fence off the open hole: At night and during breaks, tape off the area around the hole; an open hole is a serious danger to children and animals.
- Protective equipment: Everyone entering the excavation area should wear a hard hat, safety boots and a high-visibility vest; on muddy ground, non-slip soles are especially important.
A finished pond still carries a risk of falls and drowning once it fills with water. Where children could reach it, consider fencing and warning signs.
Quick checklist
- Permit and planning requirements confirmed with the municipality
- Underground services checked; ground and water level seen in a trial pit
- Excavation volume calculated; trucks and tipping planned with a bulking margin
- Topsoil stockpile area and machine access route decided
- Machine chosen for depth margin and access
- Ramp, layered digging and precise final level planned
- Pond: slopes, shelves and overflow settled; pool: working space and service routes settled
- Water management and hole safety measures in place
For large-volume pool and pond digs, take a look at the R350; you’ll find buckets and grading attachments on the mini excavator attachments page. Send us the dimensions of the hole and the entrance width of your site on WhatsApp and we’ll choose the right machine together.