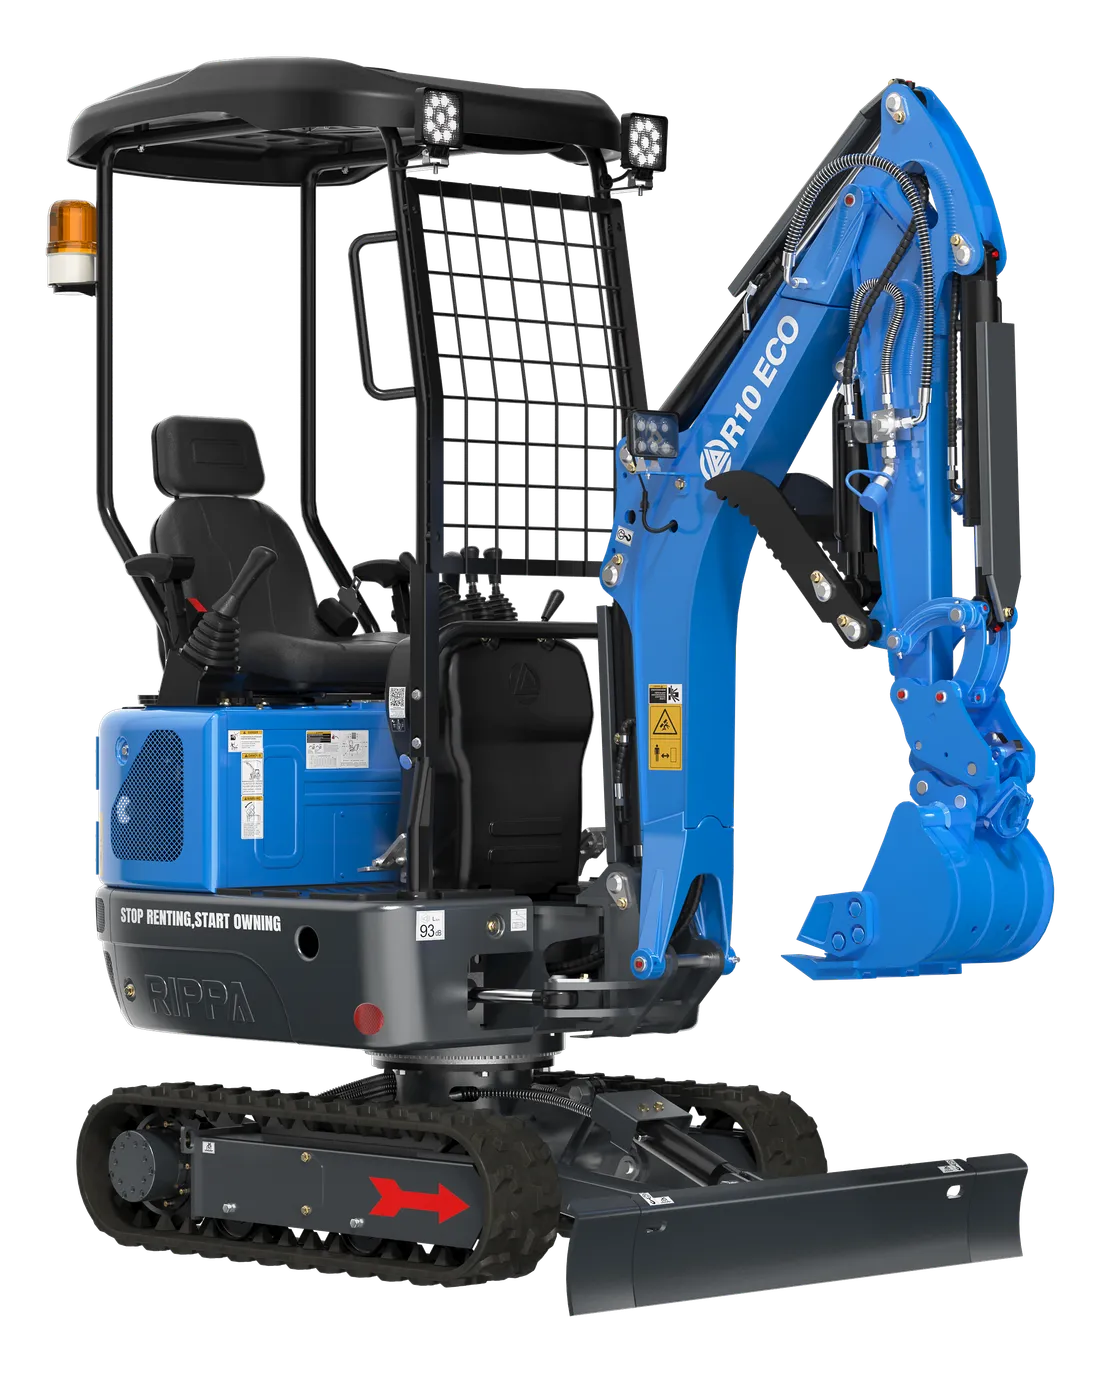
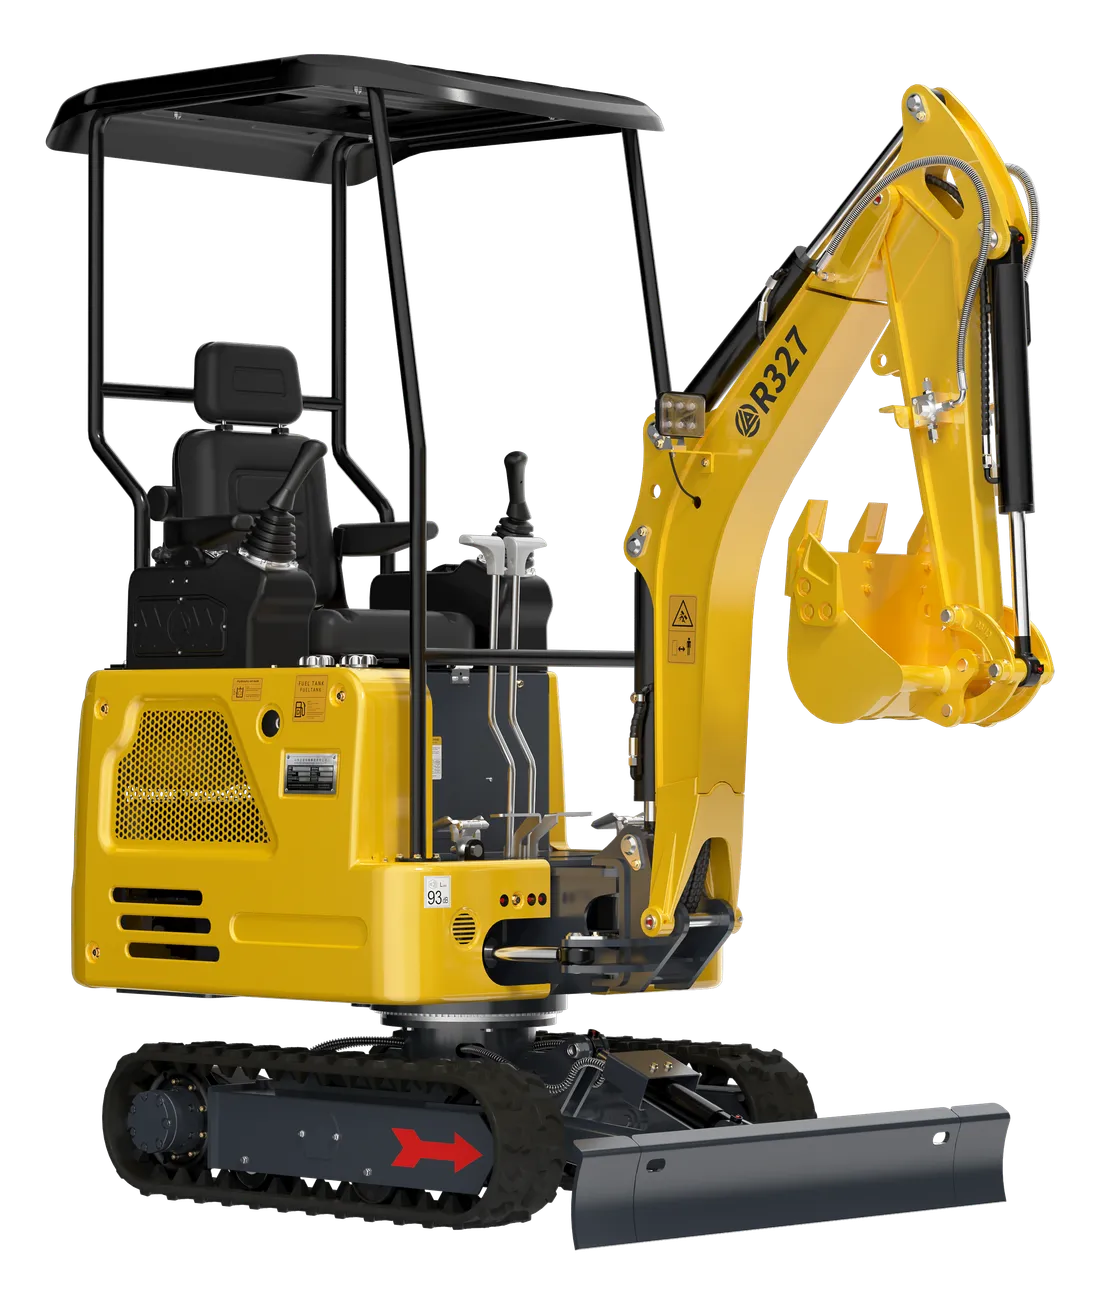
Same machine, same ground, same day… yet by the evening two different operators will have got through very different amounts of work. Most of the difference comes not from engine power or the machine, but from the few seconds lost or gained with every bucket movement.
An excavator’s work comes down to a repeating cycle: dig, swing, dump, swing back. Because this cycle is repeated hundreds of times a day, a small amount of time saved on each round adds up to hours by the end of the day. What’s more, working efficiently usually means less fuel, less wear and less fatigue.
In this guide we explain how to measure cycle time, how to position the machine and the dumping point correctly, how to fill the bucket in one pass, and the habits that slow you down without you noticing. Let’s be clear from the start: the aim is not to rush but to cut out unnecessary movement.
What is cycle time, and why does it matter so much?
Cycle time is the time from the moment the bucket enters the cut until it has dumped its load and returned to the digging point. It has four parts:
- Digging and filling: The bucket enters the ground and fills
- Loaded swing: The full bucket is lifted and swung to the dumping point
- Dumping: The bucket opens and releases the material
- Empty swing: The bucket is brought back to the next digging point
You can think of hourly output roughly in terms of this formula: hourly output = bucket volume × fill factor × cycles per hour. Changing the bucket volume means changing the machine or the attachment, but the fill factor and the number of cycles are largely in the operator’s hands.
Example (illustrative figures): If a cycle takes 20 seconds on average, that is theoretically 180 cycles an hour. If positioning and technique bring the cycle down to 16 seconds, the number rises to 225 — a quarter more work in the same time. On a real site, breaks, waiting for trucks and moving the machine bring these numbers down, but the proportion of the gain stays roughly the same.
Measure first: get to know your own cycle
You can’t improve what you don’t measure. You don’t need any special equipment to measure cycle time; the stopwatch on a phone is enough.
- While you work at your normal pace, ask a helper to time 10 consecutive cycles from a safe distance.
- Divide the total time by 10; that is your average cycle time.
- If possible, note the phases separately: is it the filling that takes too long, the swing or the dumping?
- After making a change (position, angle, technique), repeat the same measurement and compare.
Change one thing at a time; if you change everything at once, you won’t know which change worked. The person doing the timing must always stand outside the machine’s swing radius.
Back up your cycle measurements with a daily log as well. At the end of each day, write down in a notebook the number of trucks or trailers filled, the hours worked and the type of ground. After a few weeks it will become clear by itself under which conditions and with which set-up you get the most work done; and when you quote a customer a time and a price, these records are a far more reliable basis than guesswork.
Positioning: half the job is done before the machine stops
The biggest item in the cycle is usually the swing. The wider the swing angle, the longer it takes to carry the full bucket over and bring it back. So plan the machine position, the digging point and the dumping point together.
| Situation | Result | What to do? |
|---|---|---|
| Dumping point behind the machine | A wide swing on every cycle, long cycle time | Move the spoil heap or truck to the side to reduce the swing |
| Spoil heap too close to the digging point | Soil runs back into the excavation | Move the heap a little back from the edge, on one side |
| Truck body too high | The bucket is lifted too high and spillage increases | Move the truck to a more suitable level, or put the machine on a firm, flat bank |
| Machine too far from the digging point | Arm constantly at full reach, bucket only half fills | Move the machine closer and work the arm at a comfortable angle |
| Machine too close to the digging point | The bucket digs under the tracks and the edge gives way | Back off a little |
When loading trucks, the biggest gain comes from bringing the truck alongside the machine so that the swing angle is small. Talk to the truck driver beforehand; a truck parked in the wrong place adds seconds to every cycle all day long.
How does boom swing make positioning easier?
When digging along the foot of a wall, along a fence or next to an obstacle, realigning the machine every time wastes a lot of time. The 120° boom swing on the R327 and R350 lets you offset the boom to the side of the machine’s centre line, shifting the digging line without moving the machine. The machine stays in a parallel position, you slew the upper structure less, and the trench can be dug closer to the wall.
Filling the bucket in one pass
A half-full bucket cuts the amount of work done without changing the cycle time. To fill the bucket in a single pull:
- The right depth of cut: Driving the bucket too deep into the ground strains the machine and stalls it; taking too shallow a cut won’t fill the bucket. Find the depth of cut at which the bucket fills in one pull in your ground.
- Work the arm and bucket together: Start curling the bucket as you pull the arm in towards you. The bucket teeth should enter the ground at the right angle and keep moving through it.
- Work in the arm’s power zone: On most machines, digging force is highest when the arm is close to vertical. With the arm fully extended or fully tucked in, the force drops.
- Loosen hard ground first: In hard ground where the bucket struggles, it is quicker overall to loosen the soil with a ripper first and then take it out with the bucket.
- The right bucket for the job: In a trench, a bucket that matches the trench width; for general excavation, a wider bucket. If the bucket doesn’t suit the job, wasted movement increases however fast you work; see our bucket width guide for help choosing.
Filling technique for different ground
- Sand and loose soil: The bucket fills quickly but spills over during the swing. Lift with the bucket curled in a little more, and start the swing smoothly.
- Clay and sticky soil: The soil sticks inside the bucket, and the bucket empties a little less with every cycle. Take thin cuts, open the bucket fully when dumping, and clean out the inside of the bucket from time to time.
- Stony ground: Getting the bucket teeth under a stone and lifting it is more efficient than pushing it. Grip large stones between the bucket and the hydraulic thumb and move them to a separate pile.
- Hardened top crust: First score and loosen a dried-out or compacted surface with the ripper; the softer soil underneath can then be taken out quickly with the bucket.
Combined movements and pilot controls
The clearest difference between an experienced operator and a beginner is that the experienced one makes movements together rather than one at a time. For example:
- Starting to raise the boom while the bucket is filling
- Starting the swing while the boom is rising
- Starting to open the bucket while approaching the dumping point
- Setting the arm and bucket ready for the next cut while swinging back
Pilot controls make combined movements like these easier; they let you work the levers with a light touch and proportional control. The R10, R327 and R350 have side-mounted pilot controls. We explain how pilot controls differ from mechanical controls in our guide to pilot controls.
Combined movements aren’t learned in a day. In the first few days, make the movements one at a time, then combine them two at a time as you become more fluent. Speed comes after accuracy; fast, uncontrolled movement is dangerous and also wastes time through spilt material.
A word of warning for operators switching from another machine: the control pattern, which shows which lever performs which movement, can differ from machine to machine and is shown in the manual. On a pattern you’re not used to, it is easy to make a wrong movement on the first day; before starting work, spend a few minutes practising in a clear, safe area.
Planning the dig area
- Work in stages: When digging a large area, take it down layer by layer. Going deep in one spot and leaving the surrounding area makes it harder later to move the machine and to level the base.
- Move the machine less: Reposition the machine when the arm’s comfortable reach runs out, not every few cycles. Every move means time spent repositioning and settling the machine again.
- Use the dozer blade: Lowering the blade while digging stabilises the machine and stops it sliding forwards as the bucket is pulled in. The blade is also a quick tool for gathering spilt soil and for backfilling.
- Work backwards along a trench: When digging a trench, the machine works by backing away, without driving over the line it has dug.
- Plan attachment changes: If you will be switching between attachments such as a bucket and a breaker during the day, group together the jobs done with the same attachment. If frequent changes are needed, a quick coupler system saves a great deal of time.
Engine speed, fuel and the machine’s health
Efficiency isn’t just about speed; it’s about doing the same work with less fuel and less wear.
- Avoid unnecessarily high revs: On light work, running the engine at full revs often doesn’t speed the job up noticeably; it only increases fuel use and noise. Use the revs you need for heavy digging, and lower revs for light work.
- Don’t idle for nothing: Leaving the engine running while you wait for a truck or during a long break burns fuel. For short waits, follow the recommendations in the manual.
- Don’t force the cylinders at the end of their stroke: Keeping a cylinder pressed hard at full extension or full retraction loads the hydraulic system unnecessarily and heats up the oil.
- Allow time to warm up: In cold weather, working at full power before the hydraulic oil has warmed up slows the movements and strains the system.
A well-maintained machine is a fast machine. A clogged air filter, ungreased pins, slack tracks or worn bucket teeth each add seconds to the cycle without anyone noticing. Treat the daily check as part of your efficiency.
You can also take a look at our fuel consumption guide, where we cover the fuel side in detail.
Habits that quietly slow you down, and safety
- Knocking the bucket on the ground to clean it: In sticky soil, shaking the bucket easily becomes a habit and wears out the pins and bushings. Clean the bucket by opening and closing it while dumping.
- Carrying the full bucket too high: Lifting higher than necessary wastes time and increases the risk of tipping over.
- Hitting the truck body: This means spillage and damage; dump into the middle of the body, slowing the movement down.
- Fatigue: Productivity naturally drops in the last hours of the day. Taking regular breaks is essential for both safety and productivity.
- People in the swing radius: Speeding up the cycle must not reduce your awareness of your surroundings. Stop all movement as soon as anyone enters the swing radius.
Remember: the efficient operator isn’t the one who looks fast, but the one who works without hesitation, smoothly and safely.
Quick checklist
- 10 cycles timed; average time and longest phase identified
- Dumping point and truck positioned to keep the swing angle small
- Machine within comfortable reach of the digging point, blade down
- Bucket fills in a single pull; ripper used first in hard ground
- Movements combined and fluid; speed doesn’t cost you control
- Machine not moved unnecessarily; attachment changes grouped
- Engine speed set to suit the job; no needless idling
- Regular breaks taken; swing radius always kept clear
If you’re looking for a machine with pilot controls and 120° boom swing that works smoothly in tight spaces, take a look at the R327. You can send us any questions about your machine and your work on WhatsApp.