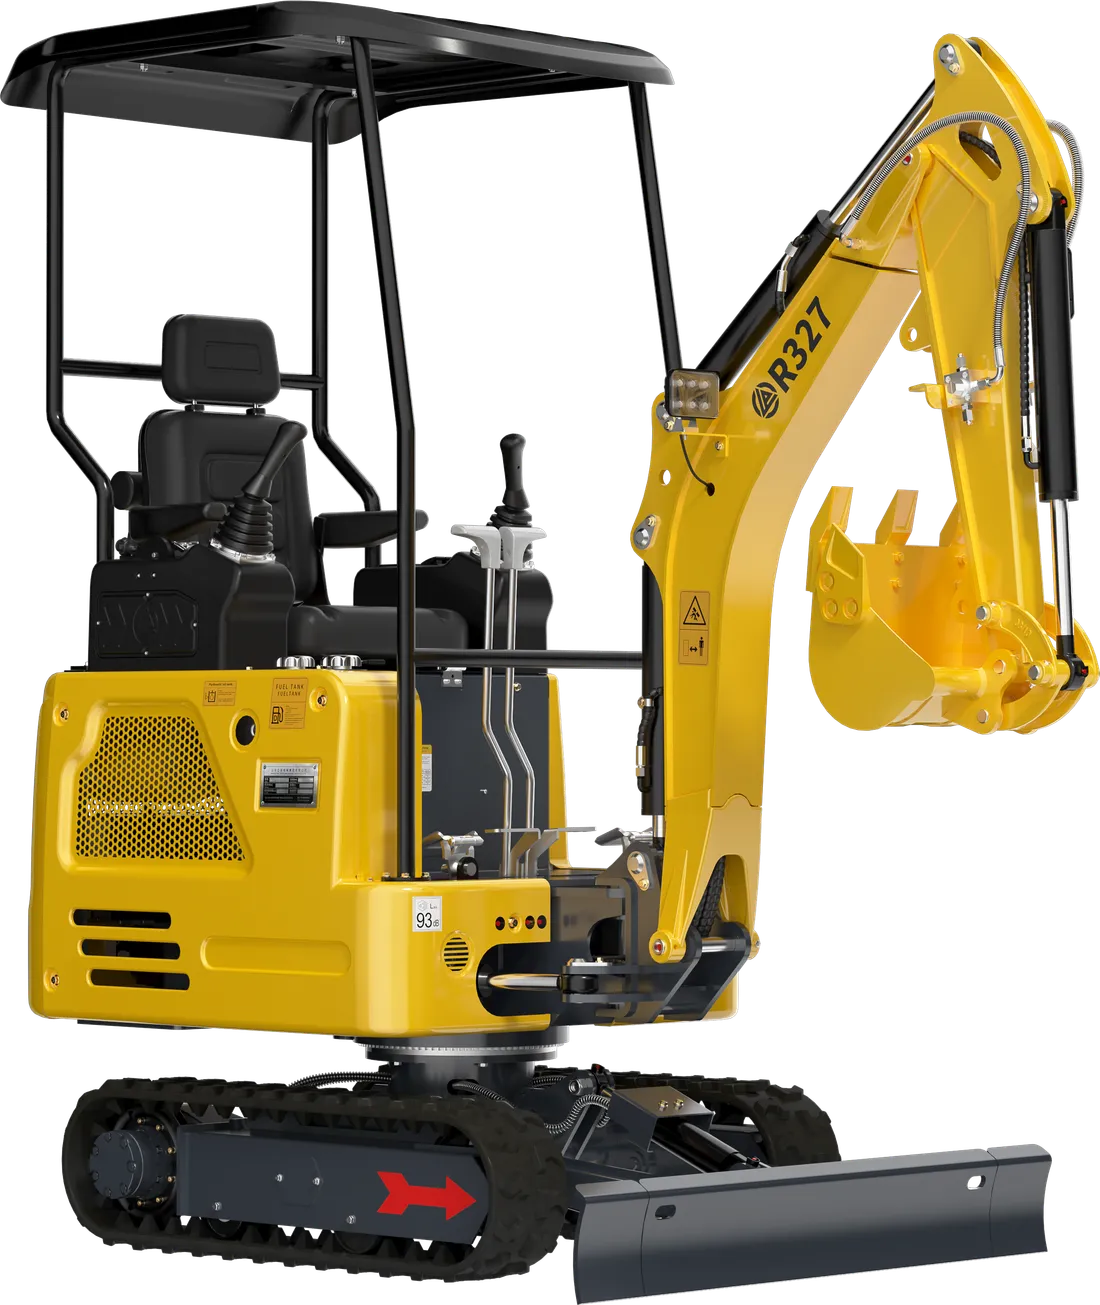
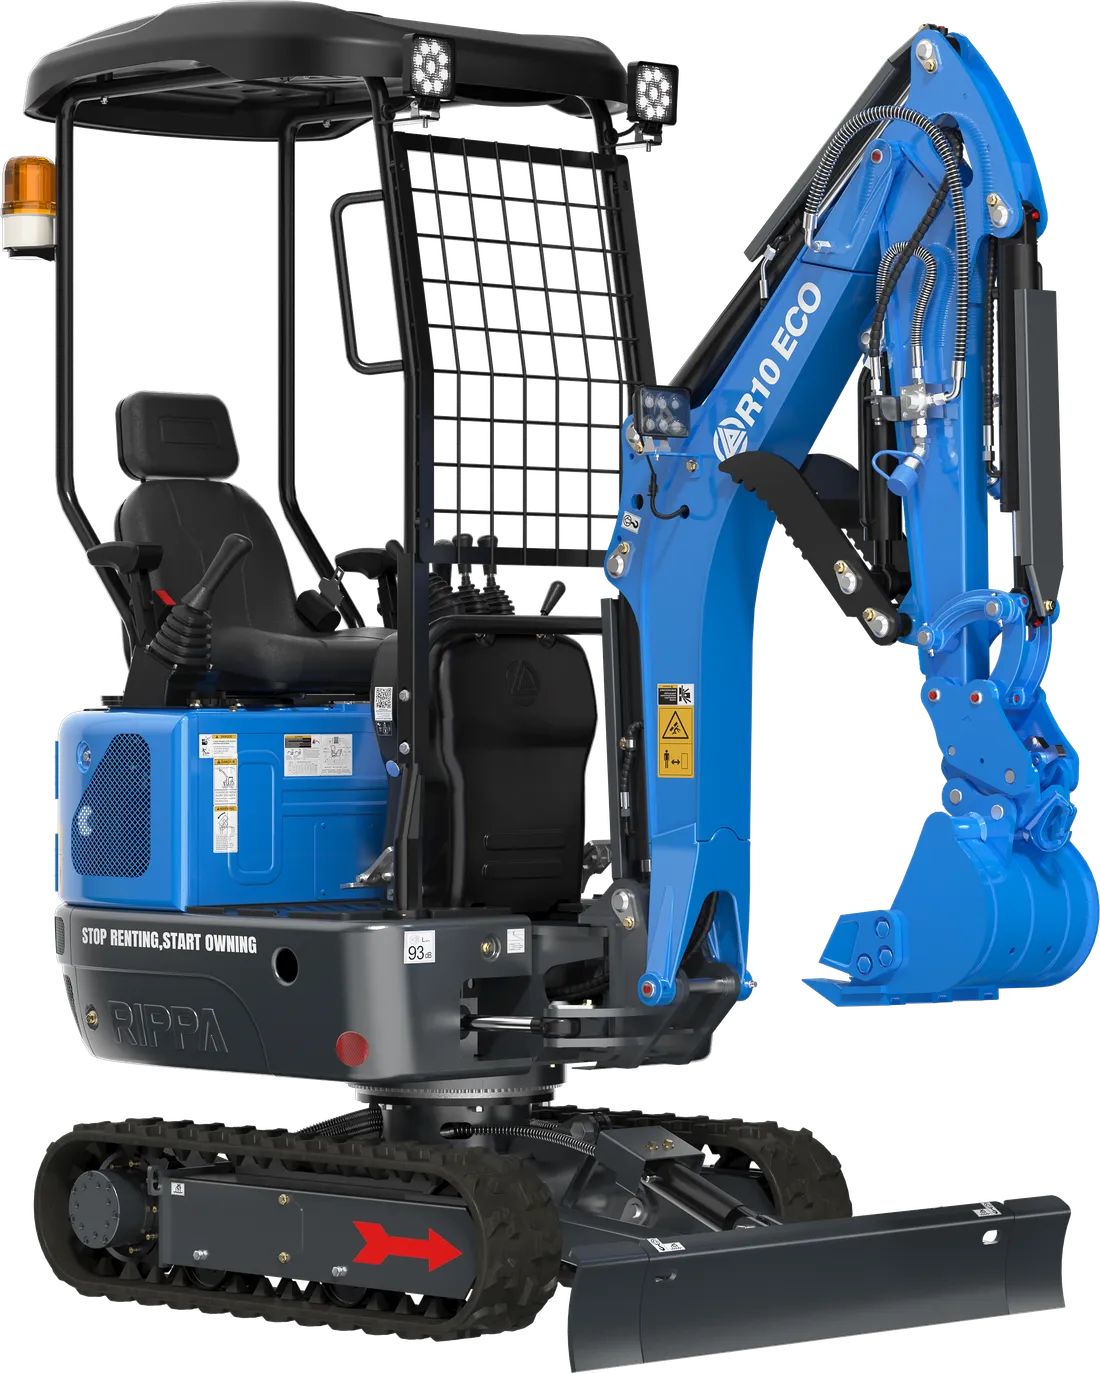
The first time you sit in the seat of a mini excavator, you’ll find two joysticks, travel levers or pedals, a blade lever and a throttle in front of you. They all seem to do something at once. The good news: with a systematic start, a mini excavator is a relatively easy machine to learn. The bad news: mistakes made in the first few hours can cost dearly, both for the machine and for the people around it.
This guide answers the question “how do you use a mini excavator?” step by step: the checks before you climb on, the control patterns, a practice plan for the first hour, the mistakes beginners make most often and the safety rules that must never be bent. Whether people on site call it a mini excavator, a mini digger or a compact excavator, the basic logic is the same on all of these machines.
A note: this article is no substitute for training. Your machine’s operator’s manual always takes priority; for machines bought from EKSFORK, we provide setup and basic operator training on delivery. Confirm the documents required for operating construction machinery, and the current requirements, with the relevant authorities.
Before you climb on: the five-minute walk-round check
Start every working day with a slow walk around the machine. This walk-round catches faults before they grow and helps you get to know the work area.
- Levels: Engine oil, coolant (on water-cooled engines), hydraulic oil and fuel. Find out where the dipsticks and gauges are at handover.
- Leaks and damage: Are there oil stains under the machine, or wet patches, chafe marks or cracks on the hoses?
- Tracks and undercarriage: Are the tracks sagging too much, and are there stones or wire caught in them?
- Pins and greasing: Have the boom, arm and bucket pins been greased at the interval given in the manual?
- Attachment connection: Are the bucket pins and their retainers in place, and if there is a quick coupler, is it locked?
- Work area: Overhead power lines, underground services where you will dig (information on electricity, gas and water lines should already have been obtained from the relevant utilities), ground firmness, slopes, the edges of pits, and any people and animals nearby.
If you spot a problem on the walk-round, sort it out before you start the machine. Jobs that begin with “it’ll do for one day” usually end with a machine standing idle in the middle of the day.
Getting on, seating position and the safety lock
Climb on with three points of contact: always keep two hands and one foot, or two feet and one hand, on the machine. Use the grab handles to hold on; never use the joysticks as handholds. Clean the mud off your soles so you don’t slip on the step.
Once seated, in this order:
- Adjust the seat so you can reach the pedals and levers comfortably.
- Fasten your seat belt, even if the job is a short one.
- Adjust the mirrors and make sure you can see to the rear and sides.
- Check that the safety (lock) lever is in the locked position. On machines with pilot controls, the controls don’t work while this lever is locked; it must always be locked when you get on and off. We explain how pilot controls work in our guide to pilot controls.
Starting up and warming up
The starting steps vary by model, so follow the sequence in the manual. The general outline is this: with the lock lever locked and the throttle set low, switch on the ignition and check that the warning lights come on. If your machine has preheating (glow plugs), wait until the indicator goes out, then crank the engine. If the engine doesn’t start, don’t keep the starter engaged for long; pause briefly and try again.
Once the engine is running:
- Check that the warning lights have gone out, especially the oil pressure and charging lights.
- Warm the engine up at low revs for a few minutes.
- Release the lock and run every function a few times with slow, unloaded movements; this warms up the hydraulic oil.
- If you notice any unusual noise, smell, smoke or leak, stop the machine.
If the machine is new, you may need to avoid heavy, continuous loads in the first hours of operation; we have gathered the rules for this period in our running-in guide.
Mini excavator control layout: joysticks, travel and blade
On a mini excavator, the four main movements are controlled with two joysticks: the boom (main arm) raises and lowers, the arm moves out and in, the bucket fills and dumps, and the upper structure slews right and left. Which joystick makes which movement is set by the control pattern. The two common patterns are:
| Joystick movement | ISO pattern | SAE pattern |
|---|---|---|
| Left joystick forward / back | Arm out / in | Boom down / up |
| Left joystick right / left | Upper structure slews | Upper structure slews |
| Right joystick forward / back | Boom down / up | Arm out / in |
| Right joystick right / left | Bucket dumps / fills | Bucket dumps / fills |
The pattern on your machine is shown on the label near the controls and in the manual. Find this label first, and don’t make any movement until you have compared it with the table; a pattern you are used to from another machine can catch you out.
Travel and blade direction
Each track is controlled by its own travel lever (on some machines, a pedal). Pushing both levers forward together drives the machine straight ahead, and pulling them back together drives it straight back. Pushing one lever turns the machine around the stationary track, while moving the levers in opposite directions spins the machine on the spot. Spinning on the spot wears the tracks and the ground on hard, abrasive surfaces; make wide turns whenever possible.
The point that confuses beginners most often is this: the direction of travel is relative to the undercarriage, not the upper structure. With the dozer blade in front of you, pushing the lever forward drives the machine forward; if you have slewed the upper structure so that the blade is behind you, the same movement drives the machine backwards from your point of view. Check where the blade is every time before you travel.
The dozer blade is used for backfilling, levelling and steadying the machine while digging. Lowering the blade to the ground before you start digging makes the machine more stable. The blade is 100 cm wide on the R10, 110 cm (adjustable) on the R327 and 120 cm on the R350. Models with boom swing (120° on the R327 and R350) have a separate control that swings the boom to the side; in the first few days, keep the boom centred and use this feature only once you are used to the basic movements.
Finally, the throttle: while you are learning, run the engine at medium or low revs. The movements slow down and you have time to correct them.
Learning to operate a mini excavator: a practice plan for the first hour
Spend your first hour not on a real job but on a flat, wide, empty area. Keep everyone away; if you have a helper, they should watch you from outside the swing area.
- One movement at a time: Operate the boom, arm, bucket, slew and blade separately and slowly, without running the cylinders to the end of their stroke. Saying out loud which joystick makes each movement speeds up learning.
- Travelling: With the blade in front of you, drive straight forward and back, then make wide turns. Slew round so that the blade is behind you, repeat the same movements and feel the difference in direction.
- Touching a target: Put a marker on the ground and slowly lower the bucket’s cutting edge onto that spot. This exercise teaches you to work the boom and arm together.
- The digging movement: Curl the bucket as you pull the arm in, and raise the boom once the bucket is full. Digging is a smooth combination of these movements.
- Fill and dump: Fill the bucket from a small heap and empty it at a point beside the machine. Keep the slew angle small and carry the full bucket low.
- Practice trench: Try digging a straight trench a few metres long and of even depth. Pile the soil away from the edge of the trench.
- Backfilling and levelling: Fill the trench back in with the blade and level the surface.
After the first hour, spreading your learning over several days is more effective than trying everything in a single day. A sample plan for the first week:
- Day 1: Single movements, travelling and blade direction.
- Day 2: Combined movements, touching a target and loading from a low heap.
- Day 3: Straight practice trenches of even depth.
- Day 4: Backfilling, levelling with the blade and rough grading.
- Day 5: An easy part of a real job, ideally under the supervision of someone experienced.
Speed comes later. In the first few days, your aim is smooth, controlled movements; you’ll find techniques for shortening the cycle time in our operator tips guide.
The most common beginner mistakes
- Using the joysticks harshly: Sudden movements jolt the machine, swing the load and upset the balance. Tilt the joystick gently and release it gently.
- Travelling with the bucket held high: The centre of gravity rises, the risk of tipping over increases and your view is blocked. Keep the bucket close to the ground when travelling.
- Travelling without checking where the blade is: The machine goes the opposite way to what you expect.
- Not lowering the blade when digging: The machine slides and rocks while digging.
- Getting too close to the edge of a pit: Trench and pit edges can collapse under the machine’s weight.
- Holding a cylinder at the end of its stroke and forcing it: The result isn’t work, just overheated oil and wasted fuel.
- Swinging the bucket over people: No one should be in the swing area; never carry a load over people.
- Travelling across a slope: On sloping ground, the machine should move straight up and down the slope; details are in our slope safety guide.
- Lifting suspended loads with the bucket: Don’t lift loads with a chain or sling unless the machine’s manual allows it and there is a suitable lifting point.
Non-negotiable safety rules
- The swing area is a no-go zone: No one should be in the area where the rear of the upper structure and the boom swing. If necessary, tape the area off.
- Watch out for overhead lines: Look up before raising the boom, and keep a safe distance from power lines.
- Underground services: Before digging, get information on electricity, gas and water lines from the relevant utilities; near marked lines, dig the last layer by hand or very slowly.
- Personal protective equipment: A hard hat, high-visibility vest, safety boots and gloves for the operator and the ground crew, plus hearing protection on noisy jobs.
- One signaller: Work with the ground crew using hand signals agreed in advance; anyone can give the “stop” signal, and everyone must obey it.
- When parking: Choose level ground, lower the bucket and blade to the ground, put the lock lever in the locked position, stop the engine and take the key with you.
Straight after heavy work, let the engine idle briefly before you switch it off, as recommended in the manual. At the end of the day, writing the hour meter reading and the fuel added in a logbook makes it easier both to keep track of the service schedule and to get to know your machine. If you noticed a small leak or an unusual noise during the day, note that down too; it will be the first place you look on the next morning’s walk-round.
For general rules that also cover topics such as pedestrian and vehicle traffic on site, see our construction site safety guide.
Quick checklist
- Walk-round check done; levels, leaks, tracks and attachment connection all OK.
- Overhead and underground lines in the work area checked.
- Climbed on with three points of contact, seat belt fastened, mirrors adjusted.
- Control pattern label found and each joystick’s function learned.
- Engine and hydraulic oil warmed up.
- Blade position checked before travelling.
- First practice done on an empty, flat area at low revs.
- At the end of the job, bucket and blade lowered to the ground, lock engaged and key removed.
For your first machine, you can start with the light, easy-to-transport R10 or explore all our mini excavator models; send us your questions about delivery and training on WhatsApp.