The track is one of the hardest-working and least-noticed parts of a mini excavator. It carries the load in every dig, every turn and every trailer loading. Replacing it is also one of the big items in the maintenance budget, so extending track life by even a few months shows up directly in your pocket.
The good news is that most of the factors that determine track life are in your hands. Correct tension, good driving habits and regular checks are the most effective way to prevent premature track wear. In this guide we explain what shortens track life, how tension is checked and adjusted, what each type of damage means and how to tell when it is time for a replacement.
What determines track life?
It wouldn’t be accurate to give a single figure in hours for track life; even on the same model, two different operators and two different types of ground produce very different results. The main factors that determine track life are:
- Ground: Sharp stones, broken concrete, exposed rebar, demolition rubble and hot asphalt wear tracks quickly. Soft soil and grass cause the least wear.
- Driving habits: Counter-rotating on the spot on hard ground (driving one track forwards and the other backwards), climbing onto pavements and kerb edges, and travelling long distances at high speed.
- Tension: A track that is too loose or too tight causes early wear on the track itself as well as on the sprocket and rollers.
- Cleanliness: Stones, mud and wire trapped between the track and the rollers strain the track and cut into it.
- Chemicals and sunlight: Oil, fuel and some chemicals degrade the track material; standing in direct sunlight for long periods can cause cracks on the surface.
- Type of work: Long spells with a hydraulic breaker, constantly travelling with heavy loads and loading onto a trailer several times a day also put more strain on the tracks and undercarriage.
The conclusion from this list: of two people who buy the same machine, one may get much longer use out of the tracks than the other, and most of the difference comes from habits on site. The sections below look at these habits one by one.
Why is tension so important?
Track tension determines how quickly every part of the undercarriage wears. Getting it wrong in either direction is costly:
| Condition | Symptom | Result |
|---|---|---|
| Too loose | The track sags noticeably and shifts on turns | Track coming off, the sprocket skipping on the track, damage to the guide lugs |
| Too tight | The track is “drum-tight” and strains audibly when travelling | Rapid wear on the drive sprocket, idler and rollers, strain on the bearings, higher fuel consumption |
| Correct tension | Sag within the range given in the manual | ✅ Even wear, safe travel |
An often-forgotten point: on muddy ground, mud packing between the track and the undercarriage effectively tightens the track. That is why tension is measured on a clean track; for very muddy work, if the manual recommends a looser setting, follow it.
How do you check track tension? (Step by step)
The measuring method and the correct sag value vary from machine to machine; the method and value in the manual take precedence. The common method is as follows:
- Move the machine onto level, firm ground.
- Clean mud and stones off the tracks; trapped material gives a misleading reading.
- Lower the dozer blade to the ground and use the boom and bucket to raise one side of the machine a few centimetres off the ground. Nobody should go underneath the raised machine; if necessary, support the frame on solid blocks.
- Rotate the raised track slowly for a short time to throw off the remaining mud, then stop it. Nobody should stand next to the track while you do this.
- Engage the safety lock lever. In the middle section of the track, in line with one of the bottom rollers, measure the distance between the roller and the inner surface of the track, in other words the sag.
- Compare the value you have measured with the range in the manual, lower the machine and repeat the procedure on the other side.
Follow the interval in the manual for how often to check; on stony and muddy sites, checking more often is a good habit. You’ll find the general maintenance schedule in our guide to the service schedule.
Daily and weekly track checks
- Every day, before starting work: Are there stones, wire or roots trapped between the track and the rollers? Are there any new cuts, tears or broken-off lugs on the surface? Is the track visibly sagging?
- Every day, at the end of work: Clean the mud and stones off the tracks and undercarriage, and wipe off any oil or fuel spilled on them.
- Every week, or at the interval in the manual: Measure the sag and note the difference between the two sides; check for grease leaks around the tensioning cylinder.
How do you adjust track tension on a mini excavator?
On most mini excavators, tension is adjusted with a grease cylinder that pushes the idler forward. Check the system on your machine in the manual; the general principle is as follows:
- To tighten: Grease is pumped into the grease nipple on the tensioning cylinder with a grease gun; the cylinder extends, the idler moves forward and the track tightens.
- To loosen: The grease valve is opened by the amount specified in the manual and very slowly; as the grease comes out, the track loosens. Once the desired value is reached, the valve is closed and the area around it cleaned.
There are two serious safety rules for this job:
- The grease is under high pressure. Don’t open the valve quickly or too far, and don’t stand in front of it; grease spurting out can seriously injure skin and eyes.
- Never tamper with the tension spring or its cylinder. The spring in the tensioning mechanism is compressed with a very large force; it should only be dismantled by the service team with the proper equipment. You can use our service request form for this kind of work.
An important sign: if the track still sags even though you keep pumping in grease, or the tensioning cylinder is nearing the end of its travel, the problem isn’t the adjustment but track stretch or wear on the drive sprocket and idler. This shows that replacement time is approaching.
After adjusting, drive the machine a few metres forwards and backwards and measure the sag again; the value may change slightly once the track has settled into place. If tension you have set correctly disappears on its own within a few days, there may be a grease leak in the tensioning cylinder or its valve. In that case, have it checked by the service team rather than making do by constantly pumping in grease.
Signs of damage and what they mean
| Symptom | Possible cause | What to do? |
|---|---|---|
| Worn or broken-off guide lugs | Loose track, frequent kerb climbing, turning on slopes | Adjust the tension and correct your driving habits |
| Fine surface cracks between the lugs | Ageing, sunlight, high loads | Keep an eye on them; plan a replacement if they deepen |
| Internal reinforcing cords showing | Deep cut, damage to the internal structure | Plan a replacement; as the cords break, the track can snap suddenly |
| Cuts and tears on the edges | Sharp edges, kerbs, demolition rubble | Clear the site and don’t travel parallel to edges |
| Metal cores coming loose | Overloading, ageing, incorrect tension | Replacement needed |
| Track keeps coming off | Slack tension; worn idler, roller or sprocket | Check the tension and have the undercarriage inspected by the service team |
| Tensioner at the end of its travel, track still sagging | Track stretched or sprocket worn | Assess the track and drive sprocket together |
The condition of the track can’t be separated from the rest of the undercarriage. If the teeth of the drive sprocket have become pointed or hooked, or if there is play in the idler or rollers, a new track will soon run into the same problems. We describe the signs of wear on these parts in detail in our undercarriage guide.
Replacing mini excavator tracks: when?
Any one of the following signs is enough to decide on a replacement:
- The internal reinforcing cords have become visible in more than one place.
- The metal cores have started to come loose or break off.
- The correct tension can’t be achieved even though the tensioning mechanism has reached its limit.
- The track keeps coming off and no other cause can be found in the undercarriage.
- Deep cuts and tears threaten the integrity of the track.
One track or both? Replacing both tracks together keeps the traction and travel behaviour of the two sides equal. If the other track is still in good condition, replacing only the damaged one is also possible; decide based on the difference in wear between the two tracks. When the track is being replaced, have the drive sprocket checked too: a worn sprocket will quickly wear out the new track as well.
Plan the replacement before it fails. A track that snaps in the middle of a job leaves the machine stranded on site; even getting it onto a trailer becomes difficult. Ordering the track in advance once the signs appear, and timing the replacement for a quiet week, reduces both downtime and the cost of emergency shipping.
Habits that extend track life
- Turn wide: On hard ground, instead of counter-rotating on the spot, turn using one track or in a wide arc.
- Approach edges square-on: Climb steps such as pavements and kerbs slowly and at a right angle, not with the edge of the track; don’t travel along the edge.
- Clean at the end of the day: Clear mud and stones from between the track and the rollers. In winter, this means a track that moves in the morning rather than one that has frozen; details are in our guide to winter use.
- Wipe off oil and fuel straight away: Don’t leave oil or fuel spilled on the track.
- Store it in the shade and covered: Don’t leave a machine that won’t be used for a long time standing in direct sunlight.
- Take care on demolition sites: Don’t drive over exposed rebar and sharp pieces of concrete; clear the site with the bucket first.
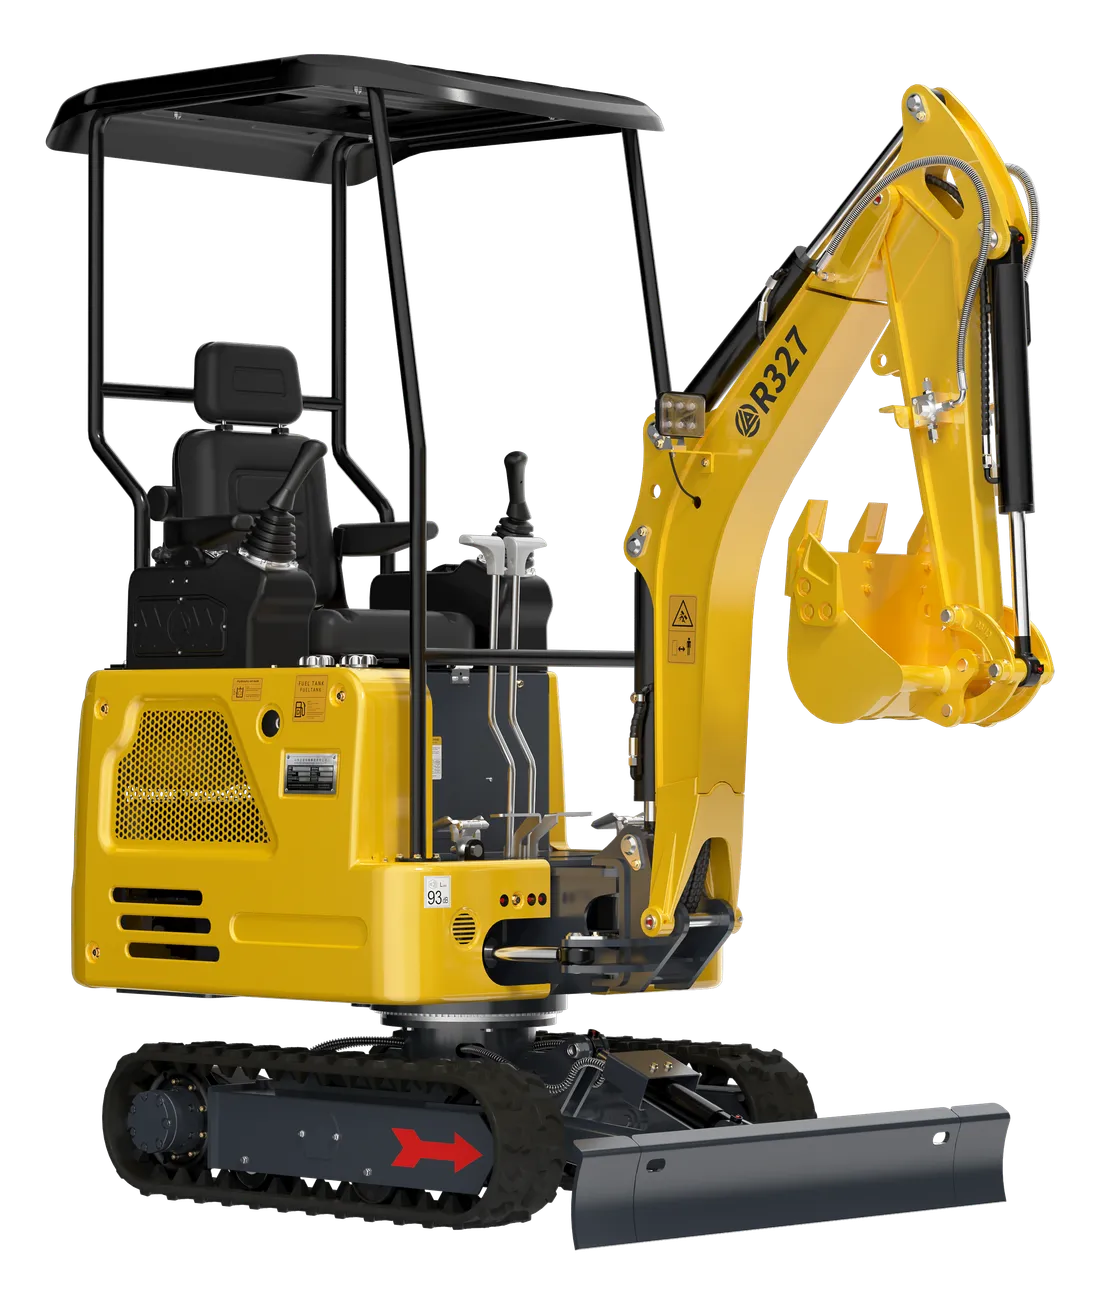
- Keep telescopic tracks clean: On retractable tracks like those on the R327, keep the sliding surfaces of the extending mechanism free of mud. We explain how to use this system in our guide to telescopic tracks.
Ordering the right track
Ordering a track in the wrong size means the machine stands idle for days. Before you order, have the following information ready:
- Machine model and serial number: Read them from the plate on the chassis.
- The size marked on your current track: Tracks usually have a size moulded into their surface showing the width, pitch and number of links. Take a clear photo of this marking.
- Condition of the undercarriage: Photos of the drive sprocket, idler and rollers; if any part needs replacing at the same time, everything can be sorted out in one go.
EKSFORK keeps 382 spare parts lines in stock and dispatches them by courier the same day. You can find parts such as tracks, drive sprockets, tensioning mechanisms, idlers and track rollers in our spare parts section, and confirm that they fit your machine using its model and serial number.
Summary
- Track life is determined by the ground, driving habits, tension and cleanliness.
- Measure tension on a clean track, using the method and value given in the manual.
- When loosening, open the grease valve very slowly; never tamper with the tension spring.
- If the track still sags even though the tensioner has reached its limit, replacement time is approaching.
- When fitting a new track, have the drive sprocket and rollers checked too.
You can browse suitable parts for your tracks and undercarriage in our undercarriage category, and message our technical service line on WhatsApp with your model and serial number.