Choosing the machine is half the job; the other half is taking delivery of it on the right day, in the right place, undamaged and complete. Village roads, site entrances, factory yards and narrow garden gates often make this second half harder than the machine itself.
EKSFORK is a company based in Kartal, Istanbul, and we deliver to all 81 provinces, villages included. The longer the distance, the more planning matters: every step, from the moment the lorry sets off to the moment the machine first works on site, needs a clear owner.
In this guide we explain the process stage by stage, from the moment you order to the first working day: what you need to prepare, what we do on our side and the hiccups that commonly occur. The aim is a delivery day without surprises.
The process at a glance
Delivery goes through five stages. At each stage both sides have things to do; if one falls short, the other is held up too.
| Stage | On your side | On the EKSFORK side |
|---|---|---|
| Order and quote | Settling the model, equipment, attachments and delivery address | Written quote, delivery terms, document list |
| Payment and planning | Completing payment, naming the person who will take delivery | Transport plan and date confirmation |
| Dispatch | Preparing the delivery point, reporting the road conditions | Preparing the machine for the road and confirming dispatch |
| Delivery day | Being on site, checking | Unloading, set-up, basic operator training, documents |
| First week | Following the running-in rules, keeping notes | Technical support, spare parts, service network |
8 details to settle at the ordering stage
Most delivery problems actually stem from a detail missed at the ordering stage. Put the following eight items in writing before you confirm the order:
- Model and equipment: Which equipment, such as the cab, air conditioning, bucket and thumb, is standard and which is extra.
- Attachments: If you are buying a rotavator, plough, auger or an extra bucket, having it arrive in the same shipment as the machine solves the transport in one go.
- Delivery address and location: Share a map location as well as the full address. In villages, directions like “behind the mosque” aren’t enough for the driver.
- Person taking delivery: The phone number of the person who will be on site, and of a back-up person.
- Invoice details: Whether the invoice will be issued to an individual or a company, and the tax details.
- Date and time window: Our hours are weekdays and Saturdays, 09:00–18:00; we agree the delivery day and approximate time together at the ordering stage.
- Transport charge: The quote must state in writing whether transport is included in the price.
- Special conditions: Details such as narrow streets, low bridges or overpasses, sharp bends, factory entry times or site security procedures.
The last item is the one most often skipped. An obstacle the driver meets in the last two kilometres can change the whole day. If you are unsure about anything, take a photo of the road and send it.
Machine transport: how does the machine travel?
The type of transport vehicle is chosen according to the machine’s weight and size. Even among the machines in the same catalogue, the differences are large:
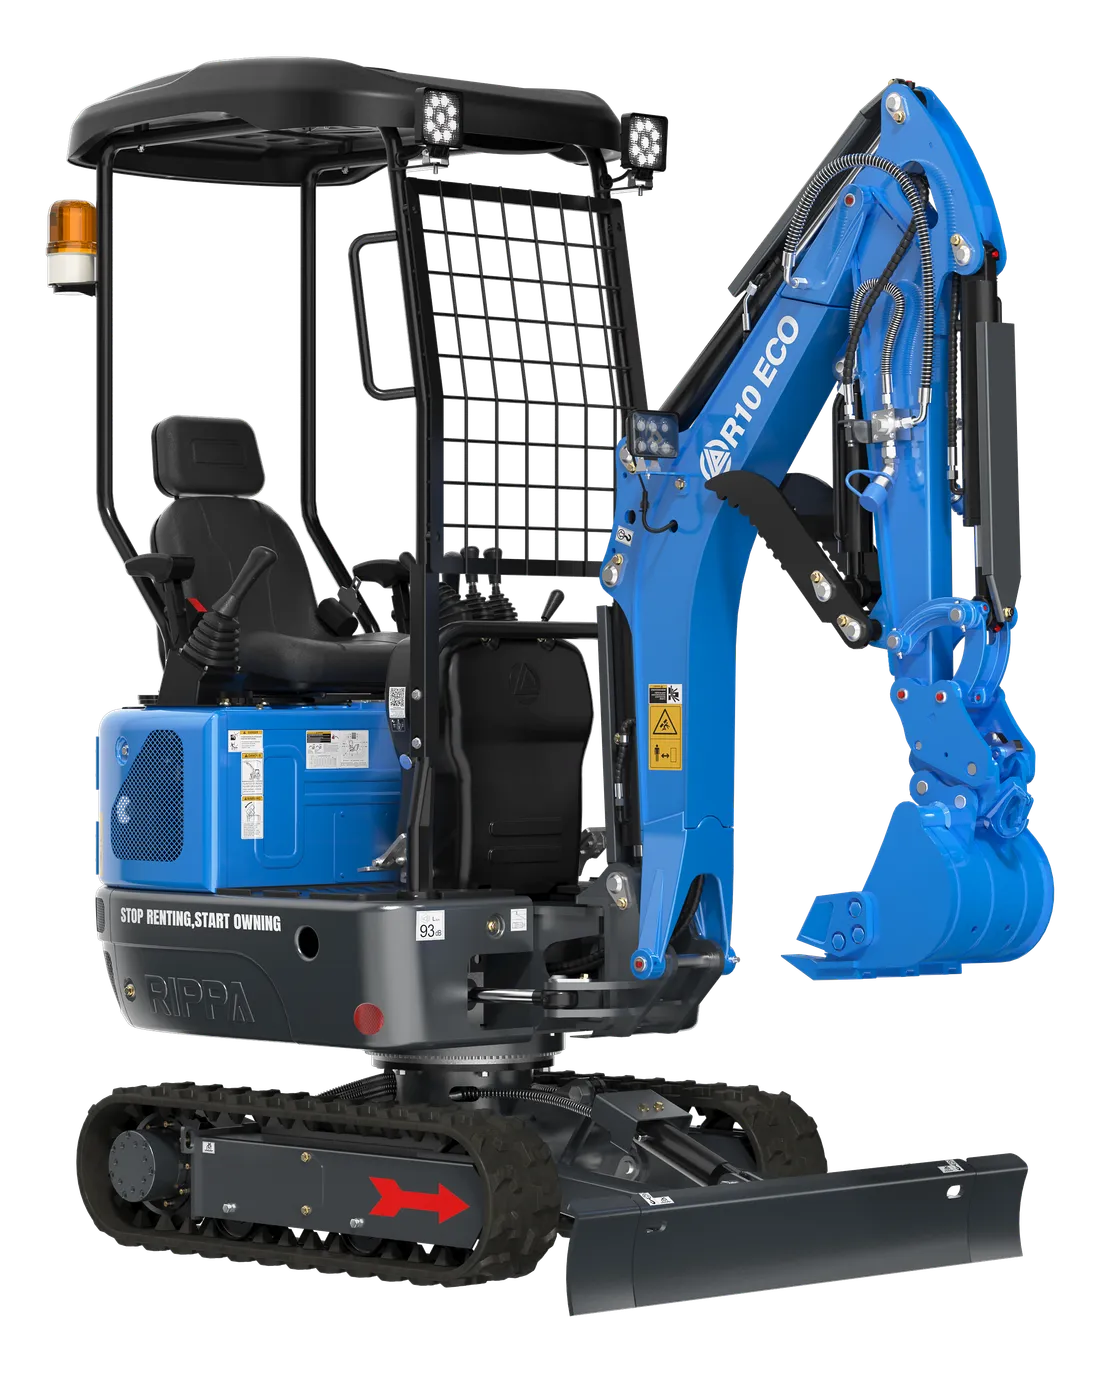
- Light class: the QD35 tracked tractor weighs 750 kg; the R10 mini excavator has a machine weight of 900 kg and an operating weight of 1,200 kg.
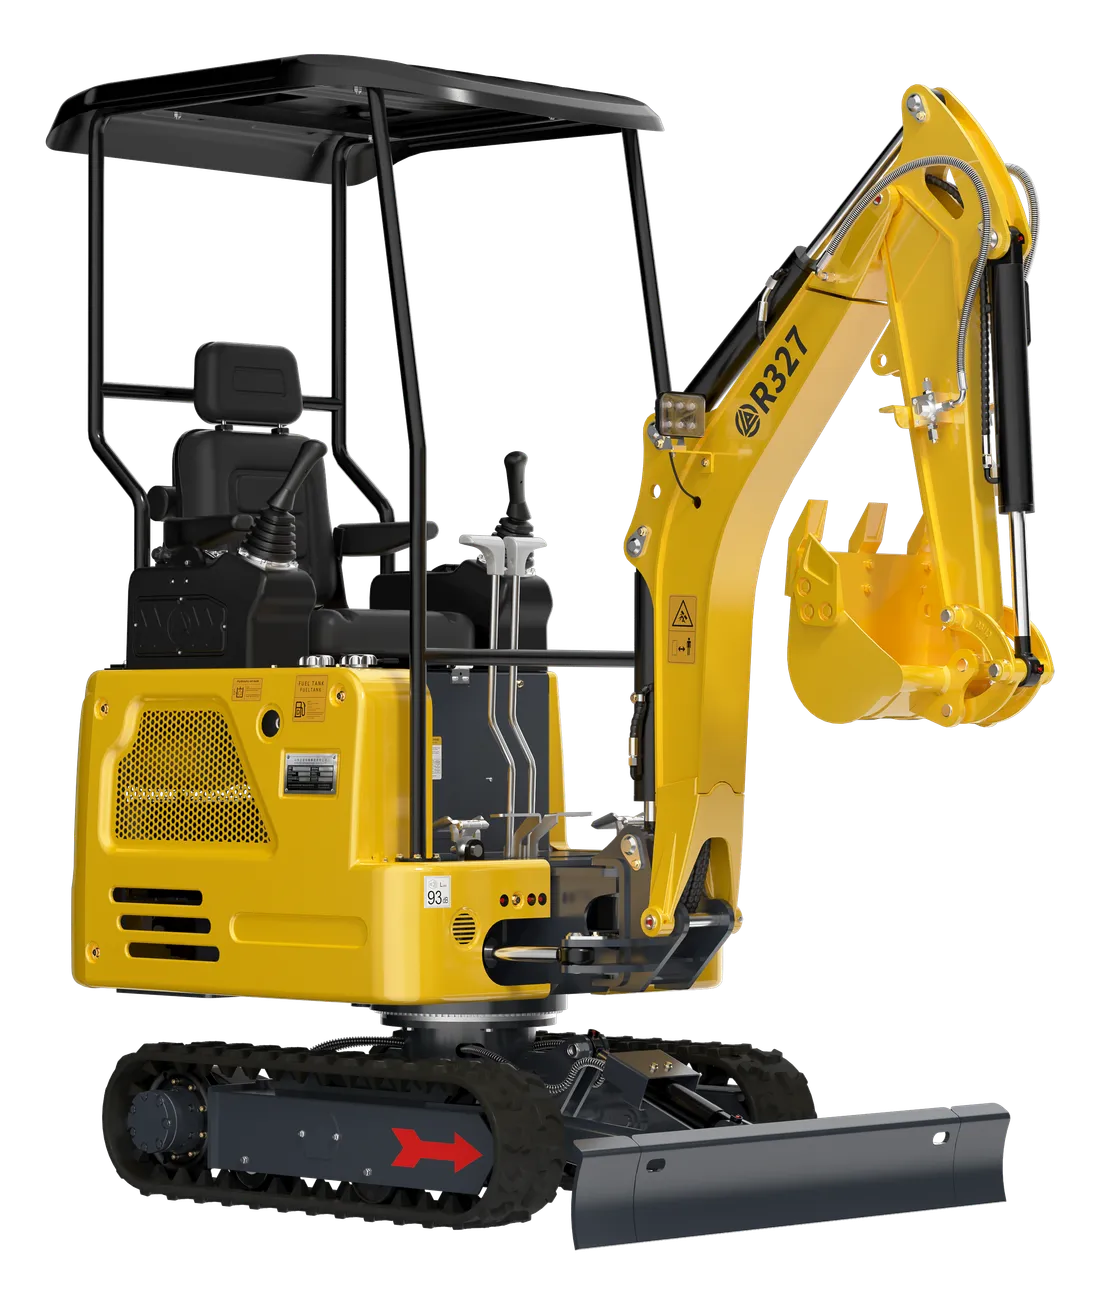
- Medium class: the R327 mini excavator has an operating weight of 1,700 kg (1,692 kg net).
- Heavy class: the R350 has an operating weight of 3,500 kg, and the RF20E electric forklift weighs 3,040 kg.
- Floor cleaning machines: the K1 and K2 weigh 145 kg, the KL860 and S1 390 kg; with these, the real issue is getting through doors and up ramps rather than weight.
When the machine is loaded onto the vehicle, the boom and bucket are put in the transport position and the machine is secured with chains or ratchet straps. If you are thinking of transporting the machine yourself in future, we explain trailer choice and tie-down rules in detail in our mini excavator transport guide.
The delivery time depends on the machine’s stock status and the distance; that is why we give you not a general timeframe but a written delivery date. In heavy rain, snow or road closures, safety always comes before the schedule; if that happens, we plan the new date together. When the lorry sets off, ask for the driver’s name and phone number; talking directly in the last few kilometres is the step that saves the most time.
Preparing the delivery point
The delivery point must be somewhere the lorry can pull up safely and the machine can be unloaded safely. The day before delivery, make these checks:
- Road: Width for the vehicle to enter, space to turn, low tree branches and soft verges. If the lorry can’t reach the final point, choose a flat, safe meeting point in the village square or beside the main road; we will judge together, based on the ground and road conditions, whether the machine can cover the short distance from there under its own power.
- Unloading area: Unloading by ramp needs a flat, firm, clear area behind the vehicle. Unloading is not done on sloping, muddy or loose fill ground.
- Overhead lines: Unloading and raising the boom must not be done under power lines. Always check what is above the area.
- People and animals: During unloading, keep children, curious neighbours and animals at a safe distance.
- Site delivery: If there are site entry rules (entry times, personal protective equipment, notifying security), pass them on in advance. If the place where the machine will first work is close to the unloading point, you also avoid unnecessary travelling and moving on the first day.
- Warehouses and factories: For forklift delivery, the entrance gate, the floor and the charging point must be ready. The RF20E’s charging system runs on a 220V supply; the charging point needs to be ventilated and away from flammable materials.
- Indoor machines: For a floor cleaning machine, measure the door width and any lift or ramp access. For example, the KL860 measures 1,665 × 1,150 × 1,350 mm, and the K1 995 × 550 × 1,165 mm.
Unloading and first checks: before signing the delivery note
While the machine is being unloaded, only the people doing the job should be in the area; nobody should stand beside the ramp or in the machine’s direction of travel. Once unloading is finished, take your time over these checks before signing the delivery note:
- Does the serial number on the machine’s plate match the number on the invoice and documents?
- Has the hour meter reading been written on the delivery note?
- Is there any transport damage to the bodywork, glass, lights or mirrors?
- Are there any leaks or wetness on the hoses, fittings and cylinders?
- Do the tracks or tyres, drive sprocket and rollers look sound?
- Is every attachment and accessory listed in the quote on site? Count them one by one.
- Have the keys and the operator’s manual been handed over?
If you see any damage or anything missing, photograph it and write it on the delivery note; findings made after signing are hard for both sides to clear up. You will find the detailed list in our delivery checklist guide.
Documents: Along with the invoice, warranty certificate (2 years or 2,000 operating hours) and operator’s manual, we also provide the declarations of conformity for CE-marked machines on delivery. We explain what this document means in our CE marking guide. Keep them all in one folder; these are the first papers asked for in a warranty claim, a later sale or a possible inspection.
Set-up and basic operator training
We provide set-up and basic operator training on delivery. The first rule for making good use of this time: it is the people who will actually use the machine who should attend the training, not the owner. If you have more than one operator, make sure they are all there.
Ask for at least the following topics to be demonstrated in practice during the training:
- Daily check points: engine oil, coolant, hydraulic oil and fuel levels
- Grease points and intervals
- Starting, stopping and what to do in an emergency
- Control layout and safe working habits
- Fitting and removing attachments, and the machine’s transport position
- For forklifts, the charging procedure and how to read the load chart
- For floor cleaning machines, filling and emptying the tanks, and checking the squeegee and brushes
At the end of the training, with the trainer beside you, start the machine yourself, do a short job and stop it. Steps learned by watching are easily forgotten the first time you do them on your own; asking a question while the trainer is there is much easier than describing it on the phone later.
Prepare your list of questions in advance and, with permission, record the training on your phone; it is very useful for showing a new employee later. To be honest, basic training is no substitute for an experienced operator. Occupational health and safety legislation requires operators to be trained; confirm the current requirements with your health and safety adviser. For first-time users, we have set out the steps in our first-use guide.
Common hiccups and how to prevent them
| Hiccup | Prevention |
|---|---|
| The lorry couldn’t get into the village or site | Location sharing, a photo of the road and a meeting point agreed in advance |
| The person taking delivery isn’t on site | A back-up person and confirming the time the day before |
| The serial number in the documents is different | Comparing the plate with the documents before the delivery note |
| An attachment seems to be missing | Counting item by item against the list in the quote |
| The unloading area is muddy | Preparing the ground, or moving the date together |
| The forklift has arrived but the charging point isn’t ready | Completing the electrical preparation before delivery |
After delivery: the first week and support
The moment the machine is unloaded on site, a new period begins. In the first operating hours, build the load, revs and checking habits we describe in our running-in guide; the care taken in this period shapes the machine’s years to come.
A small but often forgotten preparation for the first day: fuel. Ask how much fuel the machine will have on delivery, and have diesel ready in a clean can for the first working day. Mini machines don’t have large tanks; for example, the R327’s fuel tank holds 10 L and the QD35’s 16 L. With a forklift, plan a full charge before the first shift according to the instructions in the manual.
After the sale, our 14 authorised sales and service points in 12 provinces and our contracted service network in all 81 provinces are there for you. You can see your nearest point on our dealer and service network page. 382 spare parts are shipped from stock on the same day; for technical questions, our service line is 0552 947 92 09. When you notice a problem, a photo or a short video speeds up remote diagnosis considerably.
Quick checklist
- Model, equipment, attachments and transport details in the written quote.
- Full address, map location and the difficult points on the road shared.
- Person taking delivery and back-up person named; time window confirmed.
- Unloading area flat, firm, clear and away from overhead lines.
- Door, floor and charging point ready for a forklift or cleaning machine.
- Serial number, hour meter, damage and attachments checked before the delivery note.
- Invoice, warranty certificate, operator’s manual and declarations of conformity in the folder.
- The people who will use the machine attended the training.
If you have chosen your machine, you can compare the models one last time on our machinery page and ask on WhatsApp about the date and transport for your delivery address.